Malibogic997 (talk | contribs) (Refined what I think was left to refine. Others can still look into it and make sure everything is fine.) Tag: Visual edit |
(Grammar fix for previous edit) Tag: Visual edit |
||
| (37 intermediate revisions by 13 users not shown) | |||
| Line 5: | Line 5: | ||
These resources are required to complete primary and/or secondary objectives. They are not added to your gathered resources at the end of a mission, unlike the crafting resources below. |
These resources are required to complete primary and/or secondary objectives. They are not added to your gathered resources at the end of a mission, unlike the crafting resources below. |
||
| − | ===Primary Objectives=== |
+ | ===<big>Primary Objectives</big>=== |
These items are required in order to finish the current mission. |
These items are required in order to finish the current mission. |
||
| + | {| width="550px" style="display: inline-table; |
||
| − | ====[[File:Alien egg icon.png|28px|frameless]] Alien Egg==== |
||
| + | |- style="text-align: left;" |
||
| − | {{Main|Alien Egg}} |
||
| + | ! |
||
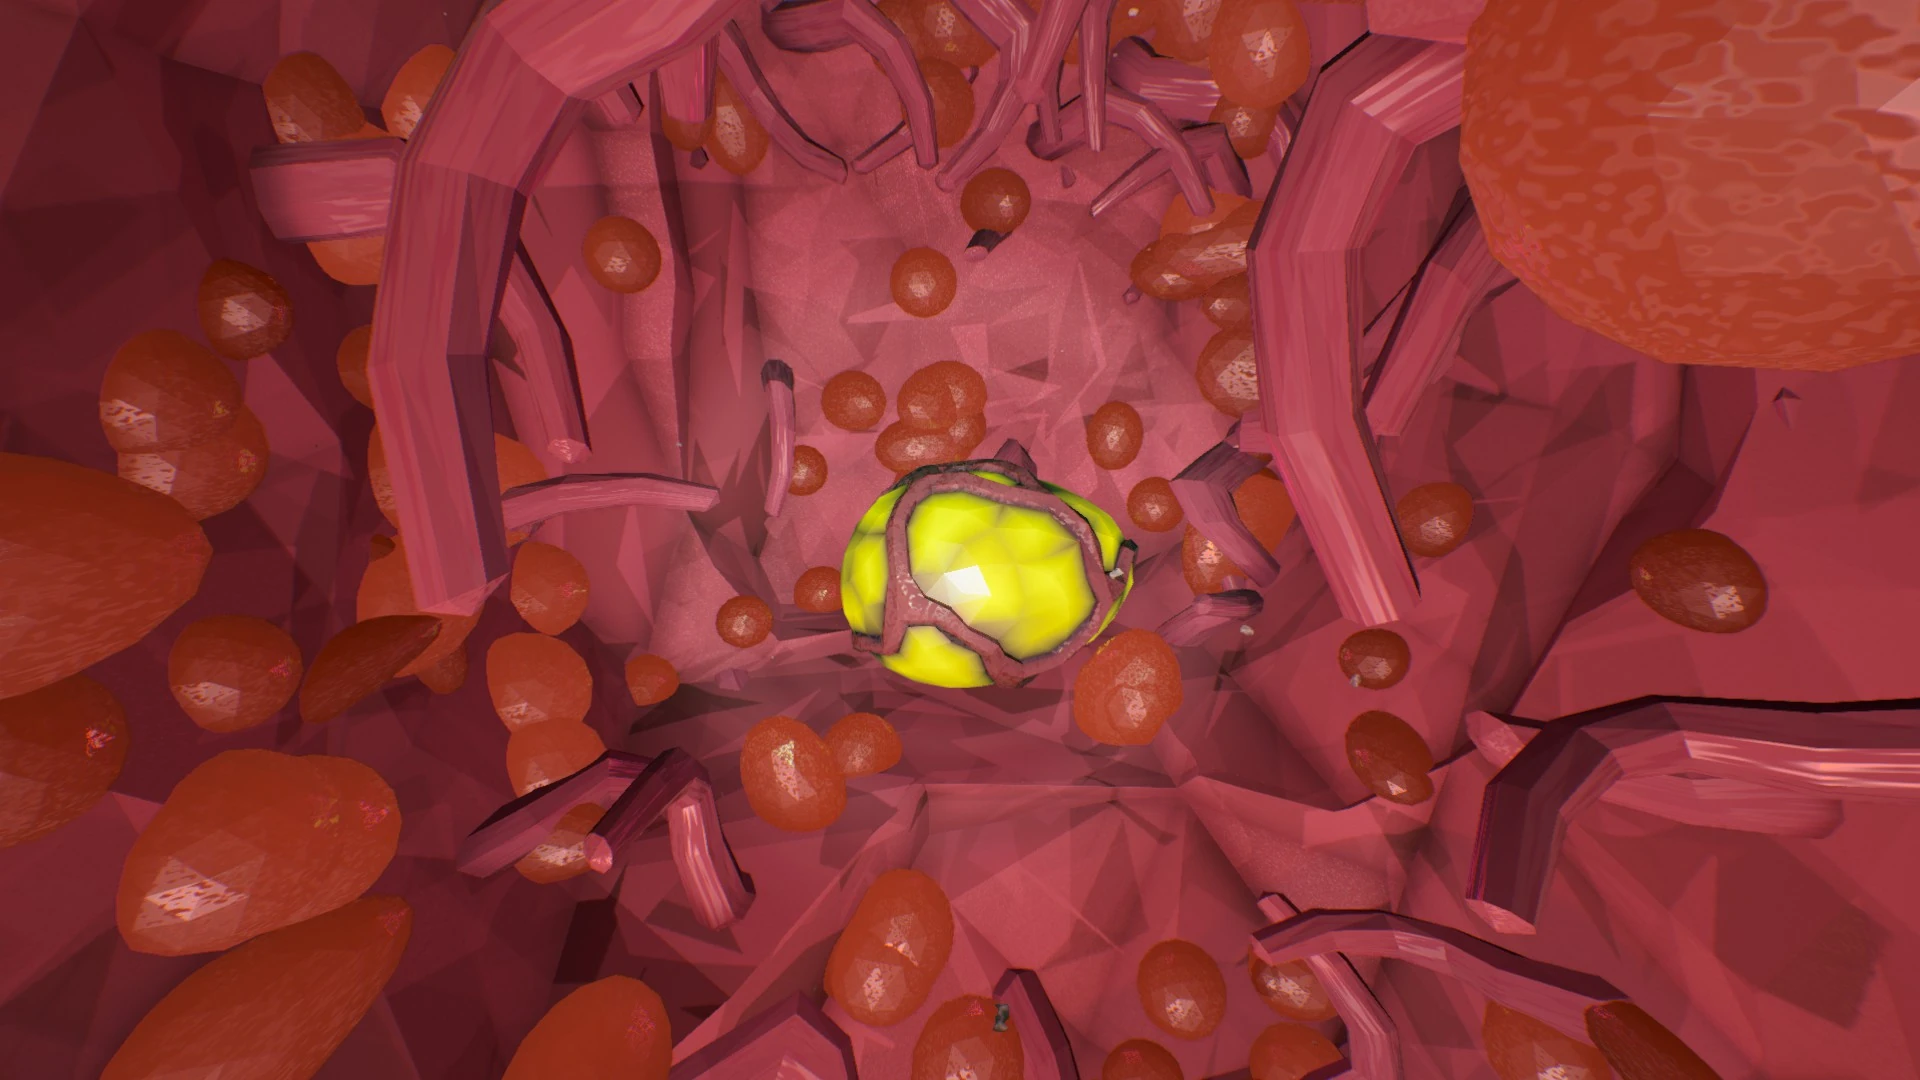
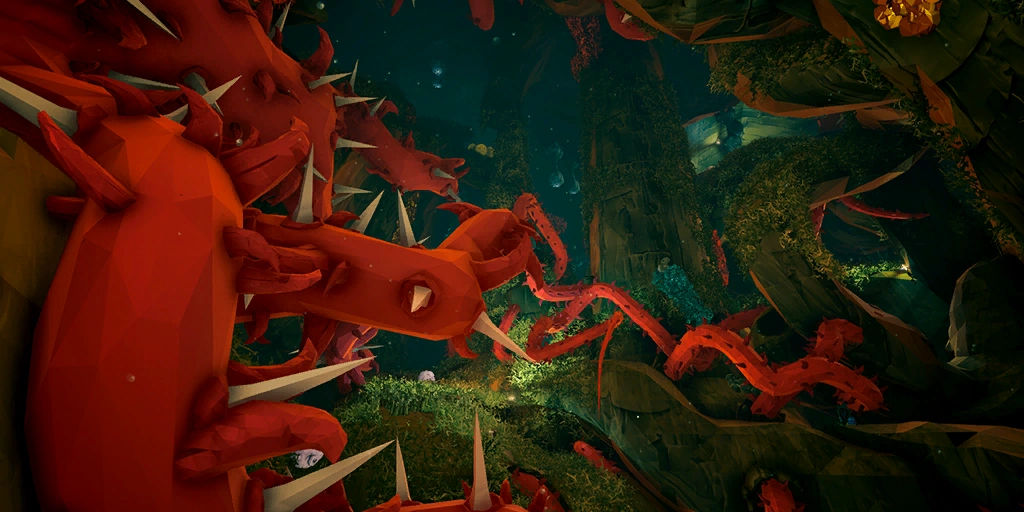
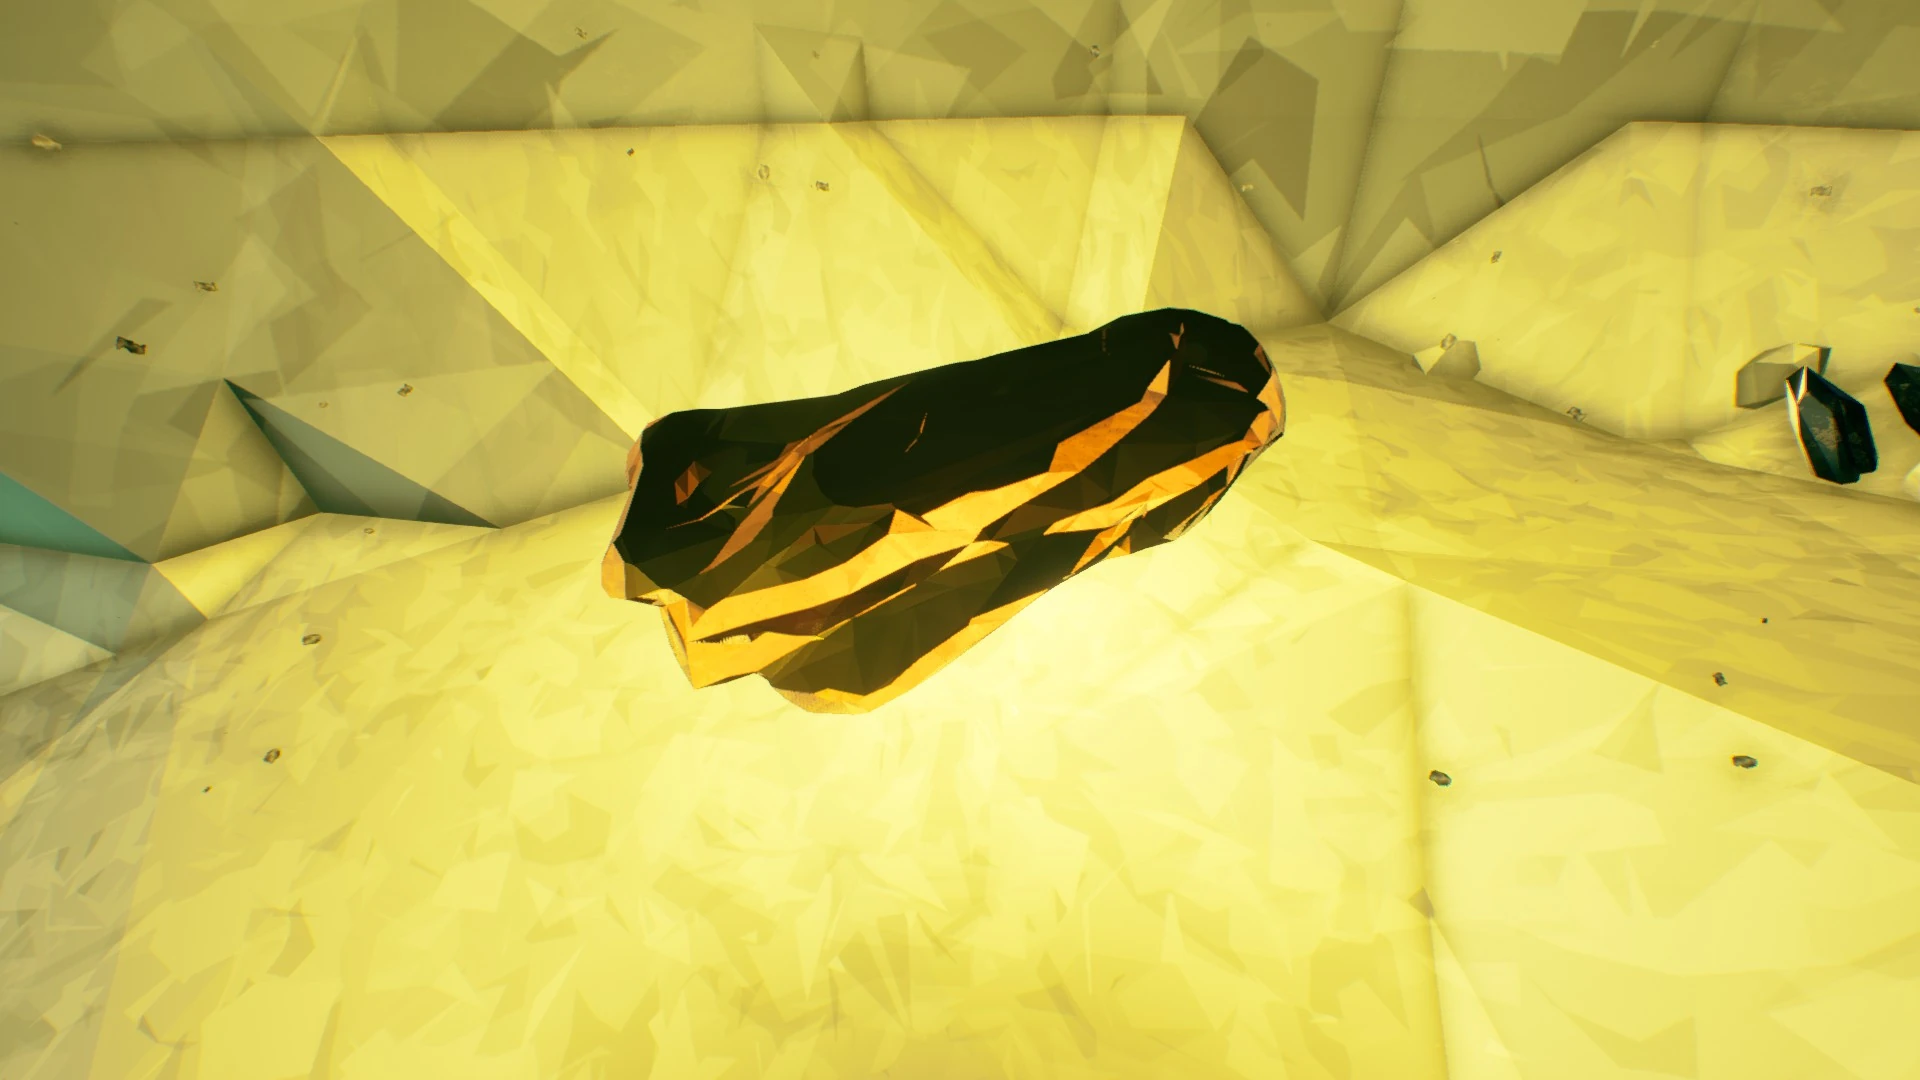
| − | '''Alien Eggs''' are mysterious, yellow eggs with pink, veiny ridges found in walls, similar to large resources such as [[Aquarq]]. They are marked by pulsating red/purple orbs and organic "tubes" on the wall. They must be found and deposited in order to complete the primary objective during [[Missions#.E2.80.94_Egg_Hunt|Egg Hunt]] mission types. Depending on the length of the mission, the team will have to collect 4, 6 or 8 eggs in total to complete the primary objective. Alien eggs are always found embedded within dull, fleshy Organic Material and appear as yellowish spheroids on the [[Terrain Scanner]]. |
||
| + | ====[[File:Alien egg icon.png|45px|frameless]] <big>Alien Egg</big>==== |
||
| − | |||
| + | |- style="vertical-align: top;" |
||
| − | {| |
||
| + | | height="215px" | {{Main|Alien Egg}} |
||
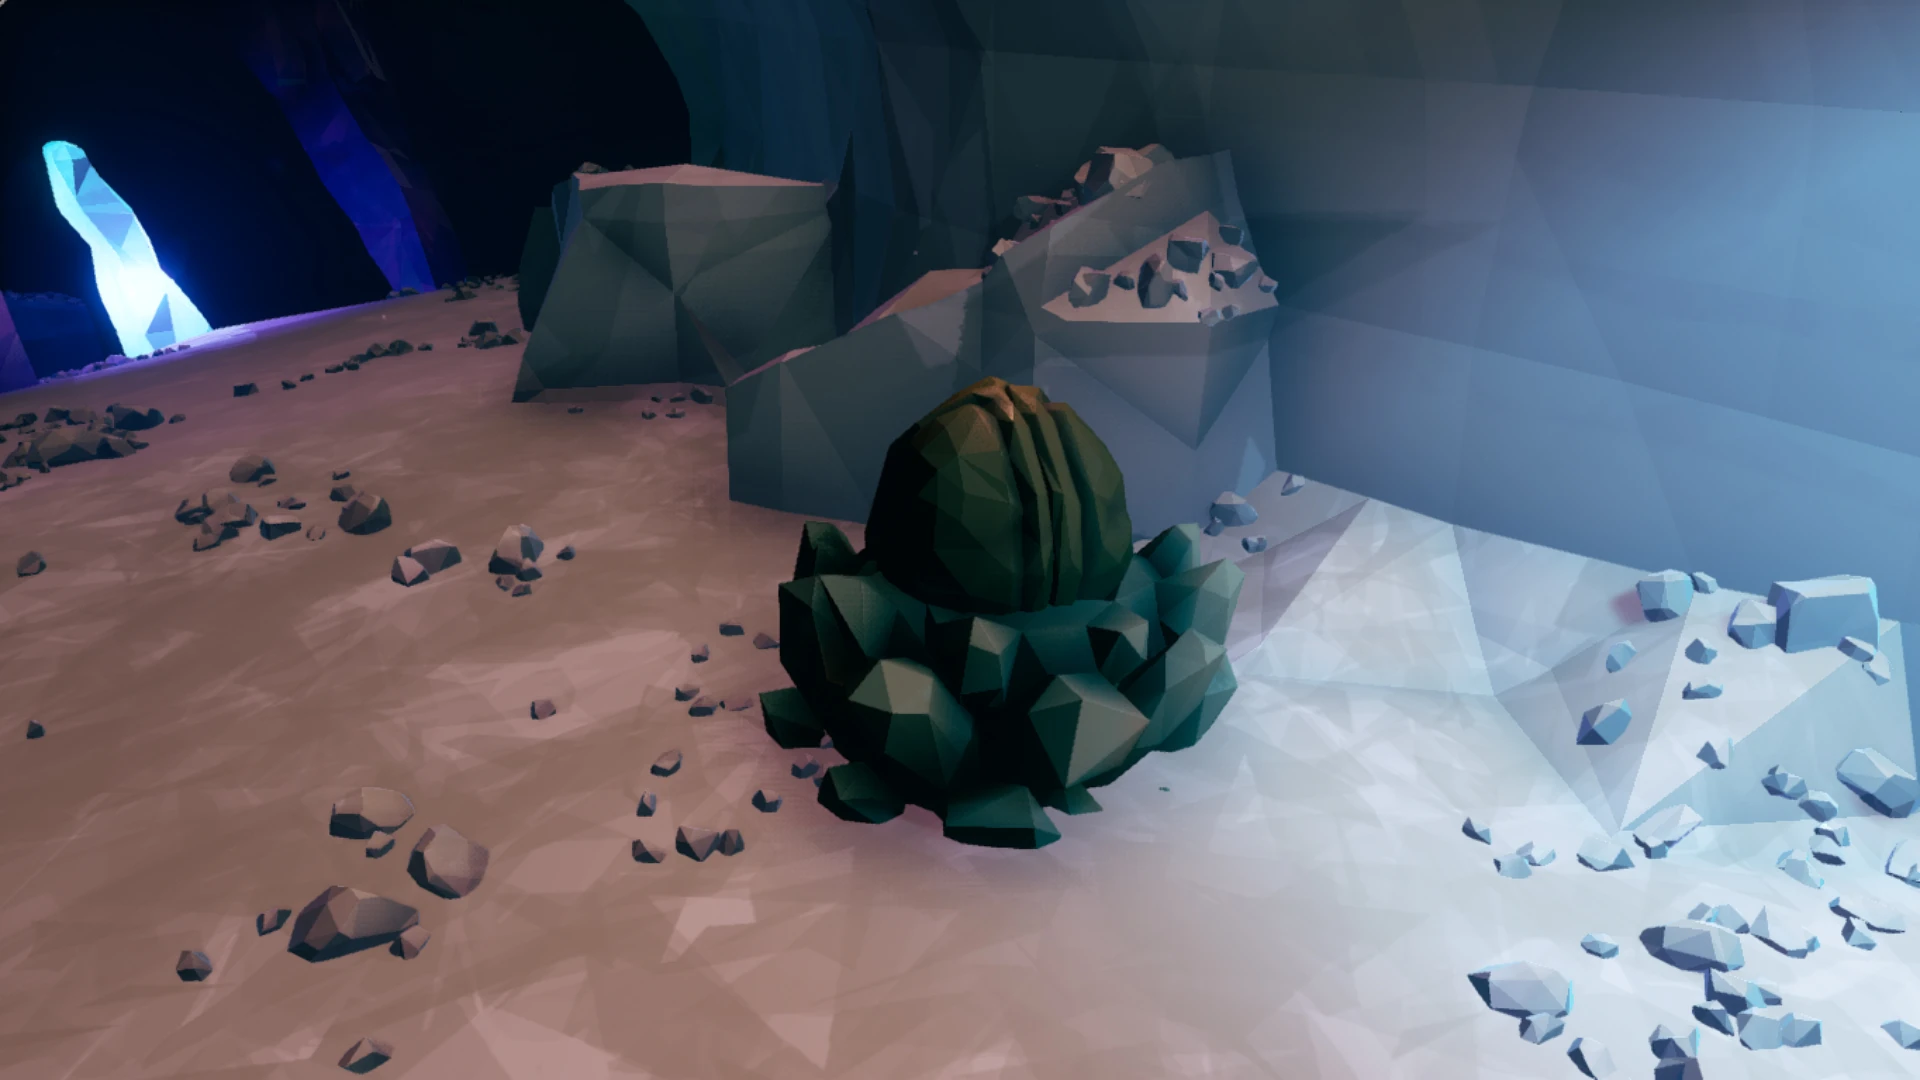
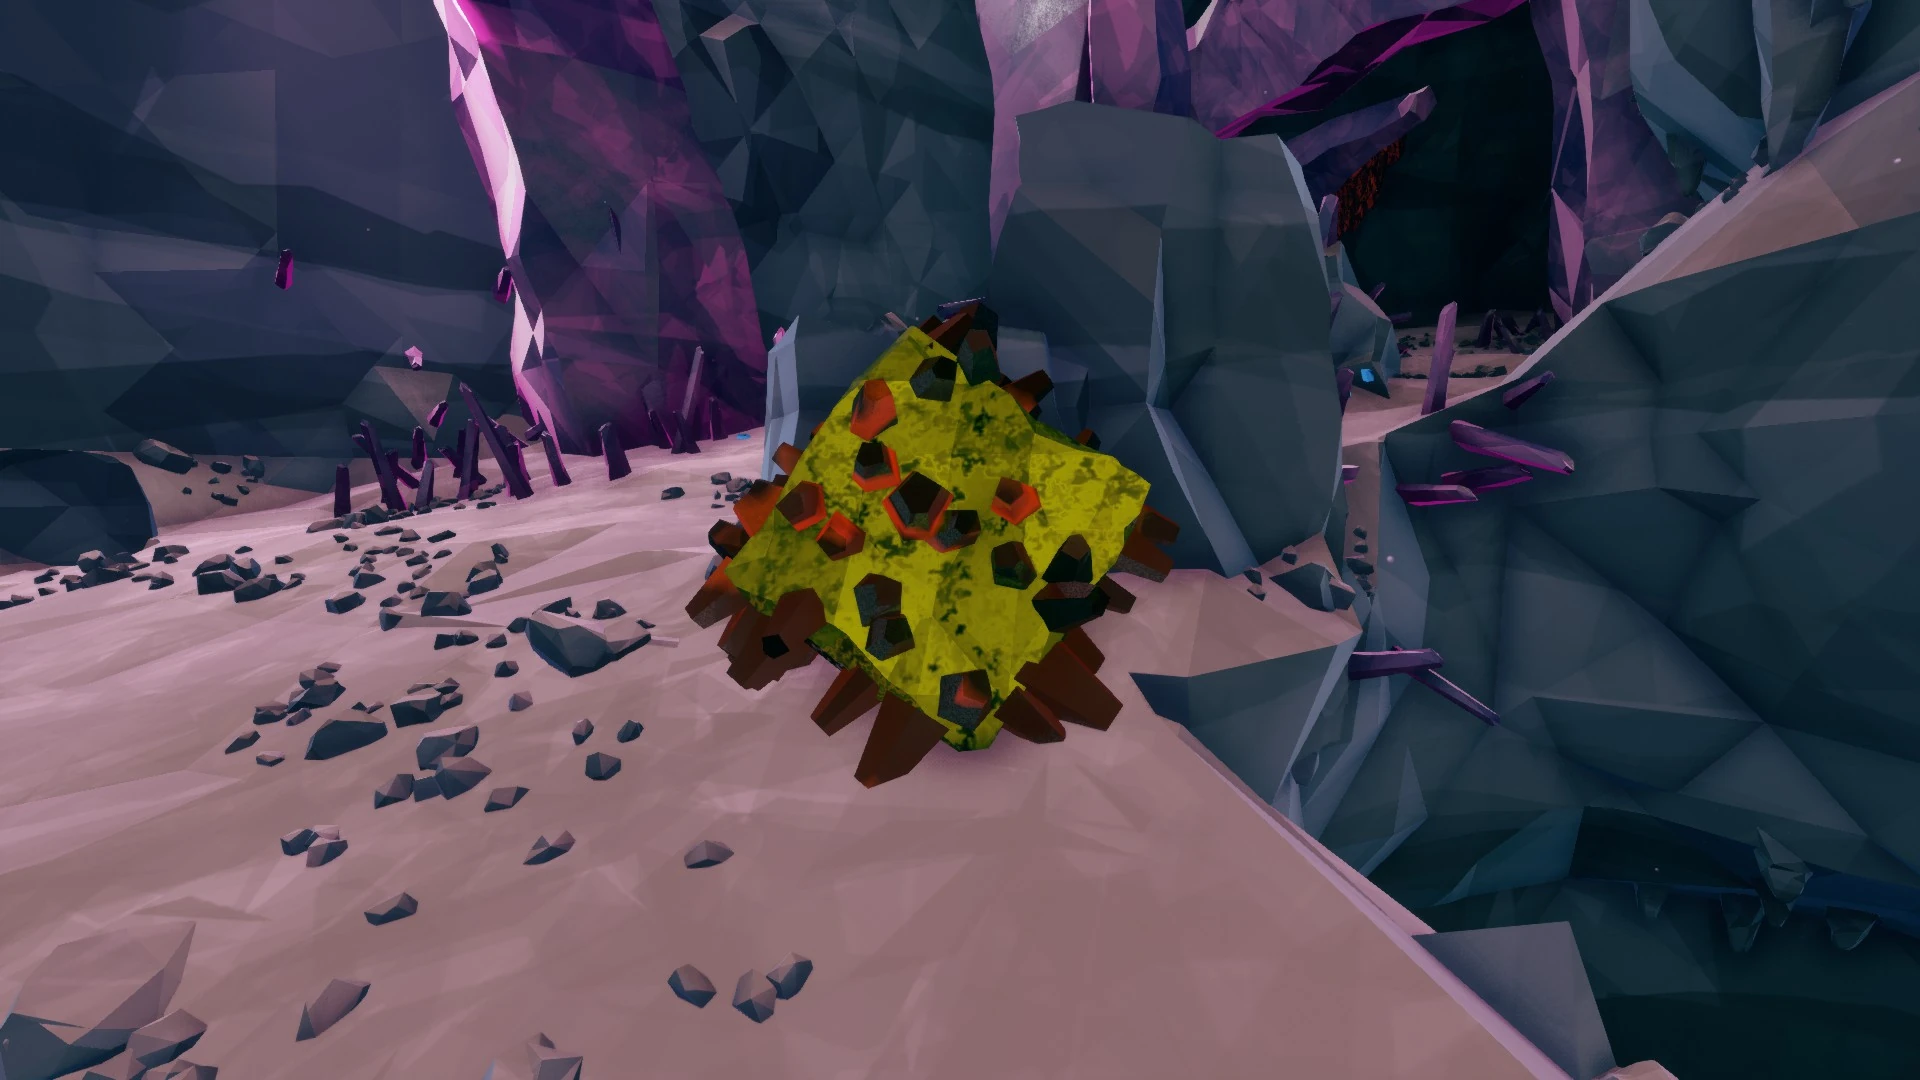
| + | '''Alien Eggs''' are mysterious, yellow eggs with pink, veiny ridges found in walls, similar to large resources such as [[Aquarq]]. They are marked by pulsating red/purple orbs and organic "tubes" on the wall. They must be found and deposited in order to complete the primary objective during [[Egg Hunt]] mission types. Depending on the length of the mission, the team will have to collect 4, 6 or 8 eggs in total to complete the primary objective. Alien eggs are always found embedded within dull, fleshy Organic Material and appear as yellowish spheroids on the [[Terrain Scanner]]. |
||
|- |
|- |
||
| + | | |
||
| − | | [[File:Alien_Egg.jpg|thumb|none|Alien Egg]] || [[File:Alien_Egg_markings.jpg|thumb|none|Alien Egg wall-markings]] |
||
| + | <gallery widths="216px" heights="120px"> |
||
| + | File:Alien Egg.jpg|Alien Egg |
||
| + | File:Alien Egg markings.jpg|Alien Egg wall-markings |
||
| + | </gallery> |
||
|} |
|} |
||
| + | {| style="display: inline-table;" |
||
| − | |||
| + | |- |
||
| − | ====[[File:Aquarq icon.png|28px|frameless]] Aquarq==== |
||
| + | | width="80px" | |
||
| − | {{Main|Aquarq}} |
||
| + | |- |
||
| − | Encountered solely in [[Missions|Point Extraction]] as the primary objective, '''Aquarq''' takes the form of large blue crystals embedded in the rock. It can be located via smaller blue crystal formations on the surface, as well as a faint blue glow if they're near the surface. |
||
| + | |} |
||
| − | |||
| + | {| width="550px" style="display: inline-table; |
||
| − | {| |
||
| + | |- style="text-align: left;" |
||
| + | ! |
||
| + | ====[[File:Aquarq icon.png|45px|frameless]] <big>Aquarq</big>==== |
||
| + | |- style="vertical-align: top;" |
||
| + | | height="215px" | {{Main|Aquarq}} |
||
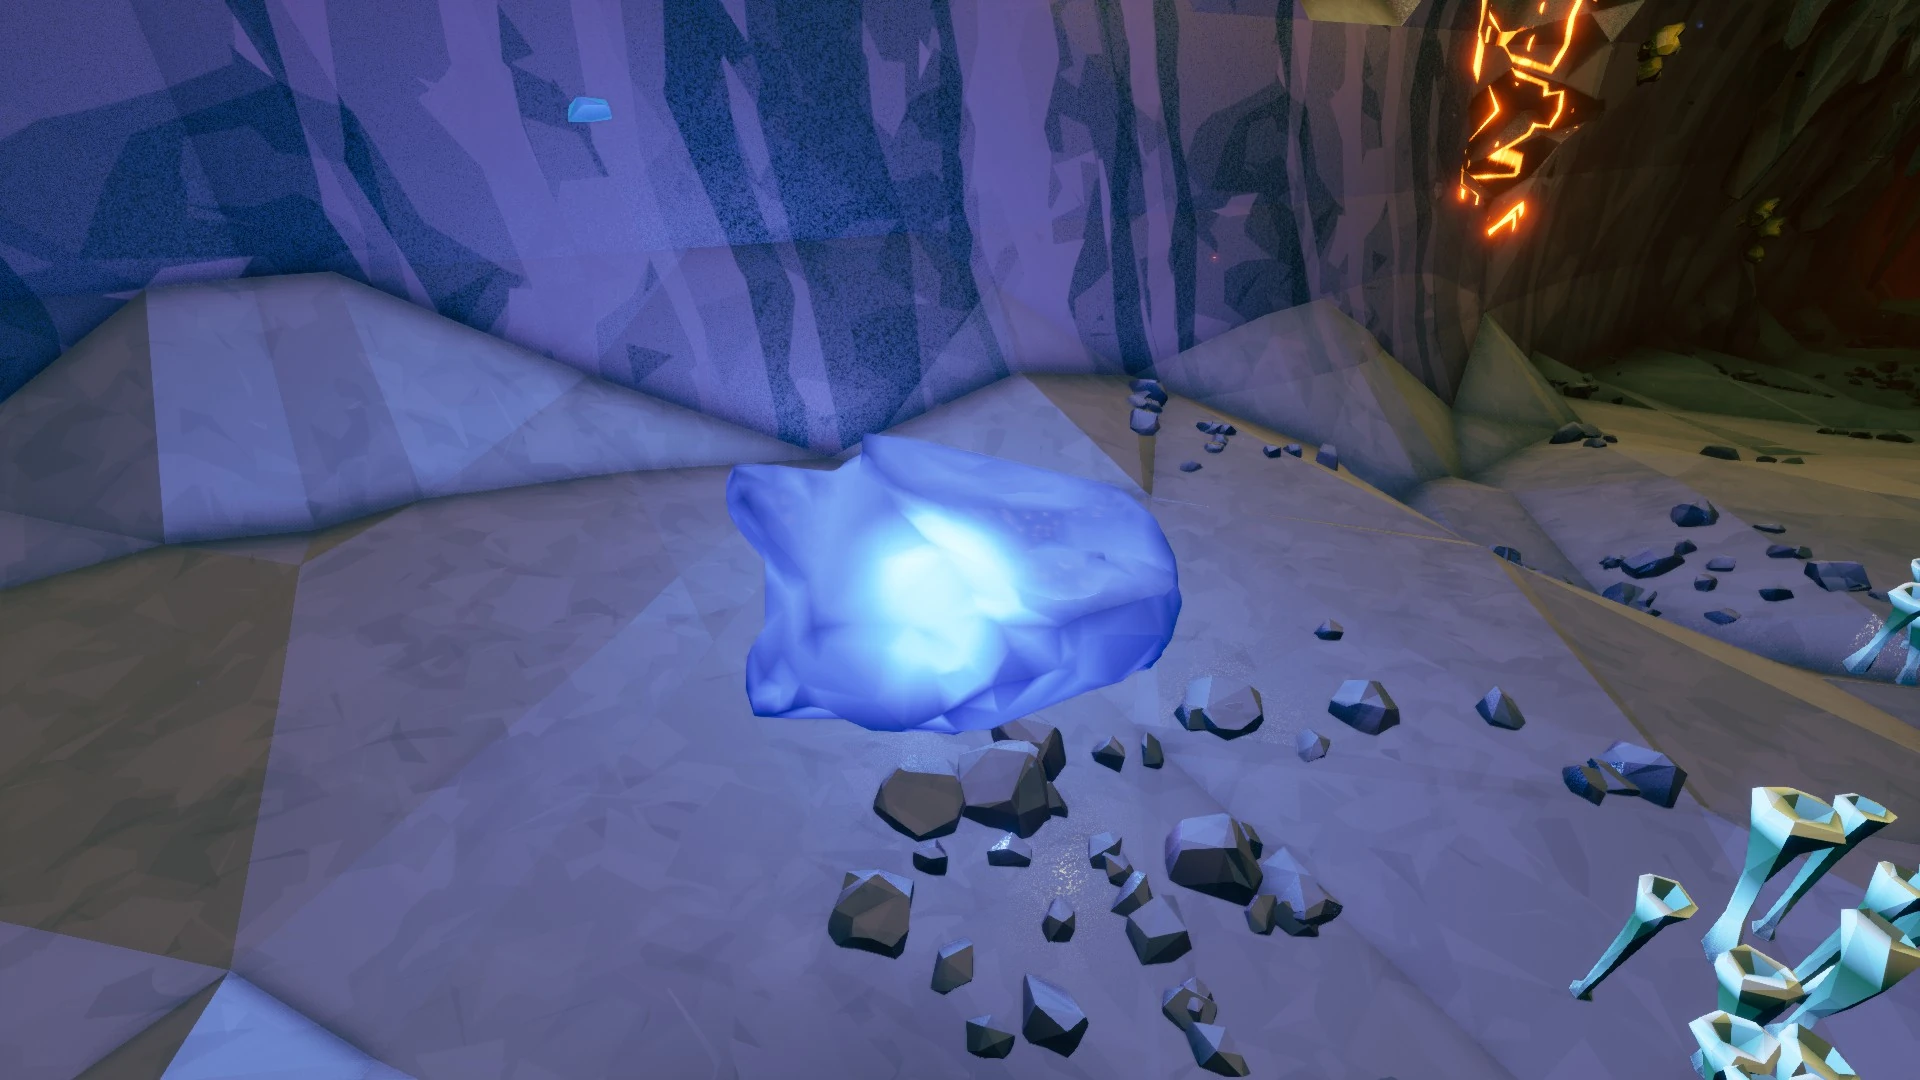
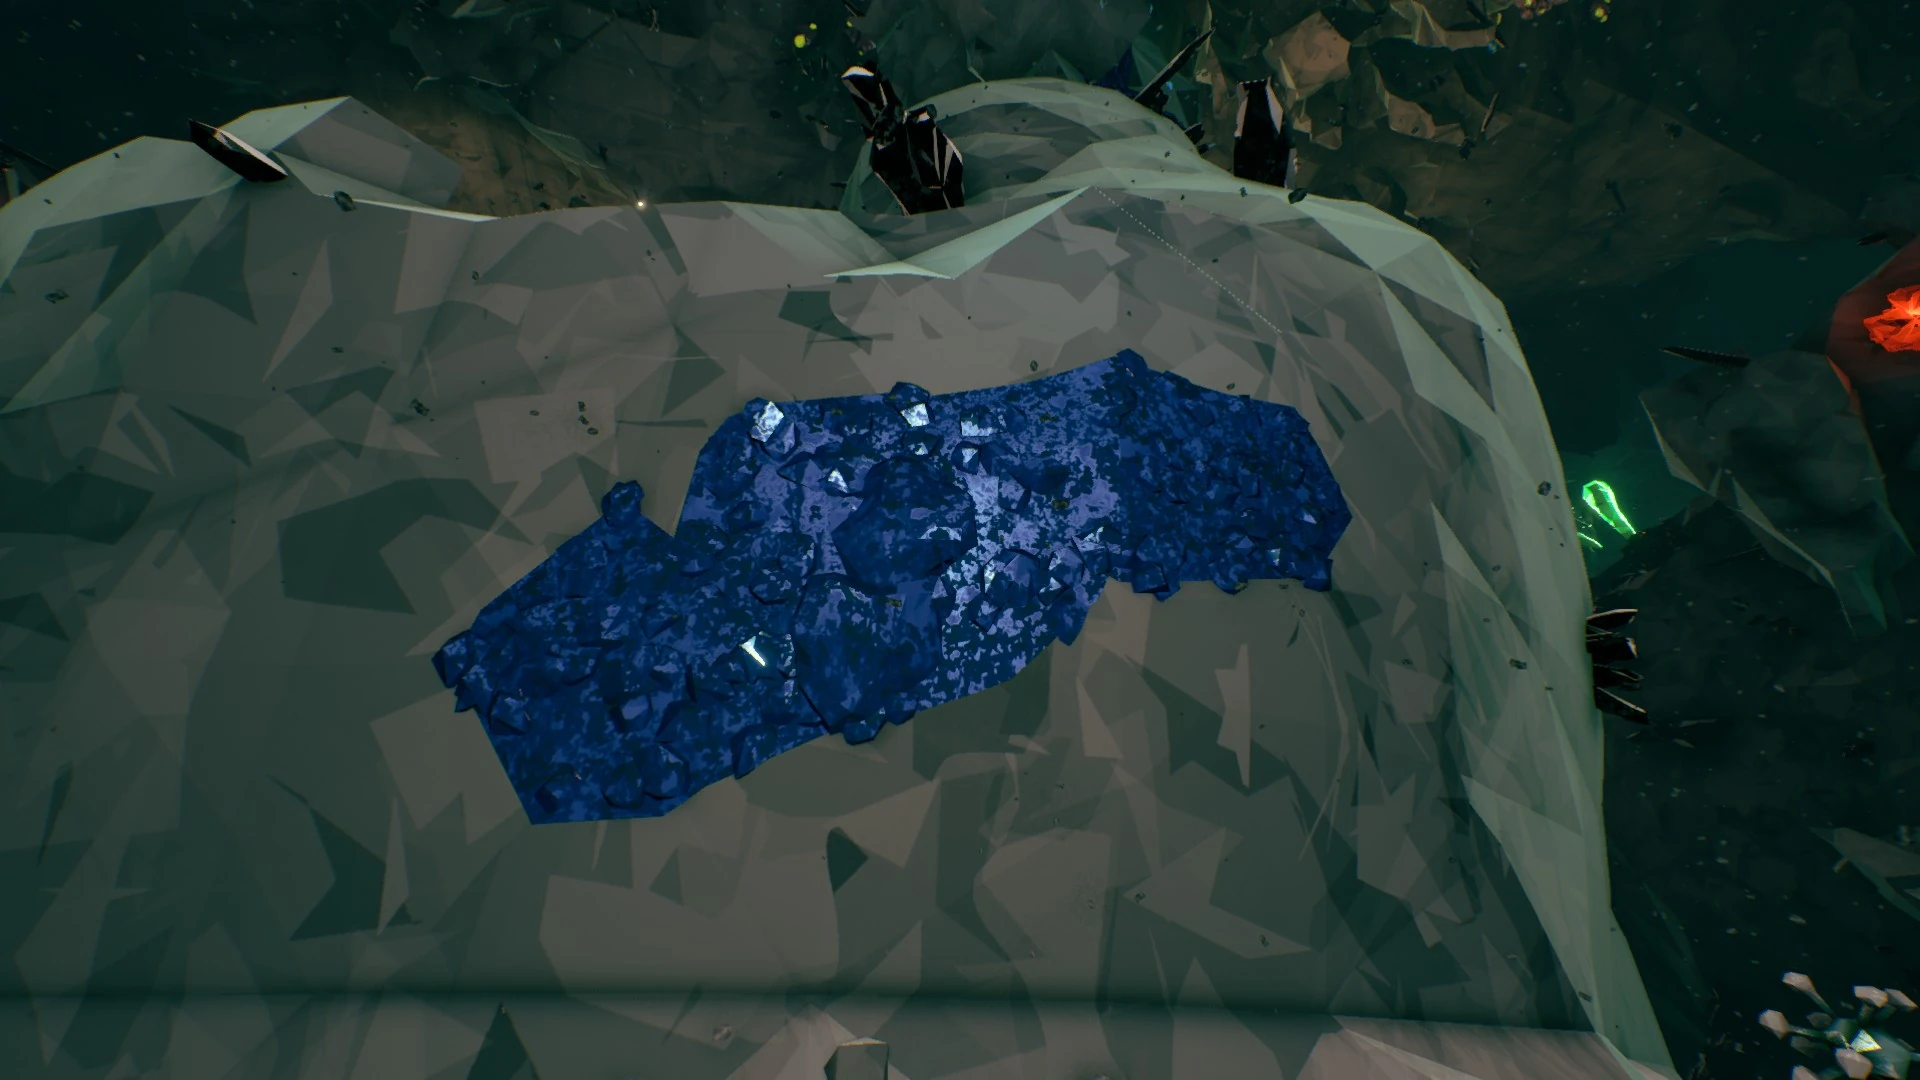
| + | Encountered solely in [[Point Extraction]] as the primary objective, '''Aquarq''' takes the form of large blue crystals embedded in the rock. It can be located via smaller blue crystal formations on the surface, as well as a faint blue glow if they're near the surface. |
||
| + | |- |
||
| + | | |
||
| + | <gallery widths="216px" heights="120px"> |
||
| + | File:Aquarq Chunk.jpg|Aquarq |
||
| + | File:Aquarq markings.jpg|Aquarq wall-markings |
||
| + | </gallery> |
||
| + | |} |
||
| + | {| style="display: inline-table;" |
||
| + | |- |
||
| + | | width="80px" | |
||
|- |
|- |
||
| − | | [[File:Aquarq_Chunk.jpg|thumb|none|Aquarq chunk]] || [[File:Aquarq_markings.jpg|thumb|none|Aquarq wall-markings]] |
||
|} |
|} |
||
| + | {| width="550px" style="display: inline-table; |
||
| − | |||
| + | |- style="text-align: left;" |
||
| − | ====[[File:Morkite icon.png|28px|frameless]] Morkite==== |
||
| + | ! |
||
| − | {{Main|Morkite}} |
||
| + | ====[[File:Morkite icon.png|45px|frameless]] <big>Morkite</big>==== |
||
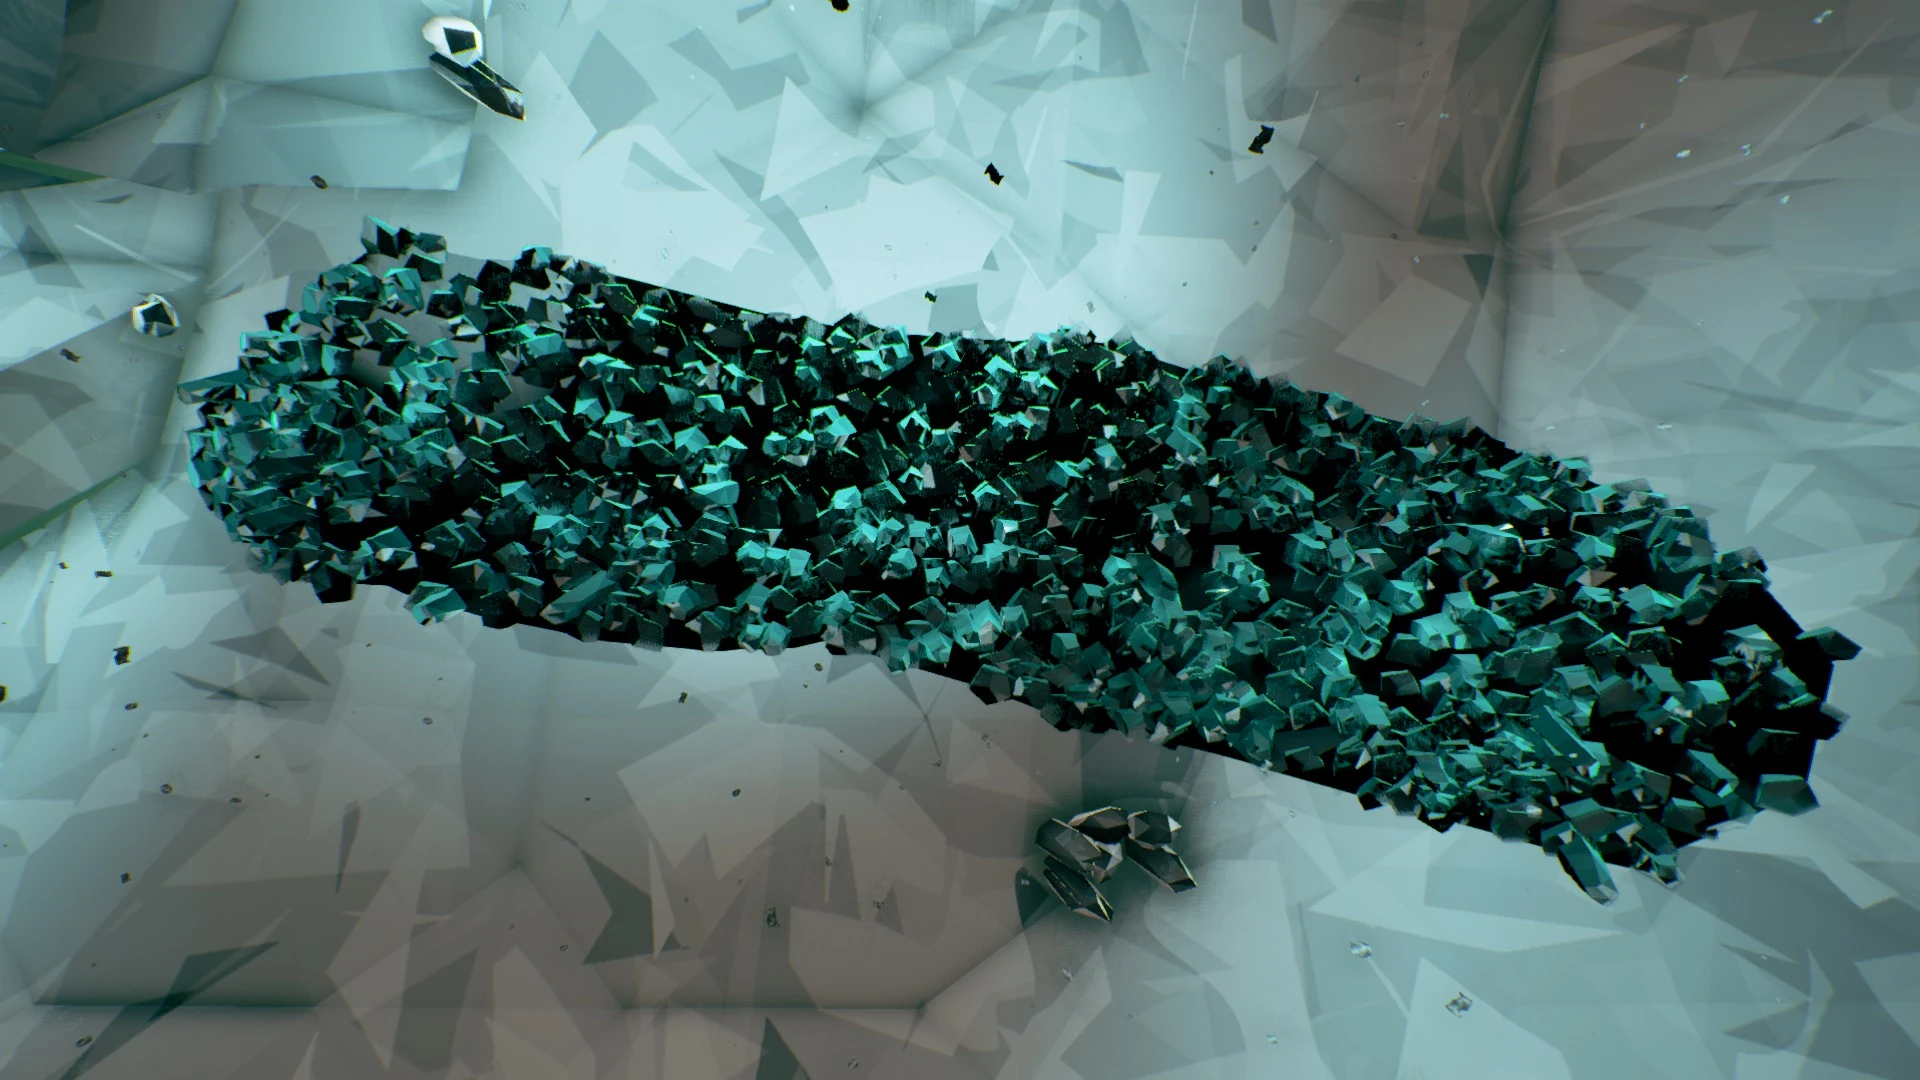
| − | A dark cyan-blue mineral found in wall surface veins, '''Morkite''' is the primary [[Missions|Mining Expedition]] objective, and only appears during these missions. The party will typically have to mine between 200 and 400 Morkite, depending on mission length and complexity. Once the quota has been filled, the [[M.U.L.E.]] will enable the recall function. |
||
| + | |- style="vertical-align: top;" |
||
| + | | height="215px" | {{Main|Morkite}} |
||
| + | A dark cyan-blue mineral found in wall surface veins, '''Morkite''' is the primary [[Mining Expedition]] objective, and only appears during these missions. The party will typically have to mine between 200 and 400 Morkite, depending on mission length and complexity. Once the quota has been filled, the [[M.U.L.E.]] will enable the recall function. |
||
Loose Morkite takes a roughly cuboid shape. |
Loose Morkite takes a roughly cuboid shape. |
||
| + | |- |
||
| + | | |
||
| + | <gallery widths="216px" heights="120px"> |
||
| + | File:Morkite.jpg|Morkite |
||
| + | </gallery> |
||
| + | |} |
||
| + | {| style="display: inline-table;" |
||
| + | |- |
||
| + | | width="80px" | |
||
| + | |- |
||
| + | |} |
||
| + | {| width="550px" style="display: inline-table; |
||
| + | |- style="text-align: left;" |
||
| + | ! |
||
| + | ====[[File:MinimuleLeg.png|45px|frameless]] <big>Mini-M.U.L.E. Leg</big>==== |
||
| + | |- style="vertical-align: top;" |
||
| + | | height="150px" | {{Main|Mini-M.U.L.E. Leg}} |
||
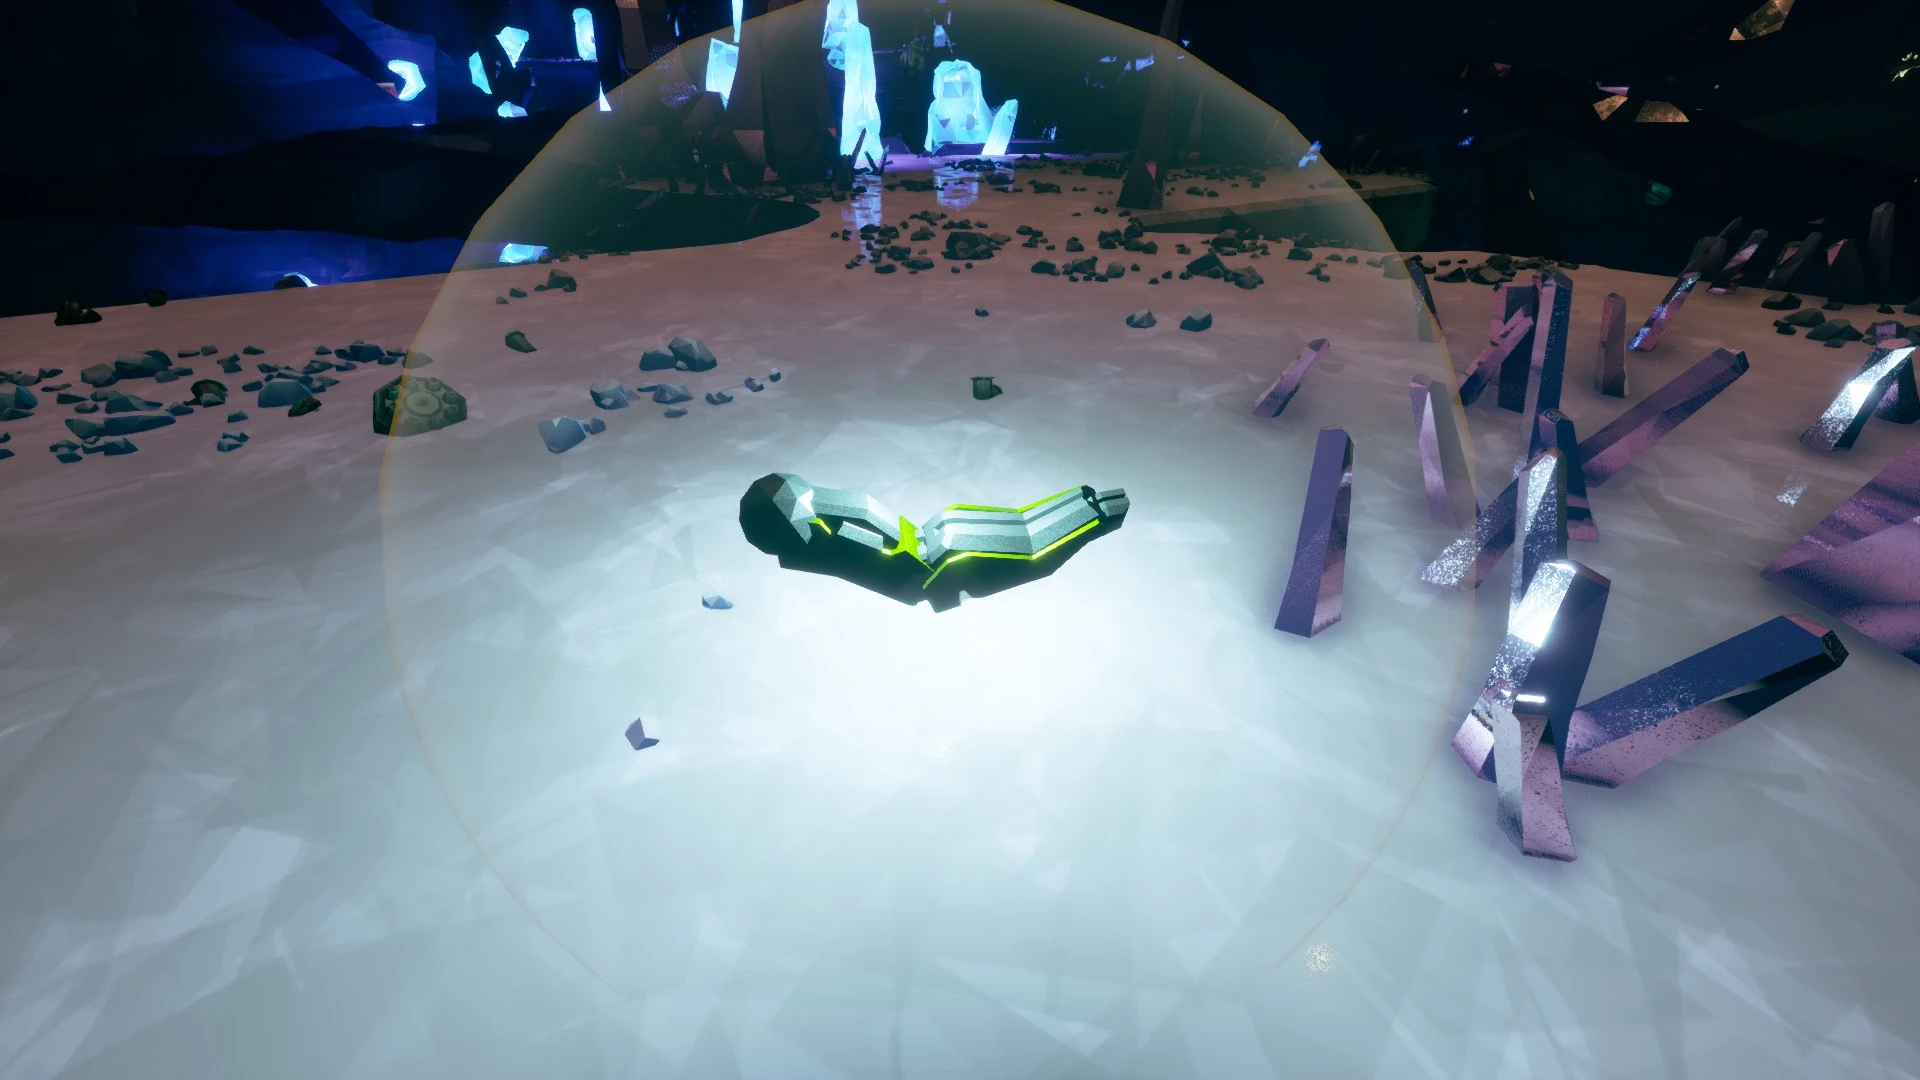
| + | Encountered solely in [[Salvage Operation]], '''Mini-M.U.L.E. Legs''' are used to repair 2 or 3 broken Mini-M.U.L.E.s. Four of them will generate slightly embedded in the ground around a nearby broken Mini-M.U.L.E. Three are needed to repair a Mini-M.U.L.E. They cannot be deposited. |
||
| + | |- |
||
| + | | |
||
| + | <gallery widths="216px" heights="120px"> |
||
| + | File:Mini mule leg.jpg|Mini-M.U.L.E. Leg |
||
| + | </gallery> |
||
| + | |} |
||
| + | {| style="display: inline-table;" |
||
| + | |- |
||
| + | | width="80px" | |
||
| + | |- |
||
| + | |} |
||
| + | {| width="550px" style="display: inline-table; |
||
| + | |- style="text-align: left;" |
||
| + | ! |
||
| + | ====[[File:Oilshale icon.png|45px|frameless]] <big>Oil Shale</big>==== |
||
| − | [[File:Morkite.jpg|thumb|none|Morkite vein]] |
||
| + | |- style="vertical-align: top;" |
||
| + | | height="150px" | {{Main|Oil Shale}} |
||
| + | Encountered solely in [[Escort Duty]], '''Oil Shale''' are used to refuel the [[Drilldozer]]. It has to be collected with the Fuel Canisters mining laser. It cannot be deposited. |
||
| + | |- |
||
| + | | |
||
| + | <gallery widths="216px" heights="120px"> |
||
| + | File:Oil Shale.jpg|Oil Shale |
||
| + | </gallery> |
||
| + | |} |
||
| + | {| style="display: inline-table;" |
||
| + | |- |
||
| + | | width="80px" | |
||
| + | |- |
||
| + | |} |
||
| + | {| width="550px" style="display: inline-table; |
||
| + | |- style="text-align: left;" |
||
| + | ! |
||
| − | ====[[File: |
+ | ====[[File:Ommoran icon.png|45px|frameless]] <big>Ommoran Heartstone Core</big>==== |
| + | |- style="vertical-align: top;" |
||
| − | {{Main|Mini-M.U.L.E. Leg}} |
||
| + | | height="150px" | {{Main|Ommoran Heartstone}} |
||
| − | Encountered solely in [[Missions|Salvage Operations]], '''Mini-M.U.L.E. Legs''' are used to repair 2 or 3 broken Mini-M.U.L.E.s. Several will generate slightly embedded in the ground around a nearby broken Mini-M.U.L.E. Three are needed to repair a Mini-M.U.L.E. They cannot be deposited. |
||
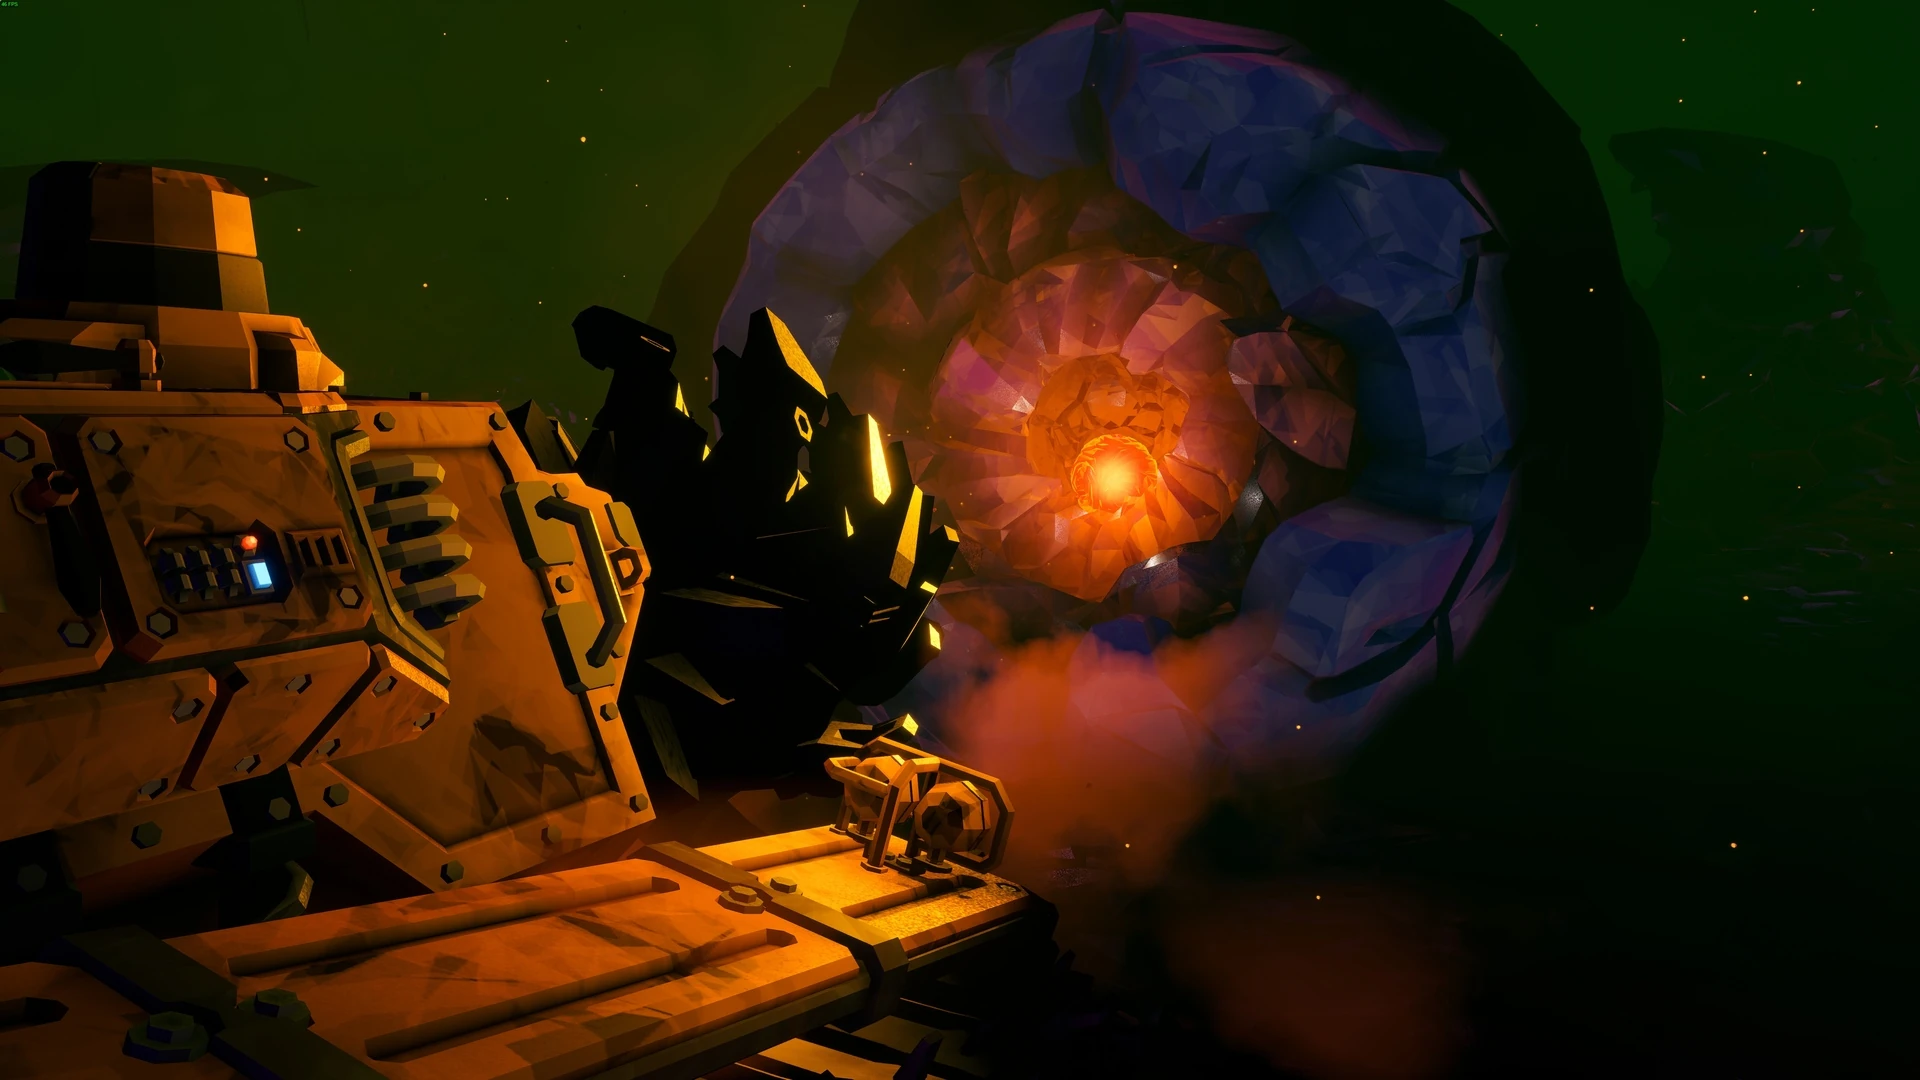
| + | Encountered in [[Escort Duty]], '''Ommoran Heartstone Core''' is the primary objective to be collected when the Drilldozer cracks the Ommoran Heartstone. |
||
| + | |- |
||
| + | | |
||
| + | <gallery widths="216px" heights="120px"> |
||
| + | File:Ommoran Heartstone Core.jpg|Ommoran Heartstone Core |
||
| + | </gallery> |
||
| + | |} |
||
| + | ===<big>Secondary Objectives</big>=== |
||
| − | [[File:Mini_mule_leg.jpg|thumb|none|A Mini-M.U.L.E. leg]] |
||
| + | These are not mission-critical, but will give a credit and XP bonus if collected before the end of the mission. |
||
| + | {| width="550px" style="display: inline-table; |
||
| − | ===Secondary Objectives=== |
||
| + | |- style="text-align: left;" |
||
| − | These are not mission-critical, but will give a nice credit and XP bonus if collected before the end of the mission. |
||
| + | ! |
||
| + | ====[[File:Fossil icon.png|45px|frameless]] <big>Alien Fossil</big>==== |
||
| + | |- style="vertical-align: top;" |
||
| + | | height="160px" | {{Main|Alien Fossil}} |
||
| + | A '''fossil''' of an [[wikipedia:Ammonoidea|Ammonite]] <nowiki/>that can be picked up from the wall. The secondary objective will usually require 10 of these to be collected. |
||
| + | |- |
||
| + | | |
||
| + | <gallery widths="216px" heights="120px"> |
||
| + | File:Fossil.jpg|Fossil |
||
| + | </gallery> |
||
| + | |} |
||
| + | {| style="display: inline-table;" |
||
| + | |- |
||
| + | | width="80px" | |
||
| + | |- |
||
| + | |} |
||
| + | {| width="550px" style="display: inline-table; |
||
| + | |- style="text-align: left;" |
||
| + | ! |
||
| + | ====[[File:Apoca bloom icon.png|45px|frameless]] <big>Apoca Bloom</big>==== |
||
| + | |- style="vertical-align: top;" |
||
| + | | height="160px" | {{Main|Apoca Bloom}} |
||
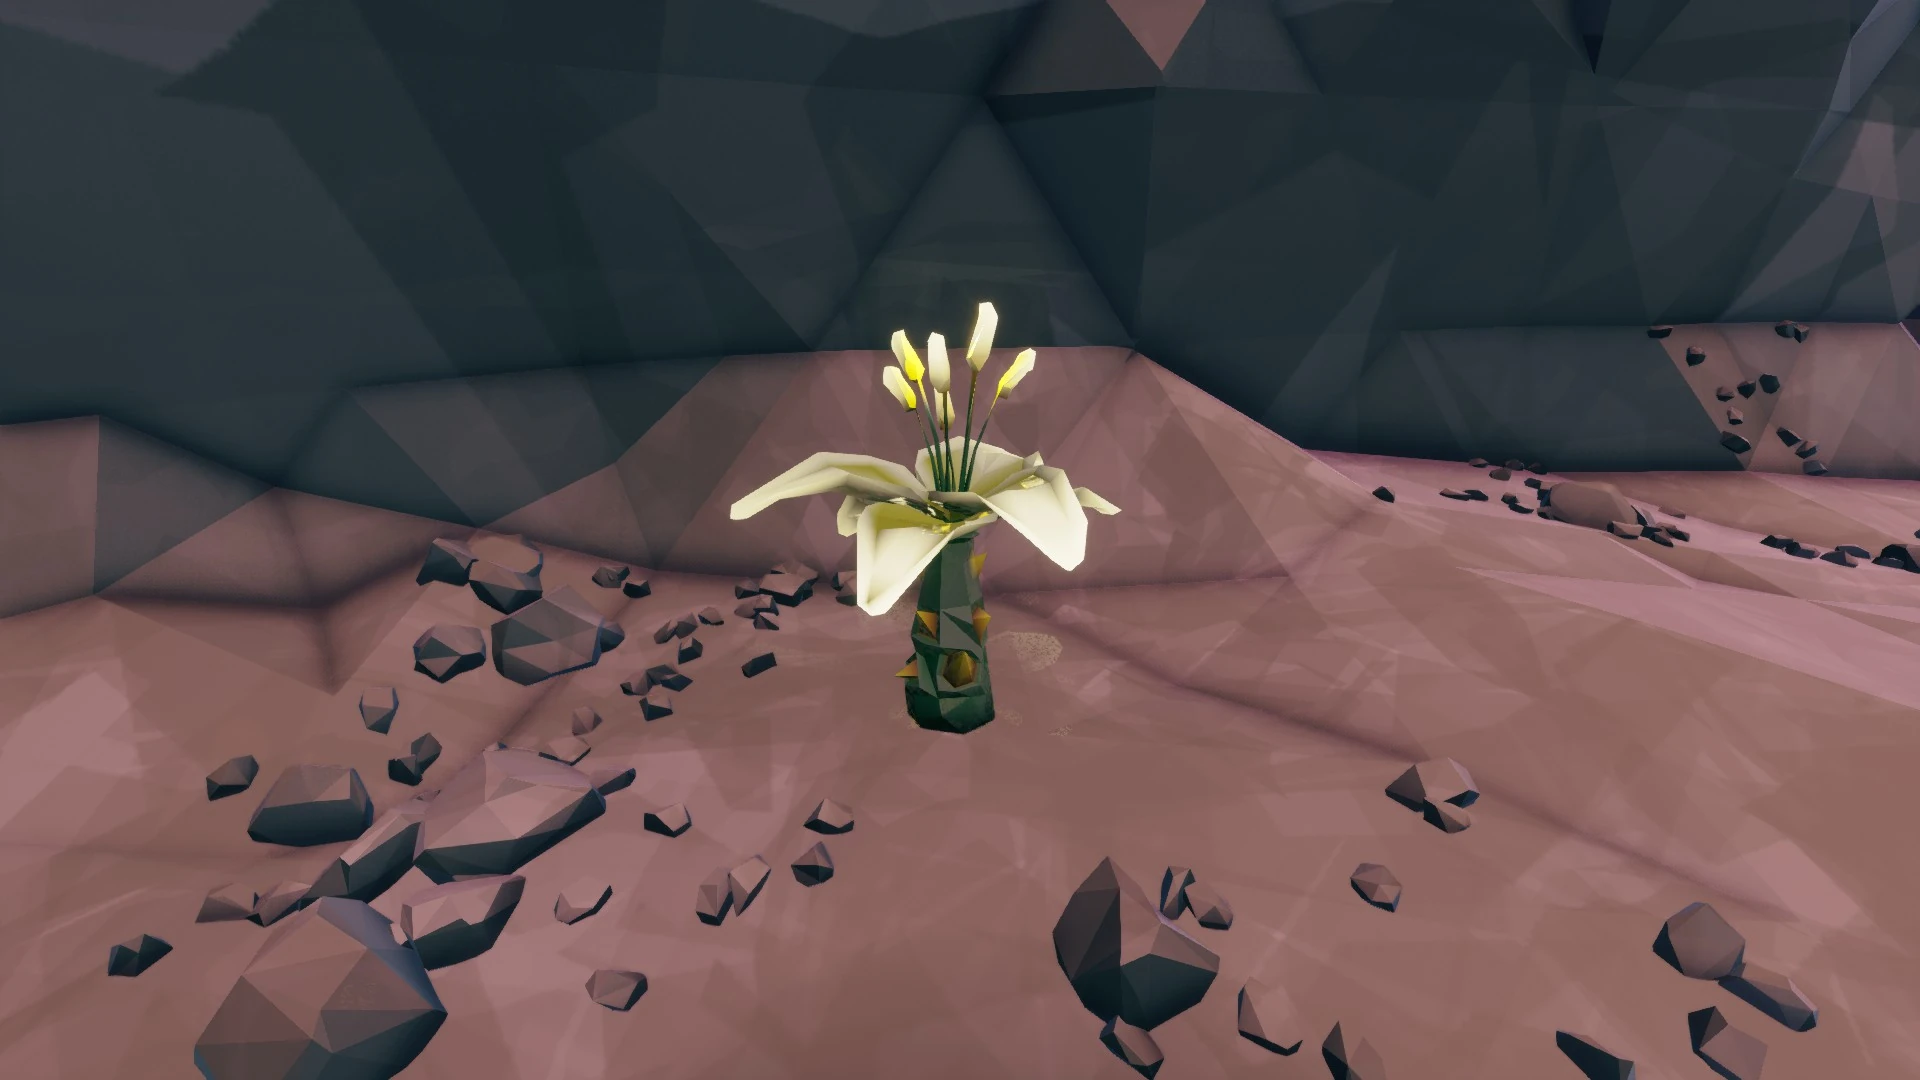
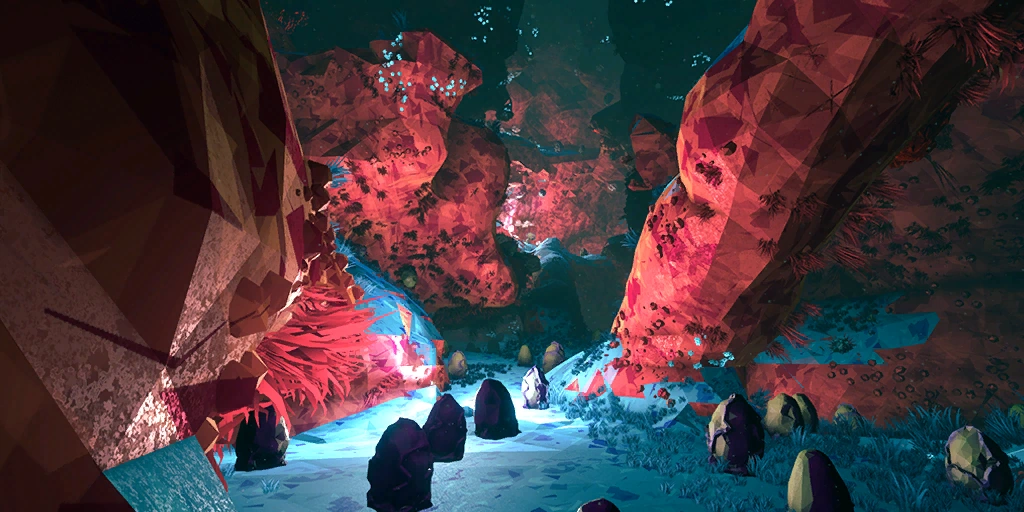
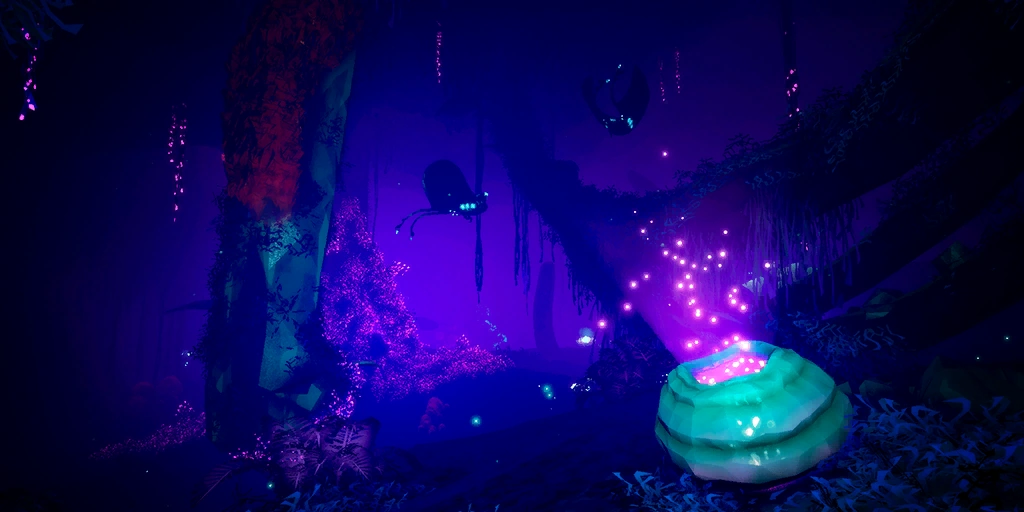
| + | '''Apoca Blooms''' are a secondary mission objective. They grow on the walls and floors of caves and tunnels, and must be collected to complete the secondary objective. Their petals are bioluminescent and can be seen in the darkness, making them easy to see at a distance. |
||
| + | |- |
||
| + | | |
||
| + | <gallery widths="216px" heights="120px"> |
||
| + | File:Apoca bloom.jpg|Apoca Bloom |
||
| + | </gallery> |
||
| + | |} |
||
| + | {| style="display: inline-table;" |
||
| + | |- |
||
| + | | width="80px" | |
||
| + | |- |
||
| + | |} |
||
| + | {| width="550px" style="display: inline-table; |
||
| + | |- style="text-align: left;" |
||
| + | ! |
||
| − | ====[[File: |
+ | ====[[File:Boolo cap icon.png|45px|frameless]] <big>Boolo Cap</big>==== |
| + | |- style="vertical-align: top;" |
||
| − | {{Main|Dystrum}} |
||
| + | | height="160px" | {{Main|Boolo Cap}} |
||
| + | '''Boolo Caps''' are a secondary mission objective. They grow on the walls and floors of caves and tunnels, and must be collected to complete the secondary objective. Their purple caps are bioluminescent and can be seen in the darkness, making them easy to see at a distance. |
||
| + | |- |
||
| + | | |
||
| + | <gallery widths="216px" heights="120px"> |
||
| + | File:Boloo cap.jpg|Boolo Cap |
||
| + | </gallery> |
||
| + | |} |
||
| + | {| style="display: inline-table;" |
||
| + | |- |
||
| + | | width="80px" | |
||
| + | |- |
||
| + | |} |
||
| + | {| width="550px" style="display: inline-table; |
||
| + | |- style="text-align: left;" |
||
| + | ! |
||
| + | ====[[File:Dystrum icon.png|45px|frameless]] <big>Dystrum</big>==== |
||
| + | |- style="vertical-align: top;" |
||
| + | | height="160px" | {{Main|Dystrum}} |
||
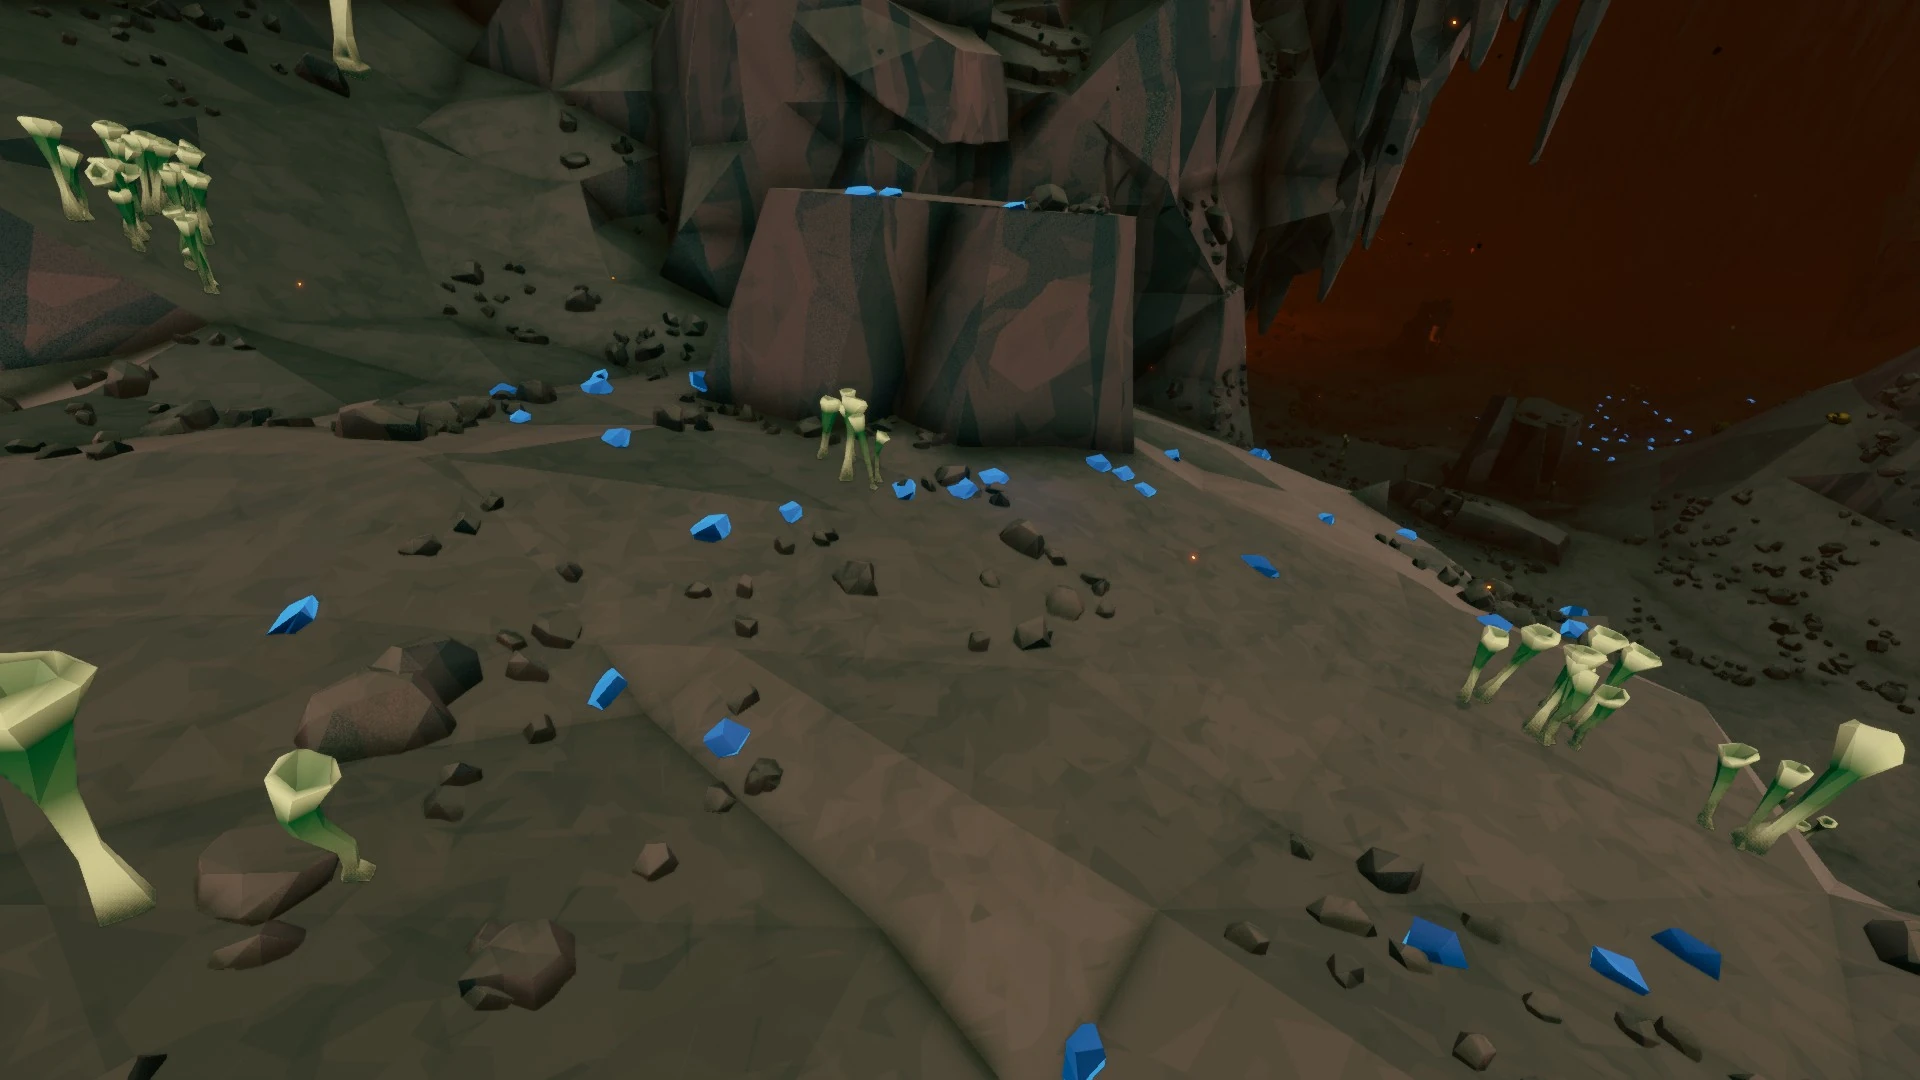
| + | A blue-tinted metallic mineral found in wall surface veins, '''Dystrum''' is a secondary objective resource exclusive to [[Point Extraction]] and [[On-site Refining]] missions. It is not as bright as other minerals when light shines on it, so you may have to make a few passes to find it all. |
||
| + | |- |
||
| + | | |
||
| + | <gallery widths="216px" heights="120px"> |
||
| + | File:Dystrum vein.jpg|Dystrum |
||
| + | </gallery> |
||
| + | |} |
||
| + | {| style="display: inline-table;" |
||
| + | |- |
||
| + | | width="80px" | |
||
| + | |- |
||
| + | |} |
||
| + | {| width="550px" style="display: inline-table; |
||
| + | |- style="text-align: left;" |
||
| + | ! |
||
| + | ====[[File:Ebonut icon.png|45px|frameless]] <big>Ebonut</big>==== |
||
| − | A blue-tinted metallic mineral found in wall surface veins, '''Dystrum''' is a secondary objective resource exclusive to Point Extraction missions. It is not as bright as other minerals when light shines on it, so you may have to make a few passes to find it all. |
||
| + | |- style="vertical-align: top;" |
||
| − | |||
| + | | height="160px" | {{Main|Ebonut}} |
||
| − | [[File:Dystrum_vein.jpg|thumb|none|Dystrum vein]] |
||
| + | The '''Ebonut''' is a type of [[Secondary Objective]] which can appear in any mission type. The [[Dwarves]] can collect Ebonuts to be rewarded with a bonus payout of Credits and Experience upon level completion. |
||
| + | |- |
||
| + | | |
||
| + | <gallery widths="216px" heights="120px"> |
||
| + | File:Ebonut.jpg|Ebonut |
||
| + | </gallery> |
||
| + | |} |
||
| + | {| style="display: inline-table;" |
||
| + | |- |
||
| + | | width="80px" | |
||
| + | |- |
||
| + | |} |
||
| + | {| width="550px" style="display: inline-table; |
||
| + | |- style="text-align: left;" |
||
| + | ! |
||
| + | ====[[File:Fleas icon.png|45px|frameless]] <big>Fester Flea</big>==== |
||
| + | |- style="vertical-align: top;" |
||
| + | | height="160px" | {{Main|Fester Flea}} |
||
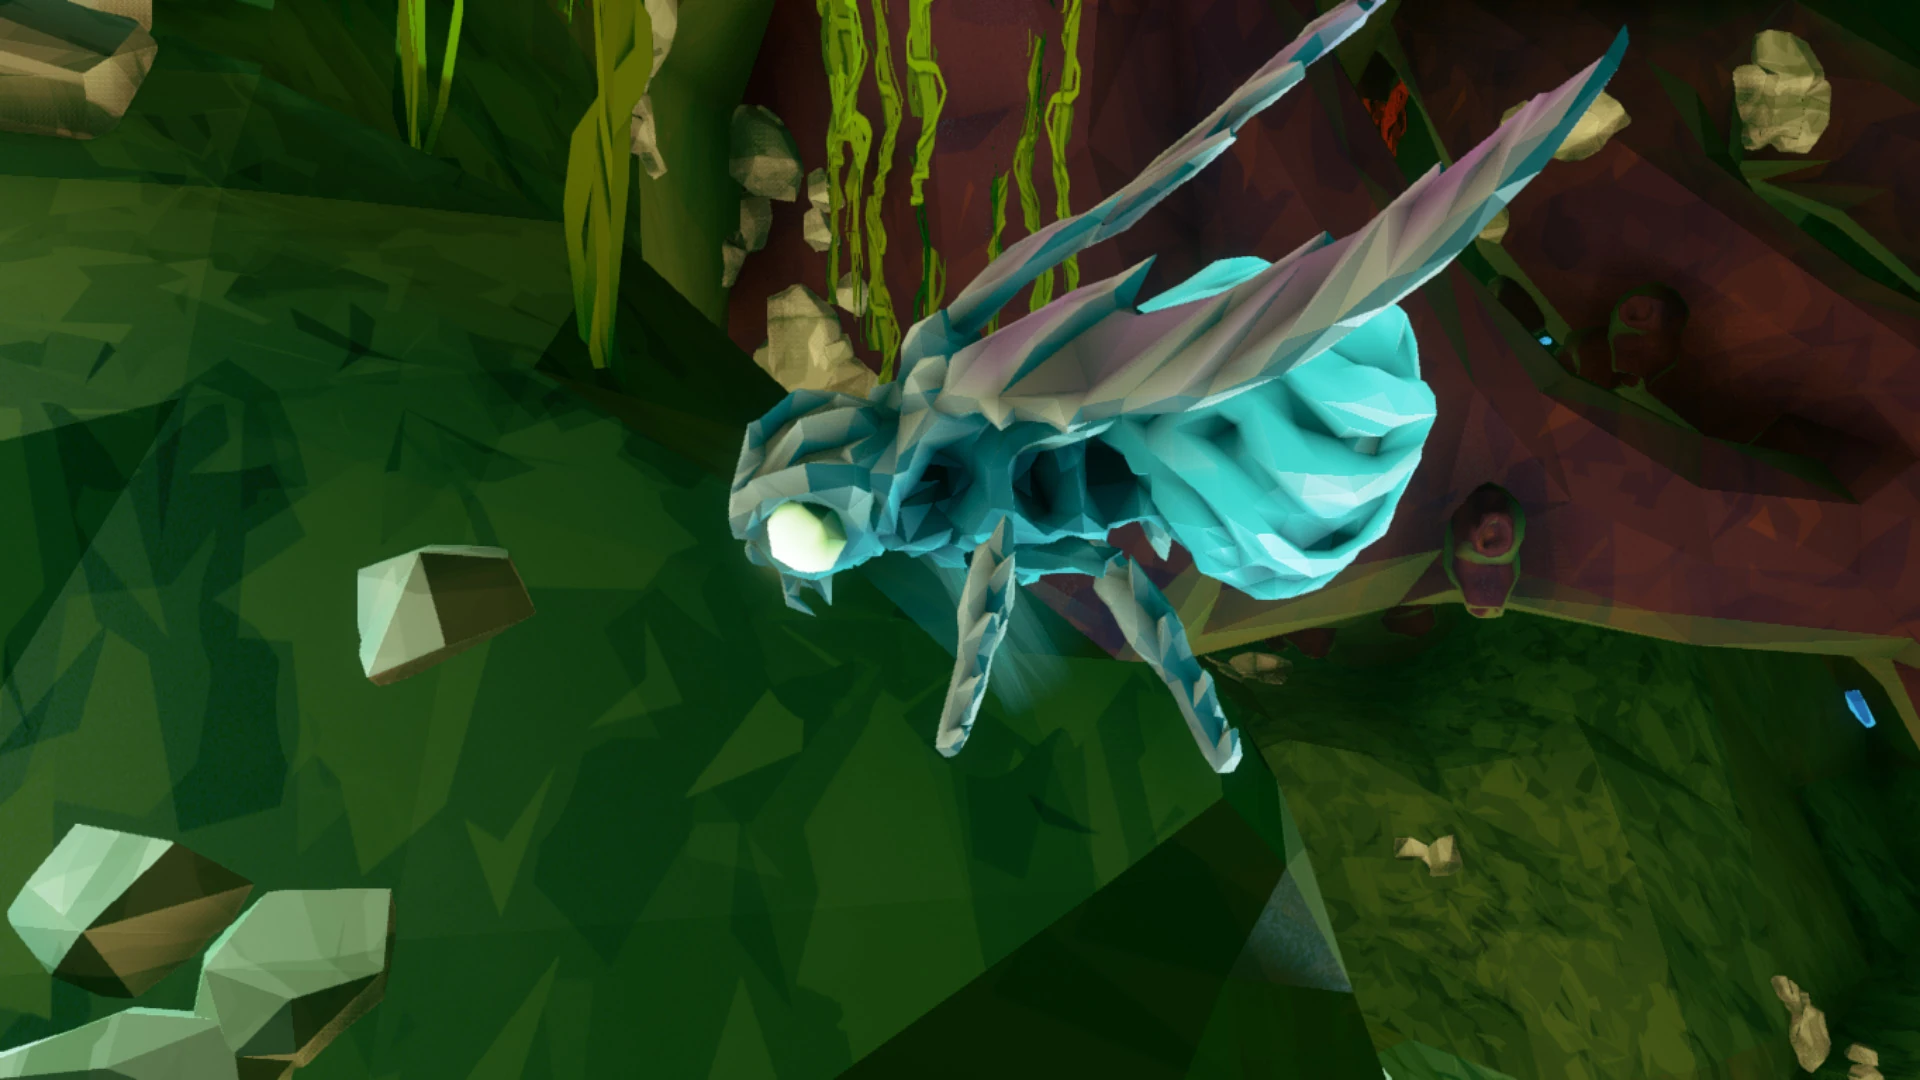
| + | The '''Fester Flea''' is a passive [[Creatures|Creature]] found on [[Hoxxes]]. It is only found in missions with the "Exterminate Fester Flea" [[Secondary Objective]]. The [[Dwarves]] can kill a set amount of Fester Fleas to be rewarded with a bonus payout of Credits and Experience upon mission completion. |
||
| + | |- |
||
| + | | |
||
| + | <gallery widths="216px" heights="120px"> |
||
| + | File:Fester flea closeup.jpg|Fester Flea |
||
| + | </gallery> |
||
| + | |} |
||
| + | {| style="display: inline-table;" |
||
| + | |- |
||
| + | | width="80px" | |
||
| + | |- |
||
| + | |} |
||
| + | {| width="550px" style="display: inline-table; |
||
| + | |- style="text-align: left;" |
||
| + | ! |
||
| − | ====[[File: |
+ | ====[[File:Gunk seed icon.png|45px|frameless]] <big>Gunk Seed</big>==== |
| + | |- style="vertical-align: top;" |
||
| − | {{Main|Alien Fossil}} |
||
| + | | height="160px" | {{Main|Gunk Seed}} |
||
| − | A '''fossil''' of an [[wikipedia:Ammonoidea|Ammonite]] <nowiki/>that can be picked up from the wall. The secondary objective will usually require 10 of these to be collected. |
||
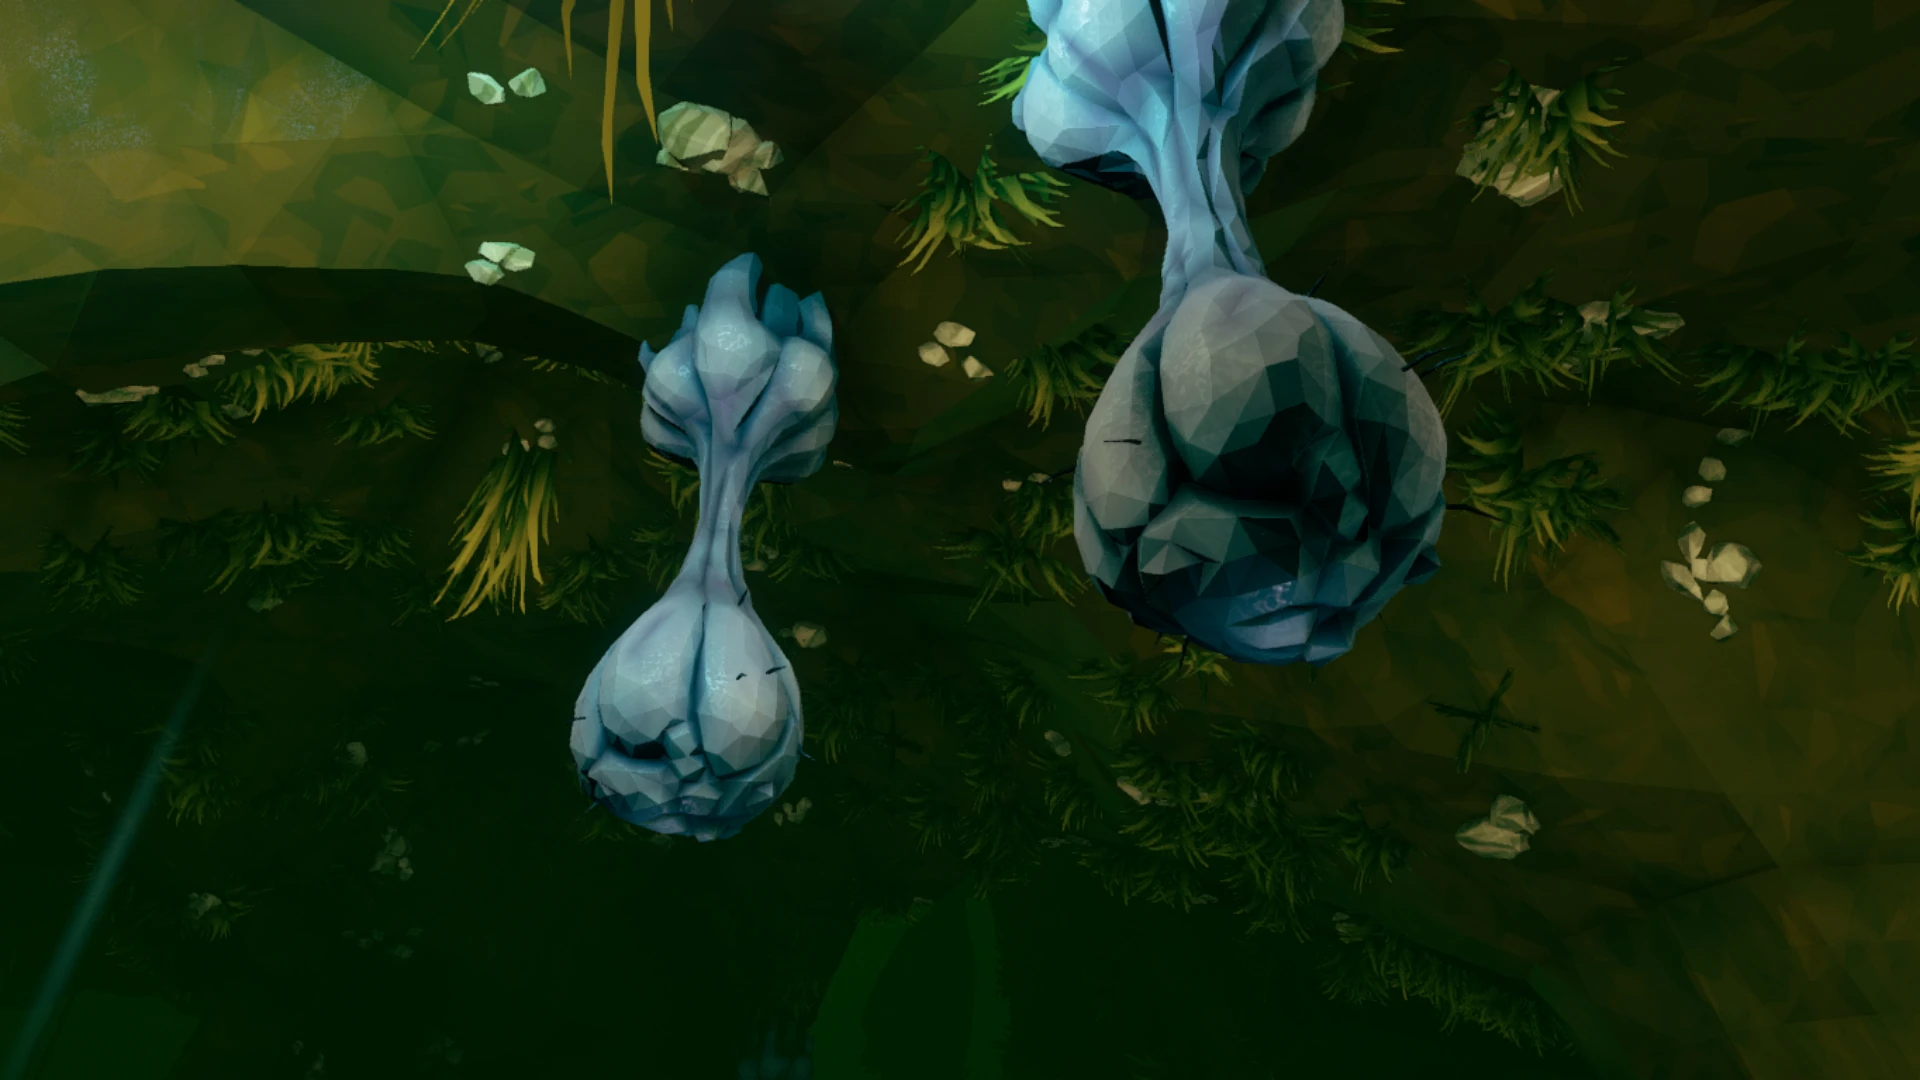
| + | The '''Gunk Seed''' is a type of [[Secondary Objective]] which can appear in any mission type or biome. The [[Dwarves]] can collect a set amount of Gunk Seeds to be rewarded with a bonus payout of Credits and Experience upon mission completion. |
||
| − | |||
| + | |- |
||
| − | [[File:Fossil.jpg|thumb|none|Fossil]] |
||
| + | | |
||
| + | <gallery widths="216px" heights="120px"> |
||
| + | File:Gunk seed hanging.jpg|Gunk Seed |
||
| + | </gallery> |
||
| + | |} |
||
| + | {| style="display: inline-table;" |
||
| + | |- |
||
| + | | width="80px" | |
||
| + | |- |
||
| + | |} |
||
| + | {| width="550px" style="display: inline-table; |
||
| + | |- style="text-align: left;" |
||
| + | ! |
||
| − | ====[[File:Hollomite icon.png| |
+ | ====[[File:Hollomite icon.png|45px|frameless]] <big>Hollomite</big>==== |
| + | |- style="vertical-align: top;" |
||
| − | {{Main|Hollomite}} |
||
| + | | height="160px" | {{Main|Hollomite}} |
||
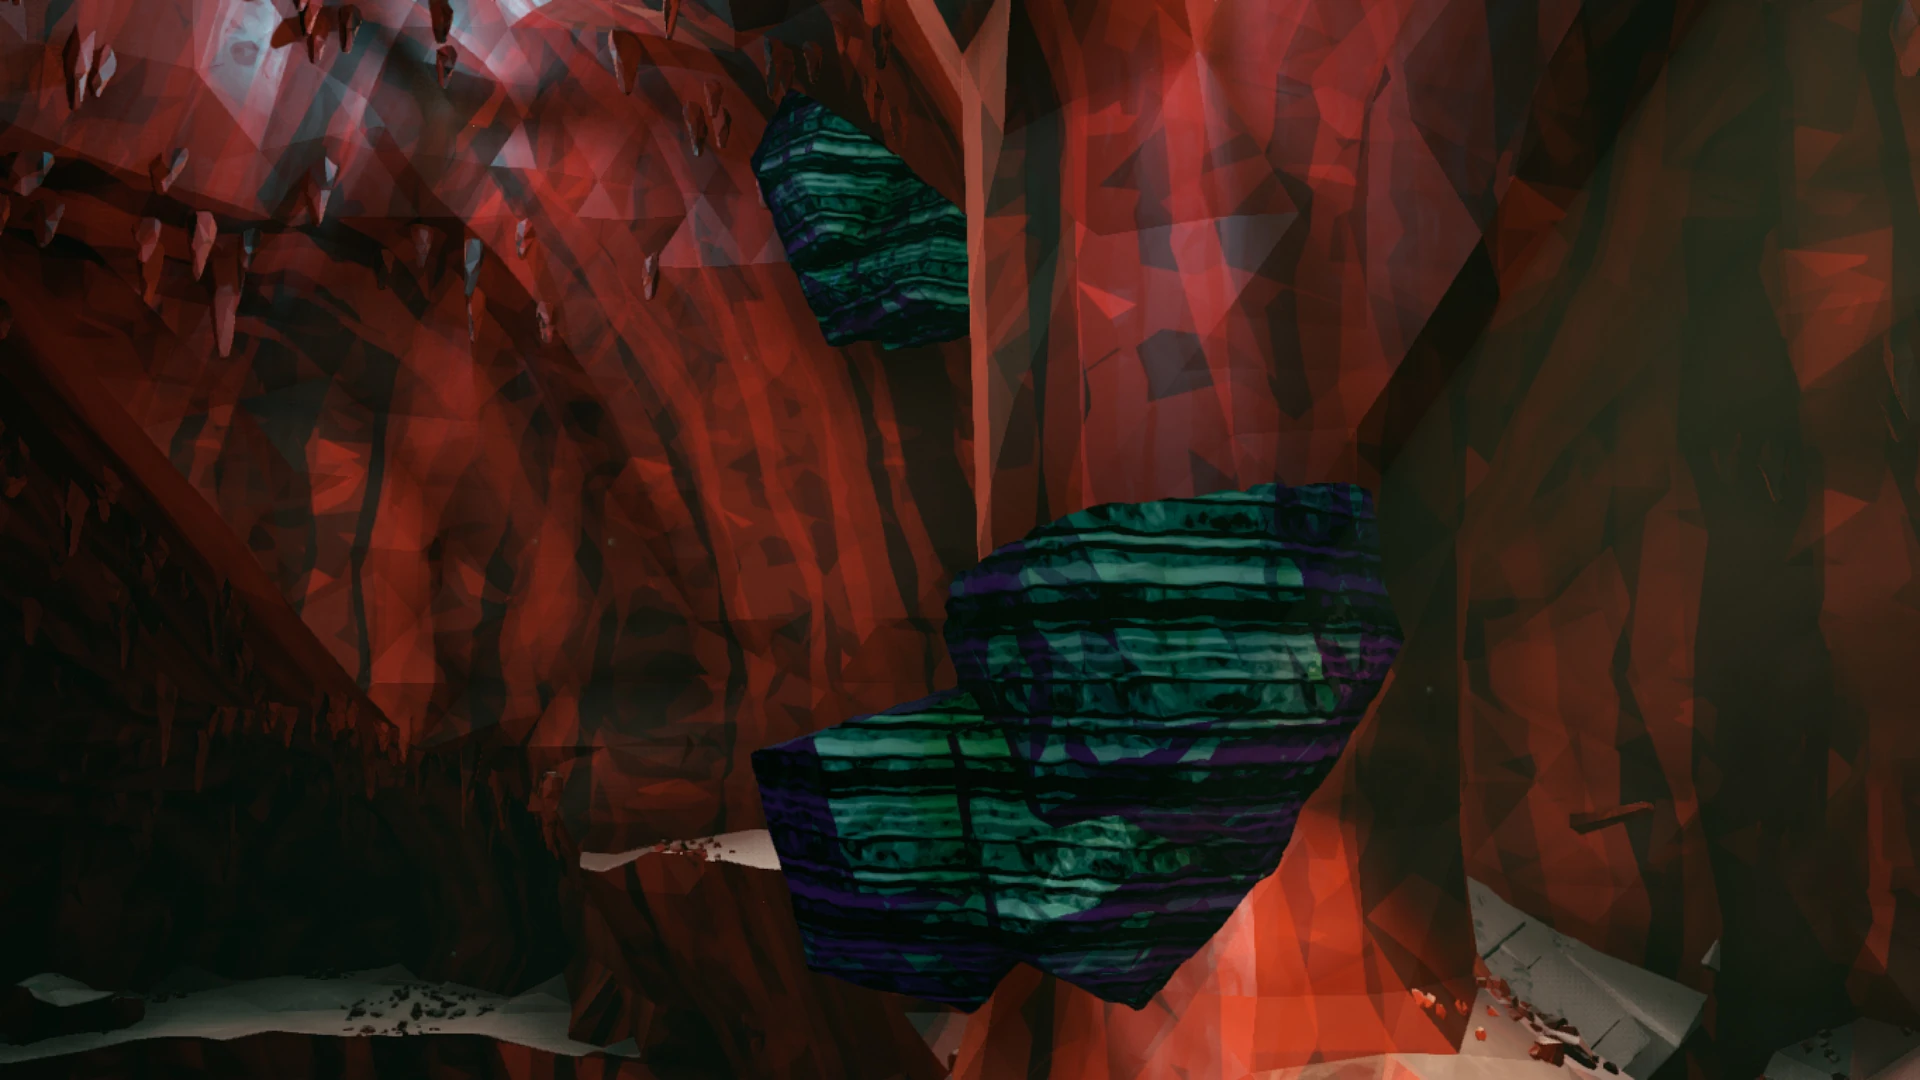
Found as dark blue-purple (almost black) formations within tunnels and caves, '''Hollomite''' is a secondary objective resource. The secondary objective will usually require 25 chunks to be deposited. |
Found as dark blue-purple (almost black) formations within tunnels and caves, '''Hollomite''' is a secondary objective resource. The secondary objective will usually require 25 chunks to be deposited. |
||
| + | |- |
||
| + | | |
||
| + | <gallery widths="216px" heights="120px"> |
||
| + | File:Hollomite.jpg|Hollomite |
||
| + | </gallery> |
||
| + | |} |
||
| − | [[File:Hollomite.jpg|thumb|none|Hollomite vein]] |
||
| − | ====[[File:Apoca_bloom_icon.png|28px|frameless]] Apoca Bloom==== |
||
| − | {{main|Apoca Bloom}} |
||
| − | '''Apoca Blooms''' are a secondary mission objective. They grow on the walls and floors of caves and tunnels, and must be collected to complete the secondary objective. Their petals are bioluminescent and can be seen in the darkness, making them easy to see at a distance. |
||
| − | |||
| − | [[File:Apoca_bloom.jpg|thumb|none|An Apoca Bloom]] |
||
| − | ====[[File:Boolo_cap_icon.png|28px|frameless]] Boolo Cap==== |
||
| − | {{main|Boolo Cap}} |
||
| − | |||
| − | '''Boolo Caps''' are a secondary mission objective. They grow on the walls and floors of caves and tunnels, and must be collected to complete the secondary objective. Their purple caps are bioluminescent and can be seen in the darkness, making them easy to see at a distance. |
||
| − | |||
| − | [[File:Boloo_cap.jpg|thumb|none|A Boolo Cap]] |
||
==Crafting/Upgrades== |
==Crafting/Upgrades== |
||
===Minerals=== |
===Minerals=== |
||
| Line 81: | Line 274: | ||
{| class="wikitable" style="text-align: center;" |
{| class="wikitable" style="text-align: center;" |
||
| − | ! rowspan="4" | [[File:Bismor_vein-cube.jpg| |
+ | ! rowspan="4" | [[File:Bismor_vein-cube.jpg|350px|frameless]] |
| − | ! colspan=" |
+ | ! colspan="4" | Located In |
|- |
|- |
||
| − | + | ! style="width: 180px;" |Abundant |
|
| − | |colspan=" |
+ | | colspan="3" style="width: 180px;" |Scarce |
|- |
|- |
||
| − | |[[File:Dense biozone preview.png| |
+ | |[[File:Dense biozone preview.png|225px|frameless]] |
| − | |[[File:Crystalline caverns preview.png| |
+ | |[[File:Crystalline caverns preview.png|225px|frameless]] |
| − | |[[File: |
+ | |[[File:Hollow bough preview.png|225px|frameless]] |
| + | |[[File:Salt pits preview.png|225px|frameless]] |
||
|- |
|- |
||
|[[Dense Biozone]] [[File:Dense biozone icon.png|28px|frameless]] |
|[[Dense Biozone]] [[File:Dense biozone icon.png|28px|frameless]] |
||
|[[Crystalline Caverns]] [[File:Crystalline caverns icon.png|28px|frameless]] |
|[[Crystalline Caverns]] [[File:Crystalline caverns icon.png|28px|frameless]] |
||
| + | |[[Hollow Bough]] [[File:Hollow bough icon.png|28px|frameless]] |
||
|[[Salt Pits]] [[File:Salt pits icon.png|28px|frameless]] |
|[[Salt Pits]] [[File:Salt pits icon.png|28px|frameless]] |
||
|} |
|} |
||
| Line 101: | Line 296: | ||
{| class="wikitable" style="text-align: center;" |
{| class="wikitable" style="text-align: center;" |
||
| − | ! rowspan="4" | [[File:Croppa_vein.jpg| |
+ | ! rowspan="4" | [[File:Croppa_vein.jpg|350px|frameless]] |
| − | ! colspan=" |
+ | ! colspan="3" | Located In |
|- |
|- |
||
| − | + | ! colspan="2" style="width: 180px;" |Abundant |
|
| − | |style="width: 180px;" |Scarce |
+ | | style="width: 180px;" |Scarce |
|- |
|- |
||
| − | |[[File: |
+ | |[[File:Azure weald preview.png|225px|frameless]] |
| − | |[[File: |
+ | |[[File:Fungus bogs preview.png|225px|frameless]] |
| + | |[[File:Magma core preview.png|225px|frameless]] |
||
|- |
|- |
||
| + | |[[Azure Weald]] [[File:Azure Weald icon.png|28px|frameless]] |
||
|[[Fungus Bogs]] [[File:Fungus bogs icon.png|28px|frameless]] |
|[[Fungus Bogs]] [[File:Fungus bogs icon.png|28px|frameless]] |
||
|[[Magma Core]] [[File:Magma core icon.png|28px|frameless]] |
|[[Magma Core]] [[File:Magma core icon.png|28px|frameless]] |
||
| Line 116: | Line 313: | ||
====[[File:Enor pearl icon.png|28px|frameless]] Enor Pearl==== |
====[[File:Enor pearl icon.png|28px|frameless]] Enor Pearl==== |
||
{{Main|Enor Pearl}} |
{{Main|Enor Pearl}} |
||
| − | '''Enor Pearls''' are glowing white pearls |
+ | '''Enor Pearls''' are glowing white pearls available as large spheroids embedded into the terrain or loose tetrahedral pieces. They can be located by the clusters of smaller pearls on the surface nearby. |
| + | |||
| + | Loose Enor Pearl takes a roughly tetrahedral shape. |
||
{| class="wikitable" style="text-align: center;" |
{| class="wikitable" style="text-align: center;" |
||
| − | ! rowspan="4" | [[File:Enor_Pearl.jpg| |
+ | ! rowspan="4" | [[File:Enor_Pearl.jpg|350px|frameless]] |
! colspan="3" | Located In |
! colspan="3" | Located In |
||
|- |
|- |
||
| − | + | ! colspan="2" style="width: 180px;" |Abundant |
|
| − | |style="width: 180px;" |Scarce |
+ | | style="width: 180px;" |Scarce |
|- |
|- |
||
| − | |[[File:Salt pits preview.png| |
+ | |[[File:Salt pits preview.png|225px|frameless]] |
| − | ||[[File:Sandblasted corridors preview.png| |
+ | ||[[File:Sandblasted corridors preview.png|225px|frameless]] |
| − | |[[File:Radioactive exclusion zone preview.png| |
+ | |[[File:Radioactive exclusion zone preview.png|225px|frameless]] |
|- |
|- |
||
|[[Salt Pits]] [[File:Salt pits icon.png|28px|frameless]] |
|[[Salt Pits]] [[File:Salt pits icon.png|28px|frameless]] |
||
| Line 139: | Line 338: | ||
{| class="wikitable" style="text-align: center;" |
{| class="wikitable" style="text-align: center;" |
||
| − | ! rowspan="4" | [[File:JadizChunk.jpg| |
+ | ! rowspan="4" | [[File:JadizChunk.jpg|350px|frameless]] |
| − | ! colspan=" |
+ | ! colspan="3" | Located In |
|- |
|- |
||
| − | + | ! colspan="2" style="width: 180px;" |Abundant |
|
|style="width: 180px;" |Scarce |
|style="width: 180px;" |Scarce |
||
|- |
|- |
||
| − | |[[File:Crystalline caverns preview.png| |
+ | |[[File:Crystalline caverns preview.png|225px|frameless]] |
| − | |[[File: |
+ | |[[File:Hollow bough preview.png|225px|frameless]] |
| + | |[[File:Fungus bogs preview.png|225px|frameless]] |
||
|- |
|- |
||
|[[Crystalline Caverns]] [[File:Crystalline caverns icon.png|28px|frameless]] |
|[[Crystalline Caverns]] [[File:Crystalline caverns icon.png|28px|frameless]] |
||
| + | |[[Hollow Bough]] [[File:Hollow bough icon.png|28px|frameless]] |
||
|[[Fungus Bogs]] [[File:Fungus bogs icon.png|28px|frameless]] |
|[[Fungus Bogs]] [[File:Fungus bogs icon.png|28px|frameless]] |
||
|} |
|} |
||
| Line 158: | Line 359: | ||
{| class="wikitable" style="text-align: center;" |
{| class="wikitable" style="text-align: center;" |
||
| − | ! rowspan="4" | [[File:Magnite.jpg| |
+ | ! rowspan="4" | [[File:Magnite.jpg|350px|frameless]] |
! colspan="3" | Located In |
! colspan="3" | Located In |
||
|- |
|- |
||
| − | + | ! colspan="2" style="width: 180px;" |Abundant |
|
| − | |style="width: 180px;" |Scarce |
+ | | style="width: 180px;" |Scarce |
|- |
|- |
||
| − | |[[File:Glacial strata preview.png| |
+ | |[[File:Glacial strata preview.png|225px|frameless]] |
| − | |[[File:Magma core preview.png| |
+ | |[[File:Magma core preview.png|225px|frameless]] |
| − | |[[File:Sandblasted corridors preview.png| |
+ | |[[File:Sandblasted corridors preview.png|225px|frameless]] |
|- |
|- |
||
|[[Glacial Strata]] [[File:Glacial strata icon.png|28px|frameless]] |
|[[Glacial Strata]] [[File:Glacial strata icon.png|28px|frameless]] |
||
| Line 178: | Line 379: | ||
{| class="wikitable" style="text-align: center;" |
{| class="wikitable" style="text-align: center;" |
||
| − | ! rowspan="4" | [[File:Umanite.jpg| |
+ | ! rowspan="4" | [[File:Umanite.jpg|350px|frameless]] |
| − | ! colspan=" |
+ | ! colspan="4" | Located In |
|- |
|- |
||
| − | + | ! style="width: 180px;" |Abundant |
|
| − | |colspan=" |
+ | | colspan="3" style="width: 180px;" |Scarce |
|- |
|- |
||
| − | |[[File:Radioactive exclusion zone preview.png| |
+ | |[[File:Radioactive exclusion zone preview.png|225px|frameless]] |
| − | |[[File: |
+ | |[[File:Azure weald preview.png|225px|frameless]] |
| − | |[[File: |
+ | |[[File:Dense biozone preview.png|225px|frameless]] |
| + | |[[File:Glacial strata preview.png|225px|frameless]] |
||
|- |
|- |
||
|[[Radioactive Exclusion Zone]] [[File:Radioactive exclusion zone icon.png|28px|frameless]] |
|[[Radioactive Exclusion Zone]] [[File:Radioactive exclusion zone icon.png|28px|frameless]] |
||
| + | |[[Azure Weald]] [[File:Azure Weald icon.png|28px|frameless]] |
||
|[[Dense Biozone]] [[File:Dense biozone icon.png|28px|frameless]] |
|[[Dense Biozone]] [[File:Dense biozone icon.png|28px|frameless]] |
||
|[[Glacial Strata]] [[File:Glacial strata icon.png|28px|frameless]] |
|[[Glacial Strata]] [[File:Glacial strata icon.png|28px|frameless]] |
||
|} |
|} |
||
| + | |||
===Hops=== |
===Hops=== |
||
Hops are used for crafting beers in the [[Abyss Bar]]. Each plant can appear with one to four branches with a product, with the exception of the [[Barley Bulb]] which always only has one bulb. |
Hops are used for crafting beers in the [[Abyss Bar]]. Each plant can appear with one to four branches with a product, with the exception of the [[Barley Bulb]] which always only has one bulb. |
||
| + | |||
| − | ====[[File:Barley bulb icon.png|28px|frameless]] Barley Bulb==== |
||
| + | {| width="550px" style="display: inline-table; |
||
| − | {{Main|Barley Bulb}} |
||
| + | |- style="text-align: left;" |
||
| − | '''Barley Bulb''' is an ingredient used to create [[Abyss_Bar#Today.27s_Special|Today's Special]] drinks or acquire Beer Licenses in the Abyss Bar. |
||
| + | ! |
||
| − | {|class="wikitable" style="text-align: center;" |
||
| + | ====[[File:Barley bulb icon.png|45px|frameless]] <big>Barley Bulb</big>==== |
||
| + | |- style="vertical-align: top;" |
||
| + | | height="100px" | {{Main|Barley Bulb}} |
||
| + | '''Barley Bulb''' is an ingredient used to create [[Abyss_Bar#Today.27s_Special|Today's Special]] drinks or acquire Today's Special's Beer License in the Abyss Bar. |
||
| + | |- |
||
| + | | |
||
| + | <gallery widths="216px" heights="120px"> |
||
| + | File:Barley bulb.jpg|Barley Bulb |
||
| + | </gallery> |
||
| + | |} |
||
| + | {| style="display: inline-table;" |
||
| + | |- |
||
| + | | width="80px" | |
||
|- |
|- |
||
| − | ! [[File:Barley bulb.jpg|180px]] |
||
| − | ! [[File:Barley bulb icon.png|120px]] |
||
|} |
|} |
||
| + | {| width="550px" style="display: inline-table; |
||
| + | |- style="text-align: left;" |
||
| + | ! |
||
| − | ====[[File:Malt star icon.png| |
+ | ====[[File:Malt star icon.png|45px|frameless]] <big>Malt Star</big>==== |
| + | |- style="vertical-align: top;" |
||
| + | | height="100px" | {{Main|Malt Star}} |
||
'''Malt Star''' is an ingredient used to create [[Abyss_Bar#Craft.28able.29_Beer|Craftable]] drinks or acquire Beer Licenses in the Abyss Bar. |
'''Malt Star''' is an ingredient used to create [[Abyss_Bar#Craft.28able.29_Beer|Craftable]] drinks or acquire Beer Licenses in the Abyss Bar. |
||
| − | {{Main|Malt Star}} |
||
| − | {|class="wikitable" style="text-align: center;" |
||
|- |
|- |
||
| + | | |
||
| − | ! [[File:Malt star.jpg|180px]] |
||
| + | <gallery widths="216px" heights="120px"> |
||
| − | ! [[File:Malt star icon.png|120px]] |
||
| + | File:Malt star.jpg|Malt Star |
||
| + | </gallery> |
||
|} |
|} |
||
| + | {{clear}} |
||
| − | |||
| + | {| width="550px" style="display: inline-table; |
||
| − | ====[[File:Starch nut icon.png|28px|frameless]] Starch Nut==== |
||
| + | |- style="text-align: left;" |
||
| − | '''Starch Nut''' is an ingredient used to create [[Abyss_Bar#Craft.28able.29_Beer|Craftable]] drinks or acquire Beer Licenses in the Abyss Bar. |
||
| + | ! |
||
| − | {{Main|Starch Nut}} |
||
| + | ====[[File:Starch nut icon.png|45px|frameless]] <big>Starch Nut</big>==== |
||
| − | {|class="wikitable" style="text-align: center;" |
||
| + | |- style="vertical-align: top;" |
||
| + | | height="100px" | {{Main|Starch Nut}} |
||
| + | '''Starch Nut''' is an ingredient used to create [[Abyss_Bar#Craft.28able.29_Beer|Craftable]] drinks or acquire Beer Licenses in the Abyss Bar. It is the most common beer ingredient. |
||
|- |
|- |
||
| + | | |
||
| − | ! [[File:Starch nut.jpg|180px]] |
||
| + | <gallery widths="216px" heights="120px"> |
||
| − | ! [[File:Starch nut icon.png|120px]] |
||
| + | File:Starch nut.jpg|Starch Nut |
||
| + | </gallery> |
||
|} |
|} |
||
| + | {| style="display: inline-table;" |
||
| − | |||
| − | ====[[File:Yeast cone icon.png|28px|frameless]] Yeast Cone==== |
||
| − | '''Yeast Cone''' is an ingredient used to create [[Abyss_Bar#Craft.28able.29_Beer|Craftable]] drinks or acquire Beer Licenses in the Abyss Bar. |
||
| − | {{Main|Yeast Cone}} |
||
| − | {|class="wikitable" style="text-align: center;" |
||
|- |
|- |
||
| + | | width="80px" | |
||
| − | ! [[File:Yeast cone.jpg|180px]] |
||
| + | |- |
||
| − | ! [[File:Yeast cone icon.png|120px]] |
||
| + | |} |
||
| + | {| width="550px" style="display: inline-table; |
||
| + | |- style="text-align: left;" |
||
| + | ! |
||
| + | ====[[File:Yeast cone icon.png|45px|frameless]] <big>Yeast Cone</big>==== |
||
| + | |- style="vertical-align: top;" |
||
| + | | height="100px" | {{Main|Yeast Cone}} |
||
| + | '''Yeast Cone''' is an ingredient used to create [[Abyss_Bar#Craft.28able.29_Beer|Craftable]] drinks or acquire Beer Licenses in the Abyss Bar. It is fairly rare. |
||
| + | |- |
||
| + | | |
||
| + | <gallery widths="216px" heights="120px"> |
||
| + | File:Yeast cone.jpg|Yeast Cone |
||
| + | </gallery> |
||
|} |
|} |
||
| Line 233: | Line 467: | ||
These resources are not essential to mission completion, but are nevertheless important to gameplay. They do not carry over between missions, and are converted into gold and/or XP at the end of the mission. |
These resources are not essential to mission completion, but are nevertheless important to gameplay. They do not carry over between missions, and are converted into gold and/or XP at the end of the mission. |
||
| + | {| width="550px" style="display: inline-table; |
||
| − | ====[[File:Bittergem icon.png|28px|frameless]] Bittergem==== |
||
| + | |- style="text-align: left;" |
||
| − | {{Main|Bittergem}} |
||
| + | ! |
||
| − | A brilliant magenta mineral only available as massive chunks embedded into the terrain, '''Bittergem''' can be found by looking for clusters of magenta crystals on the surfaces nearby. Once extracted, the chunk can be deposited into the M.U.L.E. and will be worth a very healthy amount of credits at the end of the mission. |
||
| + | ====[[File:Nitra icon.png|45px|frameless]] <big>Nitra</big>==== |
||
| + | |- style="vertical-align: top;" |
||
| + | | height="160px" | {{Main|Nitra}} |
||
| + | A bright red mineral found in wall surface veins, '''Nitra''' is used to call in resupply pods. It costs 80 Nitra per pod, and each resupply pod has four supply racks, each restoring 50% health and ammo to the user by default. |
||
| + | Loose Nitra takes a roughly tetrahedral shape. |
||
| − | It is quite rare, only spawning with a 1/21 chance. |
||
| − | |||
| − | {| |
||
|- |
|- |
||
| + | | |
||
| − | | [[File:Bittergem.jpg|none|thumb|Bittergem]] || [[File:Bittergem_markings.jpg|thumb|none|Bittergem wall-markings]] |
||
| + | <gallery widths="216px" heights="120px"> |
||
| + | File:Nitra.jpg|Nitra vein |
||
| + | </gallery> |
||
|} |
|} |
||
| + | {| style="display: inline-table;" |
||
| − | |||
| + | |- |
||
| − | ====[[File:Gold icon.png|28px|frameless]] [[File:Compressed gold icon.png|28px|frameless]] Gold==== |
||
| + | | width="80px" | |
||
| − | {{Main|Gold}} |
||
| + | |- |
||
| − | A lustrous metal found in wall surface veins and embedded into the terrain as massive chunks, '''Gold''''s primary function is to provide a boost to credits earned when extracted. Wall veins are usually easy to spot, but massive chunks can be found embedded into the rock. Look for flakes of gold on the walls and floor to find them. Each chunk is worth 150-250 units of gold. |
||
| + | |} |
||
| + | {| width="550px" style="display: inline-table; |
||
| + | |- style="text-align: left;" |
||
| + | ! |
||
| + | ====[[File:Red sugar icon.png|45px|frameless]] <big>Red Sugar</big>==== |
||
| + | |- style="vertical-align: top;" |
||
| + | | height="160px" | {{Main|Red Sugar}} |
||
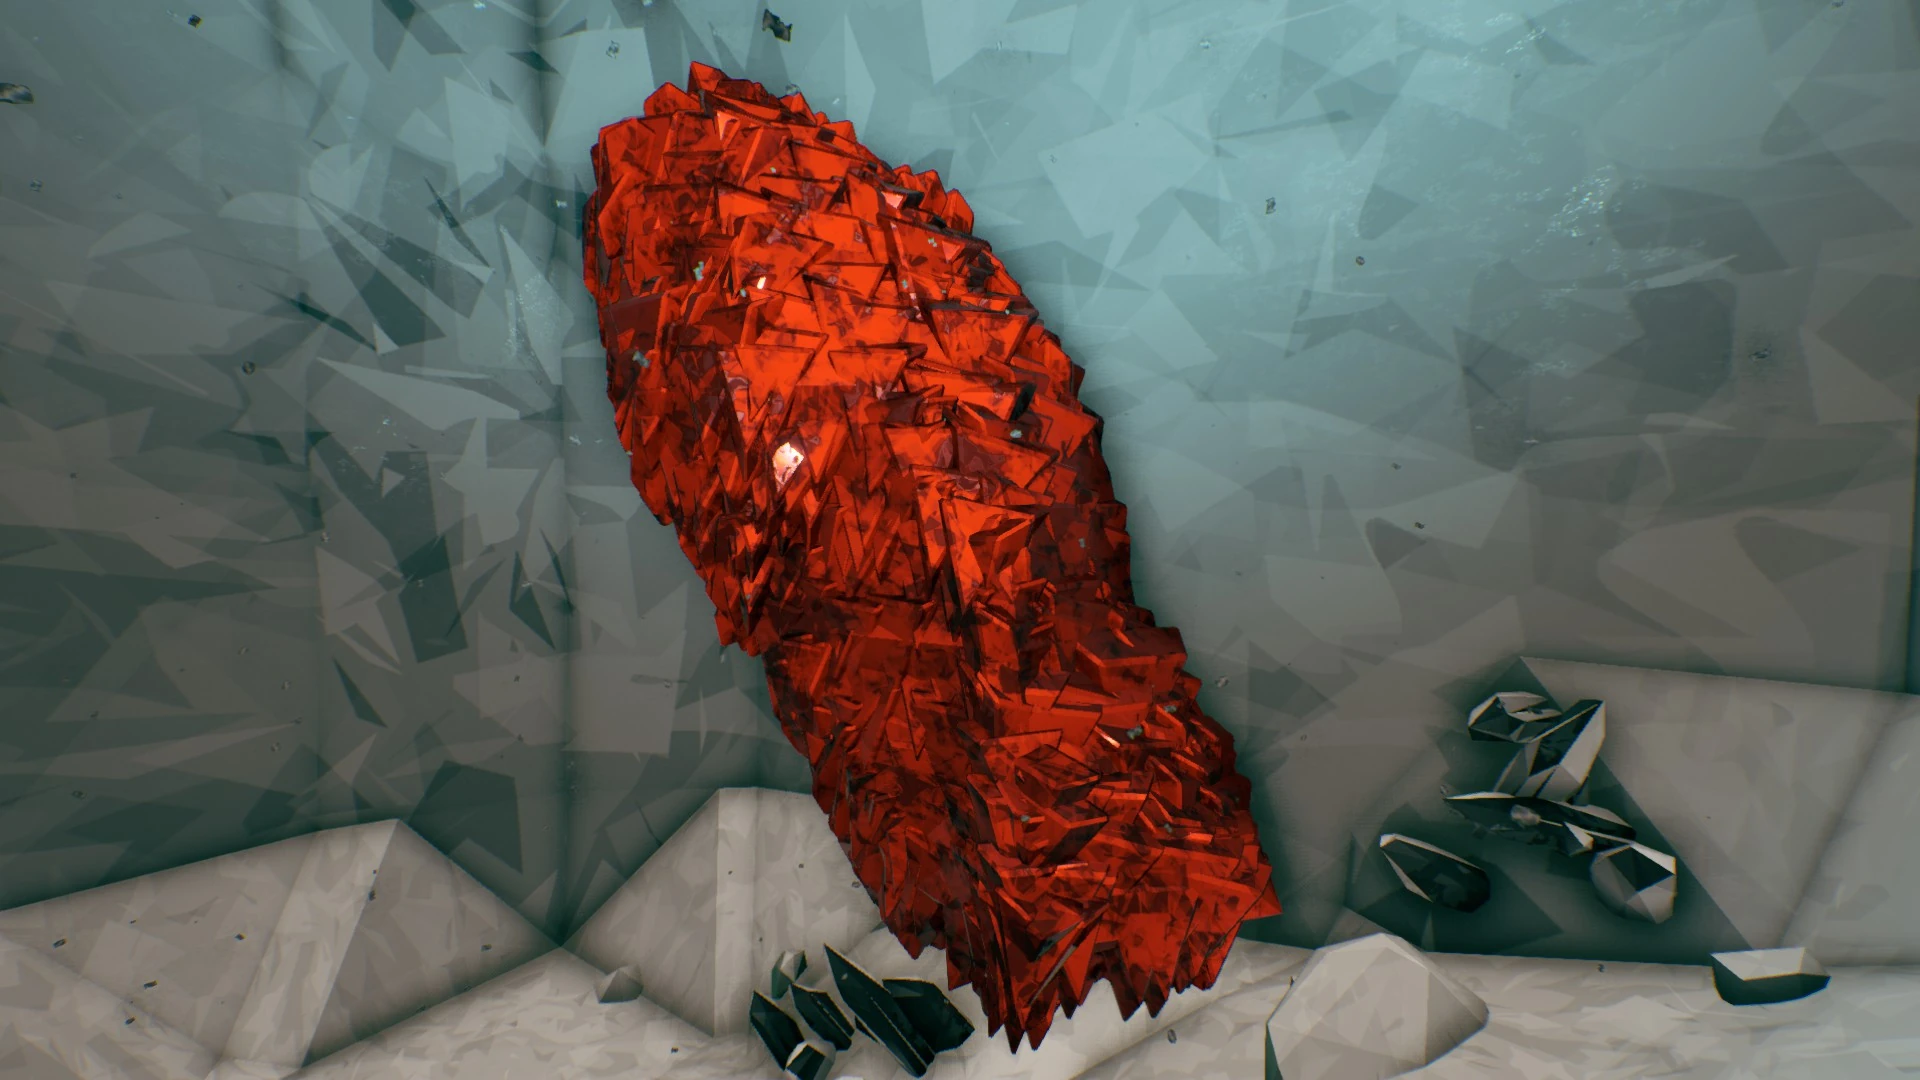
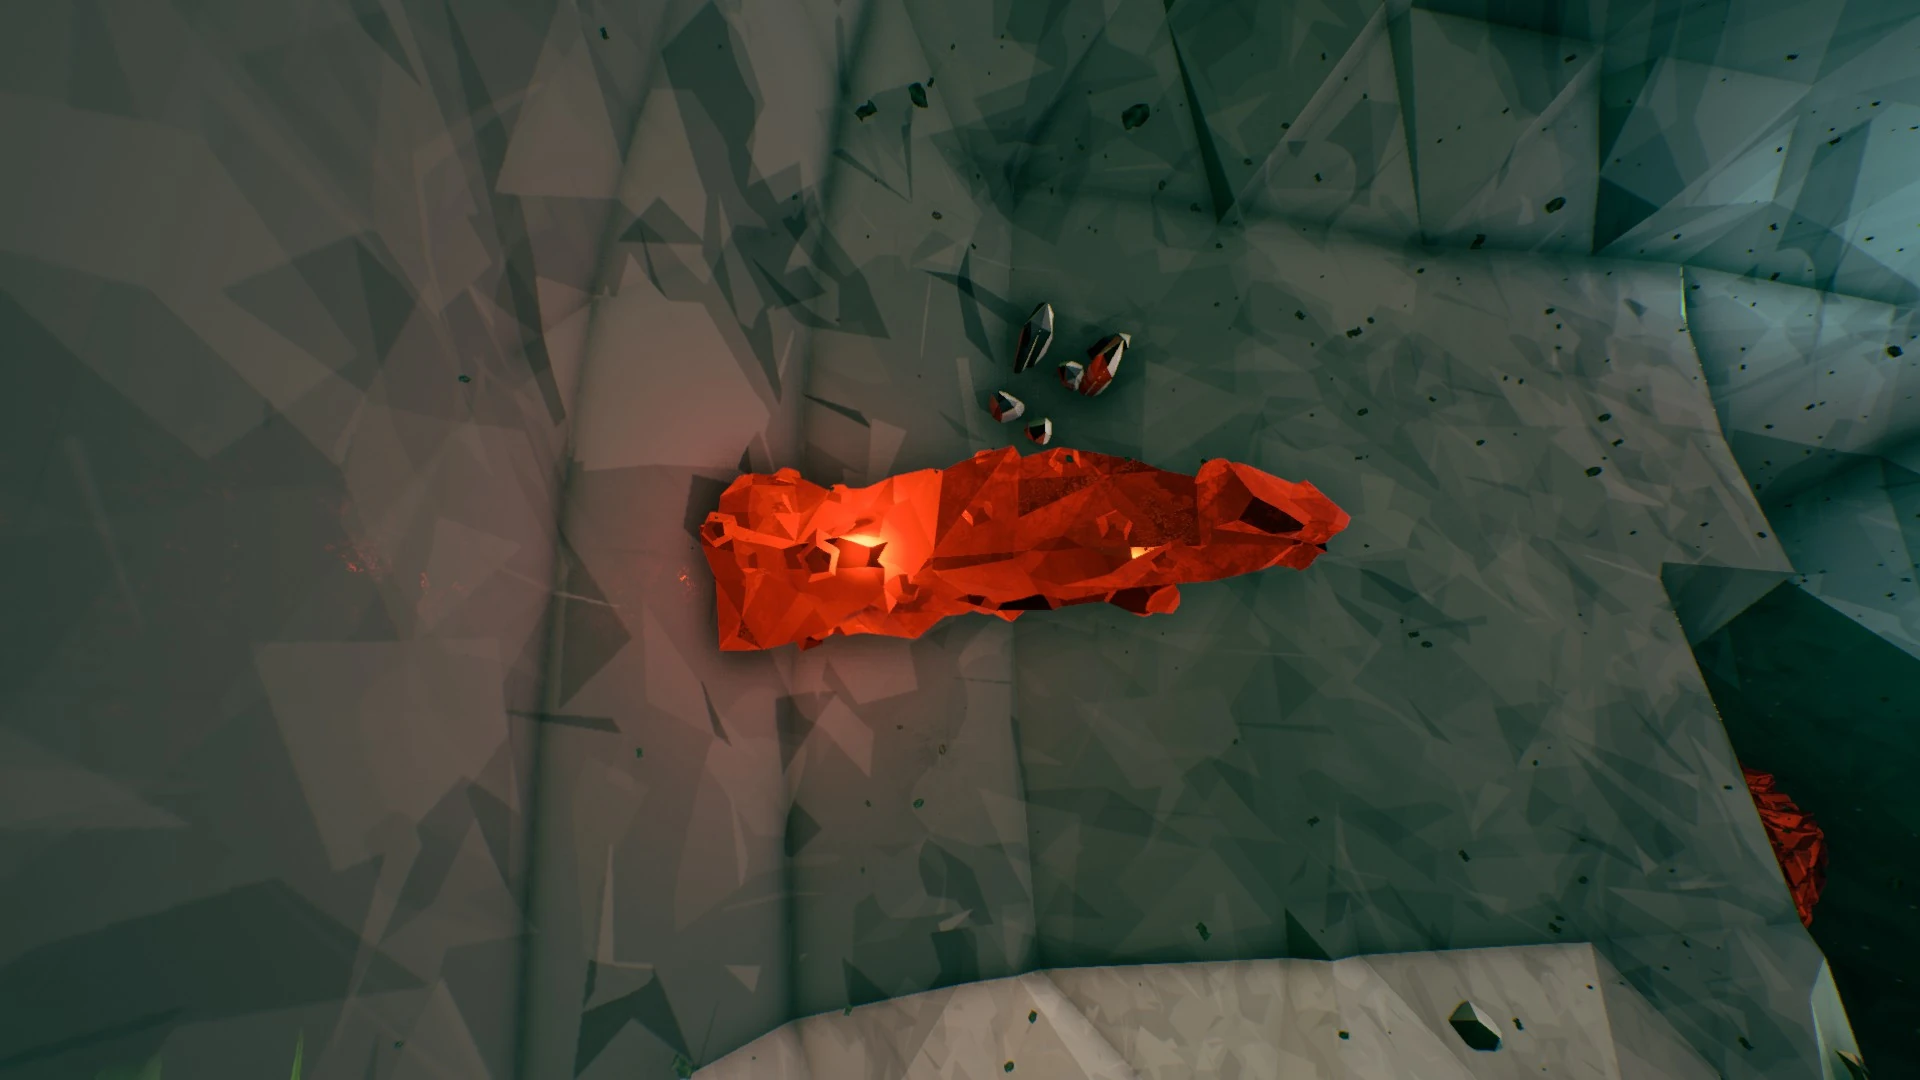
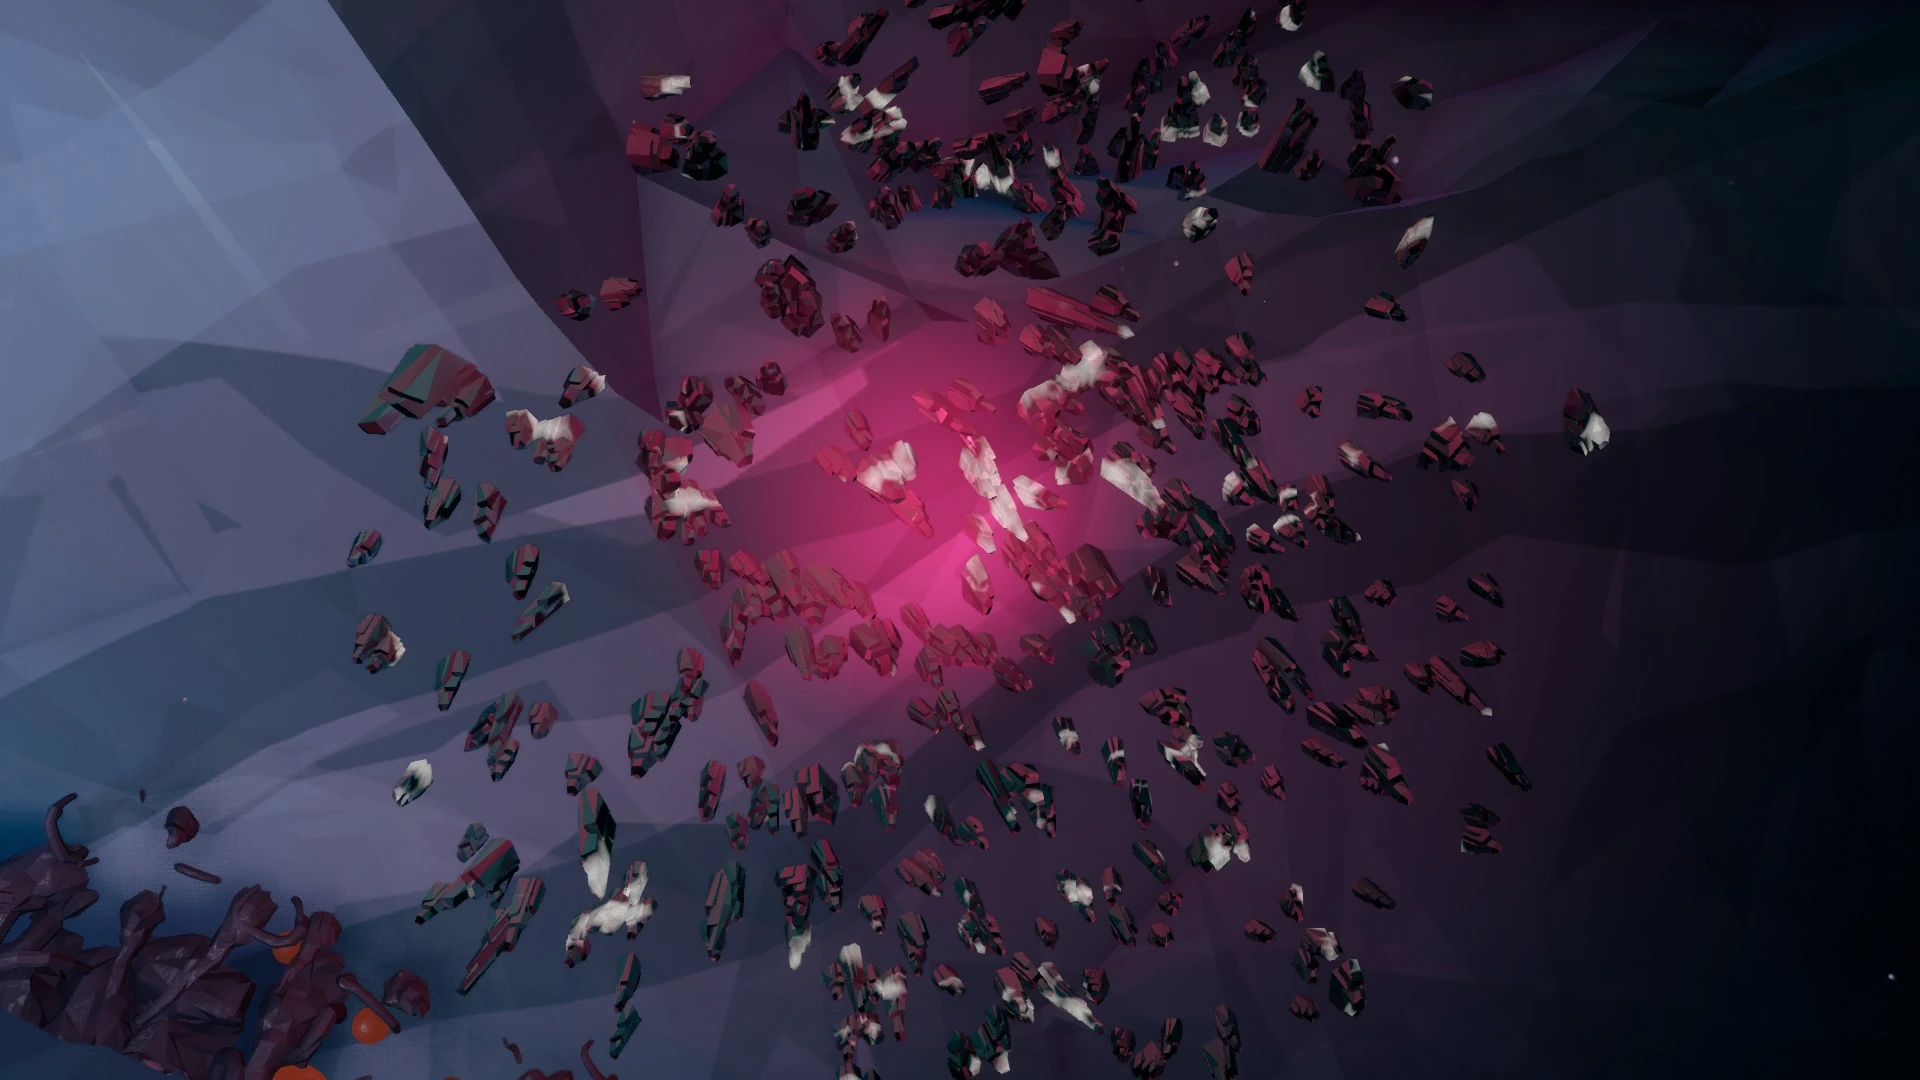
| + | '''Red Sugar''' takes the form of bright red crystal and glowing formations scattered throughout the caves. It's vital to your survival, as Red Sugar is the only way to recover lost health besides calling for a Supply Pod (which costs Nitra) or using the [[Vampire]] perk. |
||
| + | |- |
||
| + | | |
||
| + | <gallery widths="216px" heights="120px"> |
||
| + | File:Red Sugar.jpg|Red Sugar |
||
| + | </gallery> |
||
| + | |} |
||
| + | {{clear}} |
||
| + | {| width="550px" style="display: inline-table; |
||
| + | |- style="text-align: left;" |
||
| + | ! |
||
| + | ====[[File:Gold icon.png|45px|frameless]] <big>Gold</big>==== |
||
| + | |- style="vertical-align: top;" |
||
| + | | height="160px" | {{Main|Gold}} |
||
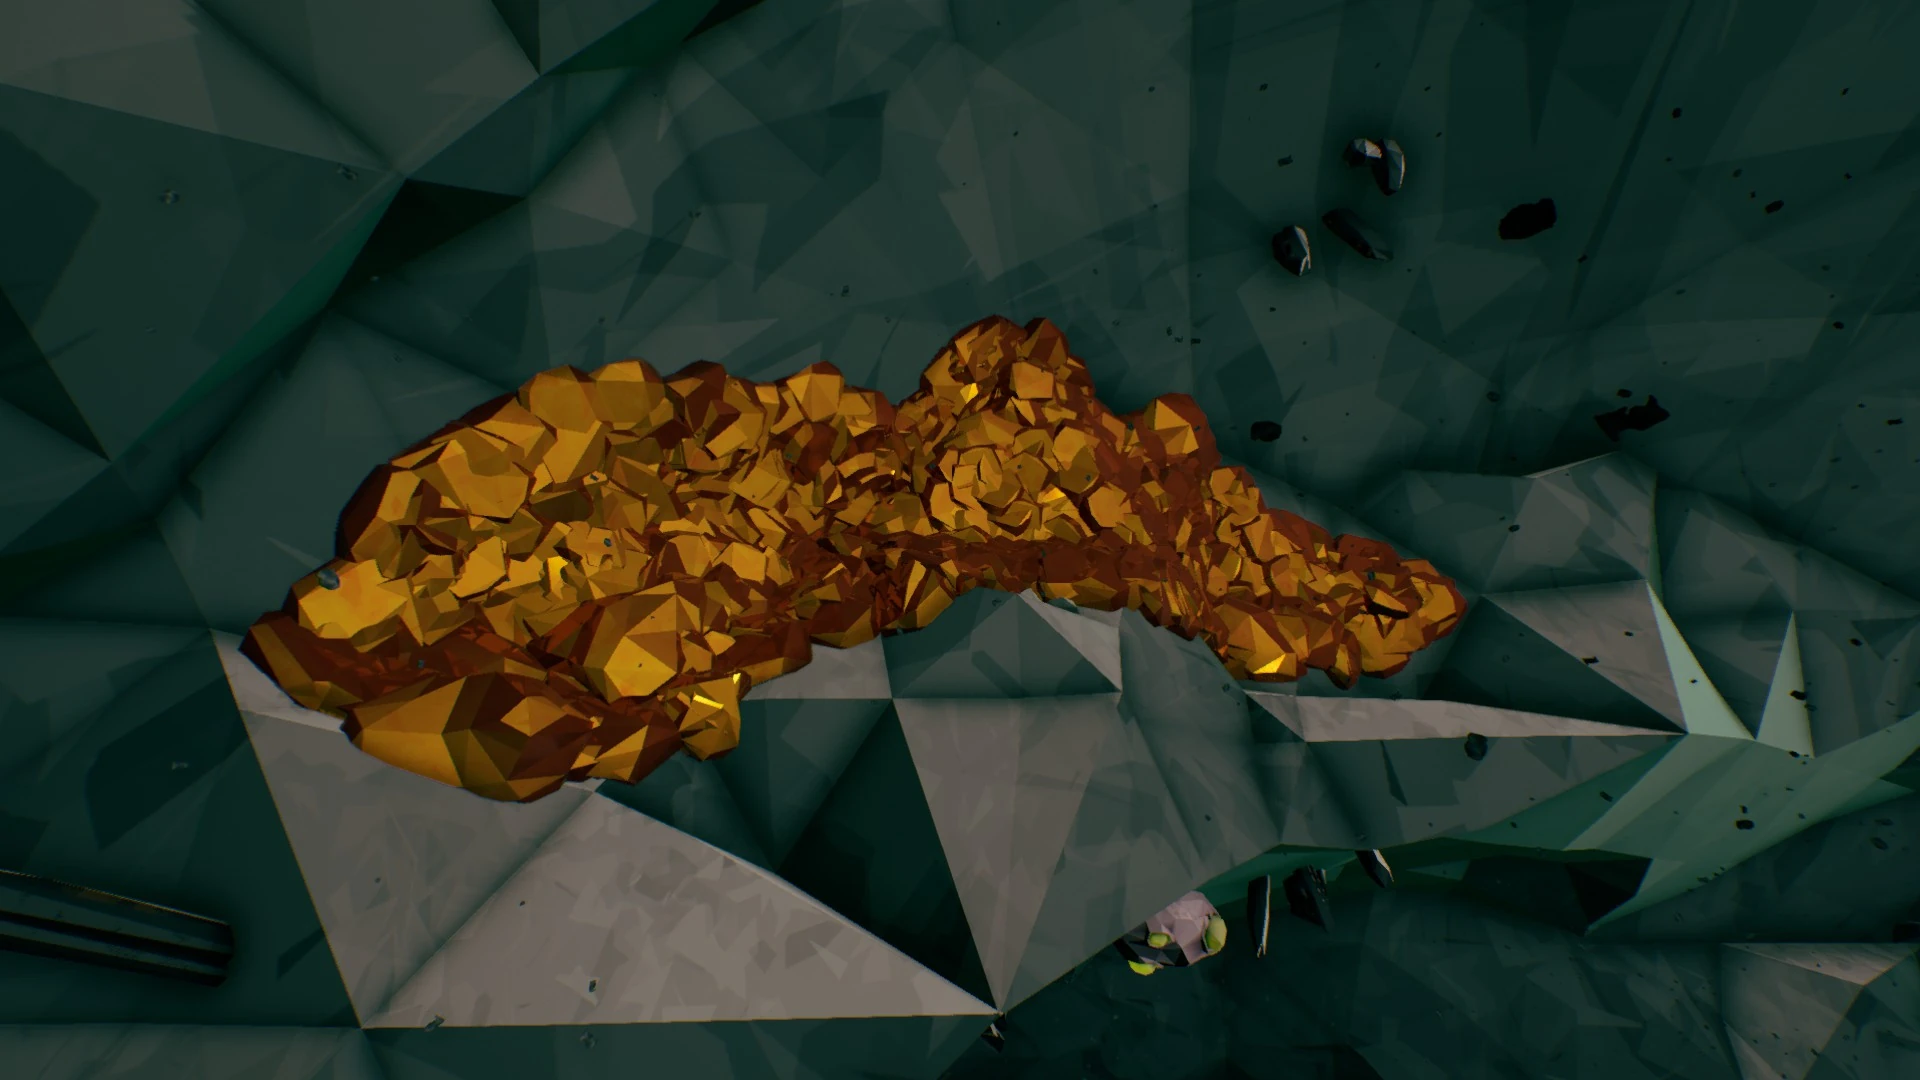
| + | A lustrous metal found in wall surface veins and embedded into the terrain as massive chunks, '''Gold''''s primary function is to provide a boost to credits earned when extracted. |
||
| + | |- |
||
| + | | |
||
| + | <gallery widths="216px" heights="120px"> |
||
| + | File:Gold vein.jpg|Gold vein |
||
| + | </gallery> |
||
| + | |} |
||
| + | {| style="display: inline-table;" |
||
| + | |- |
||
| + | | width="80px" | |
||
| + | |- |
||
| + | |} |
||
| + | {| width="550px" style="display: inline-table; |
||
| + | |- style="text-align: left;" |
||
| + | ! |
||
| + | ====[[File:Compressed gold icon.png|45px|frameless]] <big>Compressed Gold</big>==== |
||
| + | |- style="vertical-align: top;" |
||
| + | | height="160px" | {{Main|Compressed Gold}} |
||
| + | '''Compressed Gold''' are massive chunks of Gold that can be found embedded into the rock. Look for flakes of gold on the walls and floor to find them. Each chunk is worth 150-250 units of gold. |
||
Gold chunks have a 1/3 chance to spawn. |
Gold chunks have a 1/3 chance to spawn. |
||
| + | |- |
||
| − | [[File:Gold_vein.jpg|thumb|none|Gold vein]] |
||
| + | | |
||
| + | <gallery widths="216px" heights="120px"> |
||
| + | File:Gold chunk.jpg|Compressed Gold |
||
| + | File:Gold chunk markings.jpg|Compressed gold wall markings |
||
| + | </gallery> |
||
| + | |} |
||
| + | {{clear}} |
||
| + | {| style="display: inline-table;" |
||
| + | |- |
||
| + | | width="80px" | |
||
| + | |- |
||
| + | |} |
||
| + | {{clear}} |
||
| + | {| width="550px" style="display: inline-table; |
||
| + | |- style="text-align: left;" |
||
| + | ! |
||
| + | ====[[File:Bittergem icon.png|45px|frameless]] <big>Bittergem</big>==== |
||
| + | |- style="vertical-align: top;" |
||
| + | | height="280px" | {{Main|Bittergem}} |
||
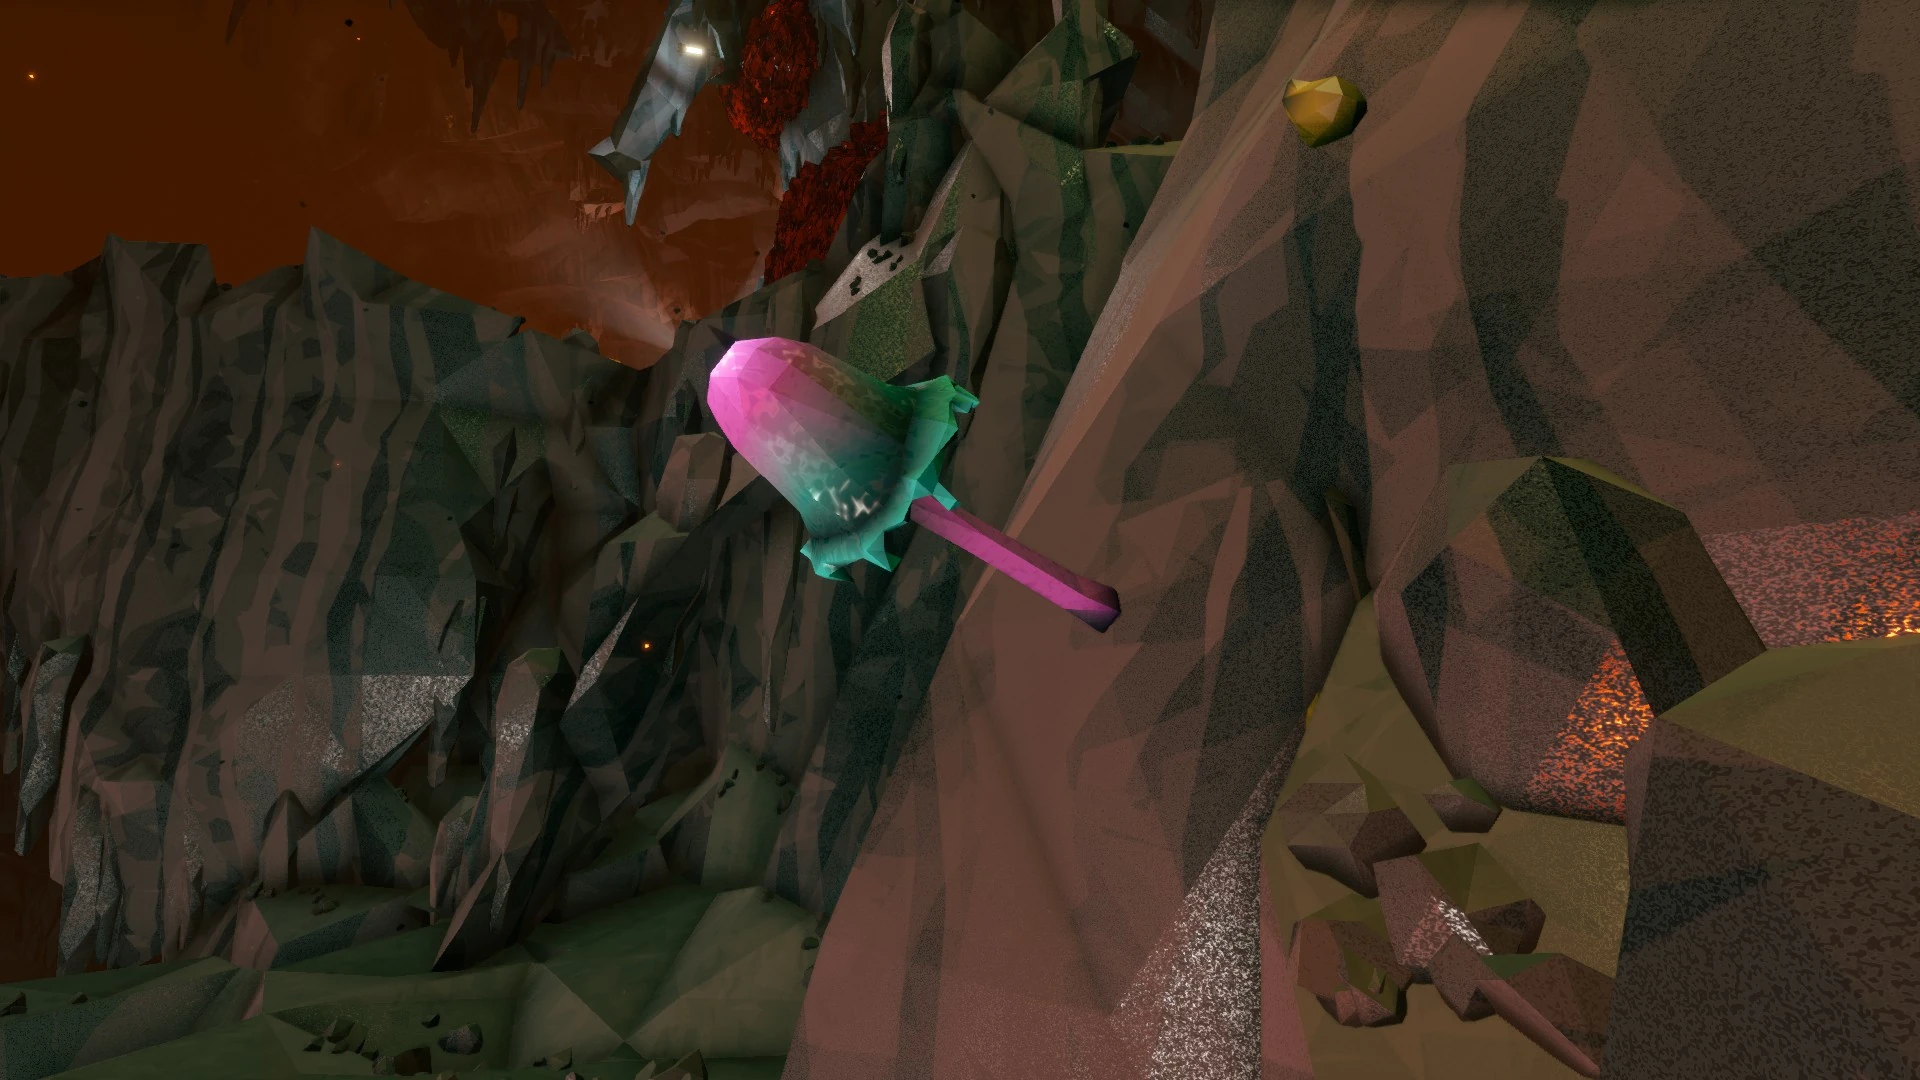
| + | A brilliant magenta mineral only available as massive chunks embedded into the terrain, '''Bittergem''' can be found by looking for clusters of magenta crystals on the surfaces nearby. Once extracted, the chunk can be deposited into the M.U.L.E. and will be worth a very healthy amount of credits at the end of the mission. |
||
| + | It is quite rare, only spawning with a 1/21 chance. Upon mission completion, the '''Bittergem''' will award 1000 - 1500 credits. |
||
| − | {| |
||
|- |
|- |
||
| + | | |
||
| − | | [[File:Gold_chunk.jpg|thumb|none|Compressed Gold]] || [[File:Gold_chunk_markings.jpg|thumb|none|Compressed gold wall markings]] |
||
| + | <gallery widths="216px" heights="120px"> |
||
| + | File:Bittergem.jpg|Bittergem |
||
| + | File:Bittergem markings.jpg|Bittergem wall-markings |
||
| + | </gallery> |
||
|} |
|} |
||
| + | {| style="display: inline-table;" |
||
| + | |- |
||
| + | | width="80px" | |
||
| + | |- |
||
| + | |} |
||
| + | {| width="550px" style="display: inline-table; |
||
| + | |- style="text-align: left;" |
||
| + | ! |
||
| − | ====[[File: |
+ | ====[[File:Unknown artifact icon.png|45px|frameless]] <big>ERR://23¤Y%/</big>==== |
| + | |- style="vertical-align: top;" |
||
| − | {{Main|Nitra}} |
||
| + | | height="280px" | {{Main|Error Cube}} |
||
| − | A bright red mineral found in wall surface veins, '''Nitra''' is used to call in resupply pods. It costs 80 Nitra per pod, and each resupply pod has four supply racks, each restoring 50% health and ammo to the user by default. |
||
| − | |||
| − | Loose Nitra takes a roughly tetrahedral shape. |
||
| − | |||
| − | [[File:Nitra.jpg|thumb|none|Nitra vein]] |
||
| − | |||
| − | ====[[File:Red sugar icon.png|27px|frameless]] Red Sugar==== |
||
| − | {{Main|Red Sugar}} |
||
| − | |||
| − | '''Red Sugar''' takes the form of bright red crystal and glowing formations scattered throughout the caves. It's vital to your survival, as Red Sugar is the only way to recover lost health besides calling for a Supply Pod (which costs Nitra) or using the [[Vampire]] perk. |
||
| − | |||
| − | [[File:Red_Sugar.jpg|thumb|none|Red Sugar vein]] |
||
| − | ====[[File:Unknown artifact icon.png|28px|frameless]] ERR://23¤Y%/==== |
||
| − | {{Main|Error Cube}} |
||
| − | |||
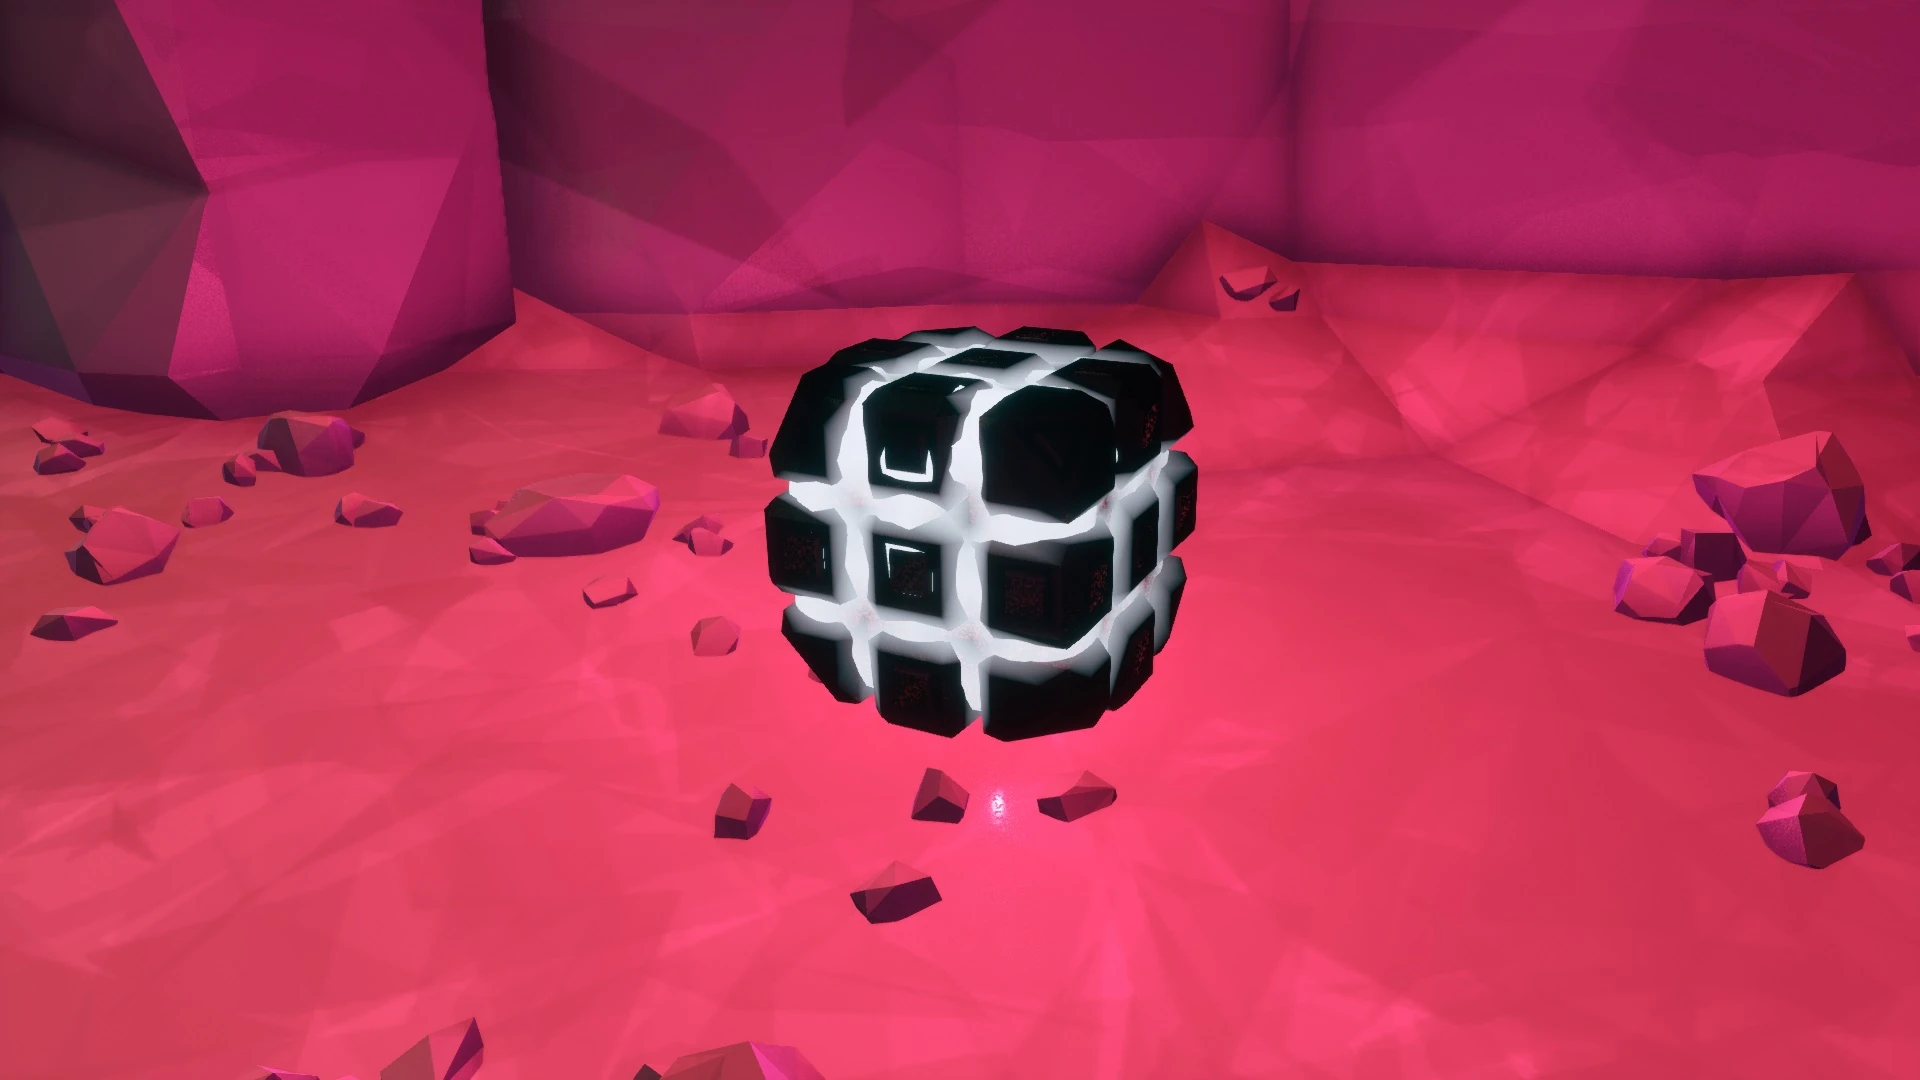
A strange black Rubik's cube-esque object with pulsating white grooves. It is a very rare resource that is not listed on any biome, and its uses are currently unknown. |
A strange black Rubik's cube-esque object with pulsating white grooves. It is a very rare resource that is not listed on any biome, and its uses are currently unknown. |
||
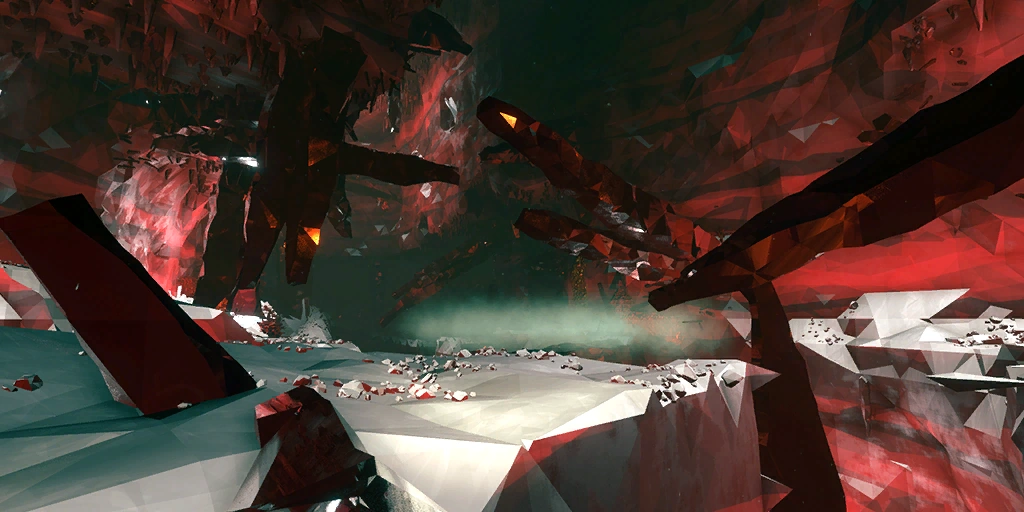
| − | This 'mineral' (though it might better be described as an artifact) can be located by the presence of bright gray and glowing spikes on the surrounding rock. These spikes seem to pulse with energy, though once the artifact has been removed from the deposit the spikes fade to dull, lifeless grey. |
+ | This 'mineral' (though it might better be described as an artifact) can be located by the presence of bright gray and glowing spikes on the surrounding rock. These spikes seem to pulse with energy, though once the artifact has been removed from the deposit the spikes fade to dull, lifeless grey. When examined, the characters will comment on its bizarre nature and strange appearance. |
| + | It has a 1/26 chance to appear. Upon mission completion, the error cube will award 2000 experience. |
||
| − | When examined, the characters will comment on its bizarre nature and strange appearance. |
||
| − | |||
| − | It is very rare, only appearing with a 1/26 chance. |
||
| − | {| |
||
|- |
|- |
||
| + | | |
||
| − | | [[File:Glitch ore.jpg|thumb|none|ERR://23¤Y%/ Cube]]|| [[File:err23_markings.jpg|thumb|none|ERR://23¤Y%/ Cube wall-markings]] |
||
| + | <gallery widths="216px" heights="120px"> |
||
| + | File:Glitch ore.jpg|ERR://23¤Y%/ Cube |
||
| + | File:Err23 markings.jpg|ERR://23¤Y%/ Cube wall-markings |
||
| + | </gallery> |
||
| + | |} |
||
| + | {{clear}} |
||
| + | {| width="550px" style="display: inline-table; |
||
| + | |- style="text-align: left;" |
||
| + | ! |
||
| + | ====[[File:Tyrant shard icon.png|45px|frameless]] <big>Tyrant Shard</big>==== |
||
| + | |- style="vertical-align: top;" |
||
| + | | height="160px" | {{Main|Tyrant Shard}} |
||
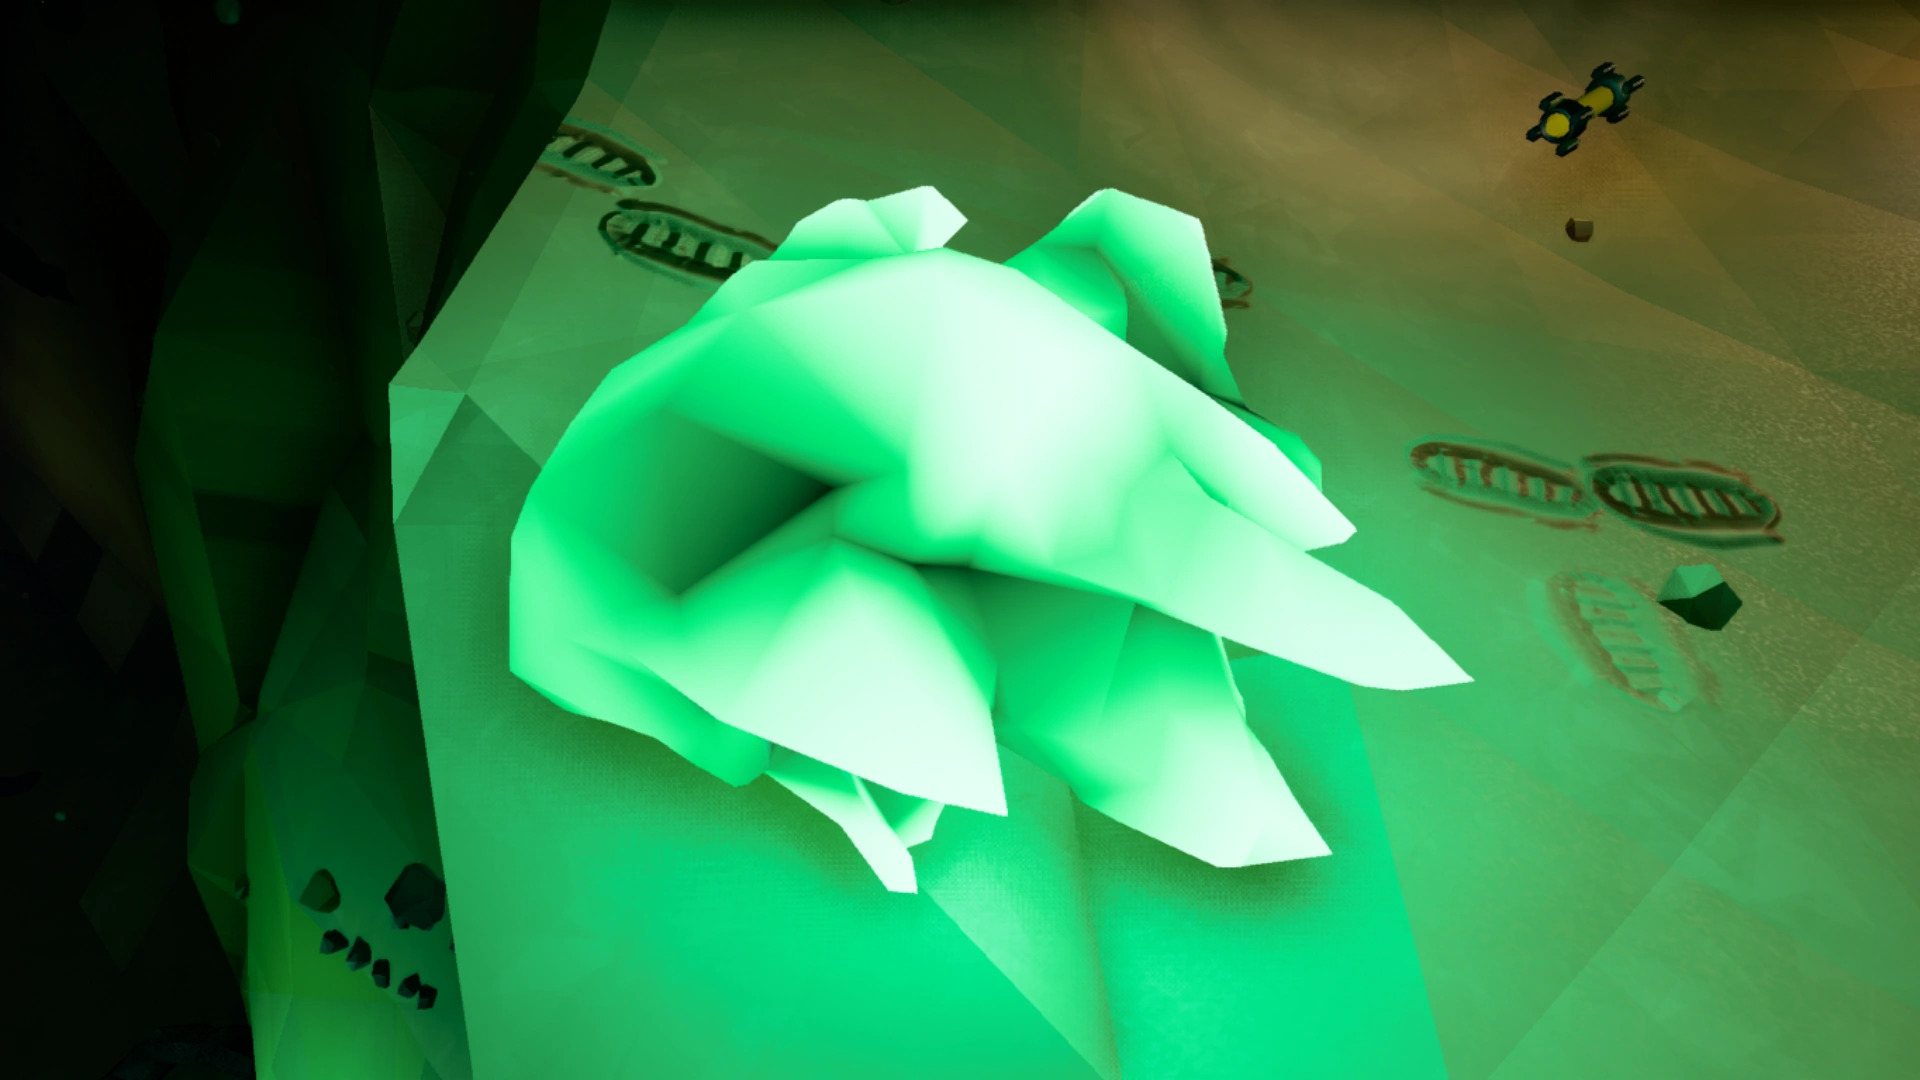
| + | '''Tyrant Shards''' are massive chunks of plant material that drop from the [[Korlok Tyrant-Weed]] event. Upon defeating the mini-boss, the main bulb itself will drop 3 tyrant shards which provide 350 credits as well as 500 experience per shard. |
||
| + | |- |
||
| + | | |
||
| + | <gallery widths="216px" heights="120px"> |
||
| + | File:Tyrant Shard2.png|Tyrant Shard |
||
| + | </gallery> |
||
|} |
|} |
||
| − | |||
{{resource nav}} |
{{resource nav}} |
||
{{mechanics nav}} |
{{mechanics nav}} |
||
| + | |||
| + | [[Es:Recursos]] |
||
Revision as of 03:40, 1 June 2021
 |
This article may need cleanup to meet quality standards.
Please help improve this if you can. The Discussion page may contain suggestions. |
Please help improve this if you can. The Discussion page may contain suggestions.
Ores are a type of mineable resource in Deep Rock Galactic. There are numerous different Ores scattered across the caverns of Hoxxes IV, some of which are required to unlock upgrades, while others are mission-related.
Mission-Related
These resources are required to complete primary and/or secondary objectives. They are not added to your gathered resources at the end of a mission, unlike the crafting resources below.
Primary Objectives
These items are required in order to finish the current mission.
|
|---|
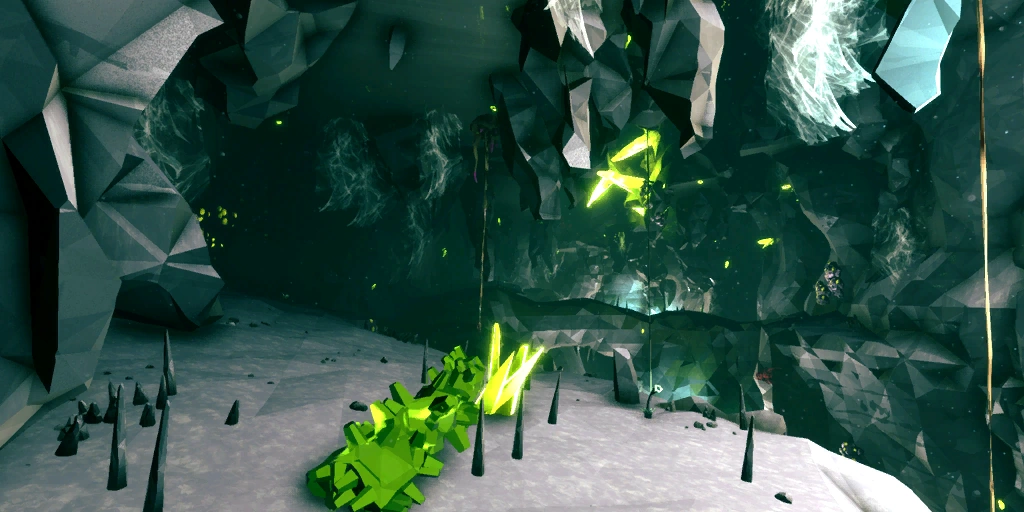
Alien Eggs are mysterious, yellow eggs with pink, veiny ridges found in walls, similar to large resources such as Aquarq. They are marked by pulsating red/purple orbs and organic "tubes" on the wall. They must be found and deposited in order to complete the primary objective during Egg Hunt mission types. Depending on the length of the mission, the team will have to collect 4, 6 or 8 eggs in total to complete the primary objective. Alien eggs are always found embedded within dull, fleshy Organic Material and appear as yellowish spheroids on the Terrain Scanner. |
|
|
|---|
Encountered solely in Point Extraction as the primary objective, Aquarq takes the form of large blue crystals embedded in the rock. It can be located via smaller blue crystal formations on the surface, as well as a faint blue glow if they're near the surface. |
|
|
|---|
A dark cyan-blue mineral found in wall surface veins, Morkite is the primary Mining Expedition objective, and only appears during these missions. The party will typically have to mine between 200 and 400 Morkite, depending on mission length and complexity. Once the quota has been filled, the M.U.L.E. will enable the recall function. Loose Morkite takes a roughly cuboid shape. |
|
|
|---|
Encountered solely in Salvage Operation, Mini-M.U.L.E. Legs are used to repair 2 or 3 broken Mini-M.U.L.E.s. Four of them will generate slightly embedded in the ground around a nearby broken Mini-M.U.L.E. Three are needed to repair a Mini-M.U.L.E. They cannot be deposited. |
|
|
|---|
Encountered solely in Escort Duty, Oil Shale are used to refuel the Drilldozer. It has to be collected with the Fuel Canisters mining laser. It cannot be deposited. |
|
|
|---|
Encountered in Escort Duty, Ommoran Heartstone Core is the primary objective to be collected when the Drilldozer cracks the Ommoran Heartstone. |
|
Secondary Objectives
These are not mission-critical, but will give a credit and XP bonus if collected before the end of the mission.
|
|---|
A fossil of an Ammonite that can be picked up from the wall. The secondary objective will usually require 10 of these to be collected. |
|

|
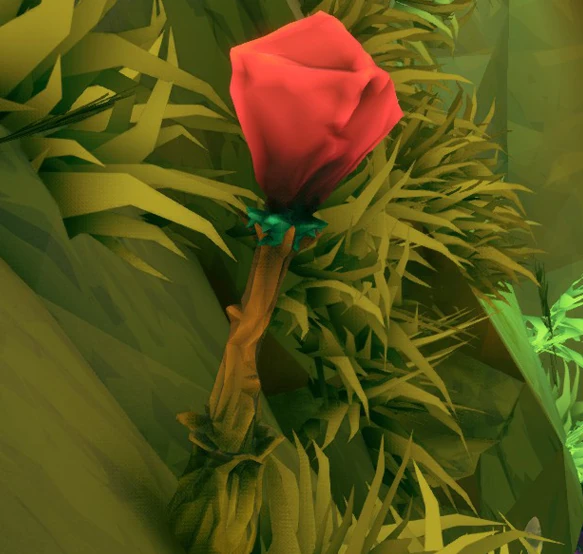
|---|
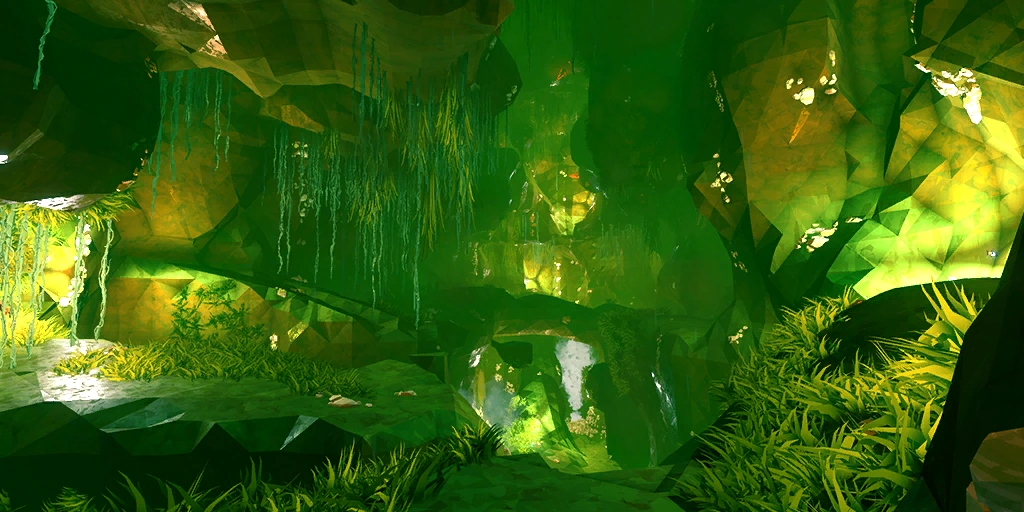
Apoca Blooms are a secondary mission objective. They grow on the walls and floors of caves and tunnels, and must be collected to complete the secondary objective. Their petals are bioluminescent and can be seen in the darkness, making them easy to see at a distance. |
|
|
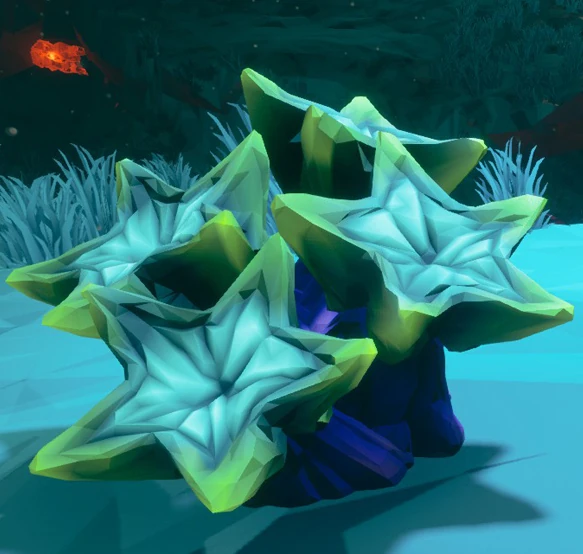
|---|
Boolo Caps are a secondary mission objective. They grow on the walls and floors of caves and tunnels, and must be collected to complete the secondary objective. Their purple caps are bioluminescent and can be seen in the darkness, making them easy to see at a distance. |
|
|
|---|
A blue-tinted metallic mineral found in wall surface veins, Dystrum is a secondary objective resource exclusive to Point Extraction and On-site Refining missions. It is not as bright as other minerals when light shines on it, so you may have to make a few passes to find it all. |
|
|
|---|
The Ebonut is a type of Secondary Objective which can appear in any mission type. The Dwarves can collect Ebonuts to be rewarded with a bonus payout of Credits and Experience upon level completion. |
|
|
|---|
The Fester Flea is a passive Creature found on Hoxxes. It is only found in missions with the "Exterminate Fester Flea" Secondary Objective. The Dwarves can kill a set amount of Fester Fleas to be rewarded with a bonus payout of Credits and Experience upon mission completion. |
|
|
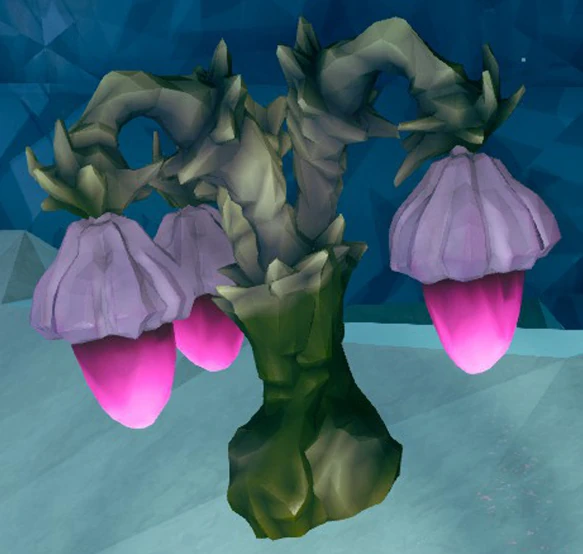
|---|
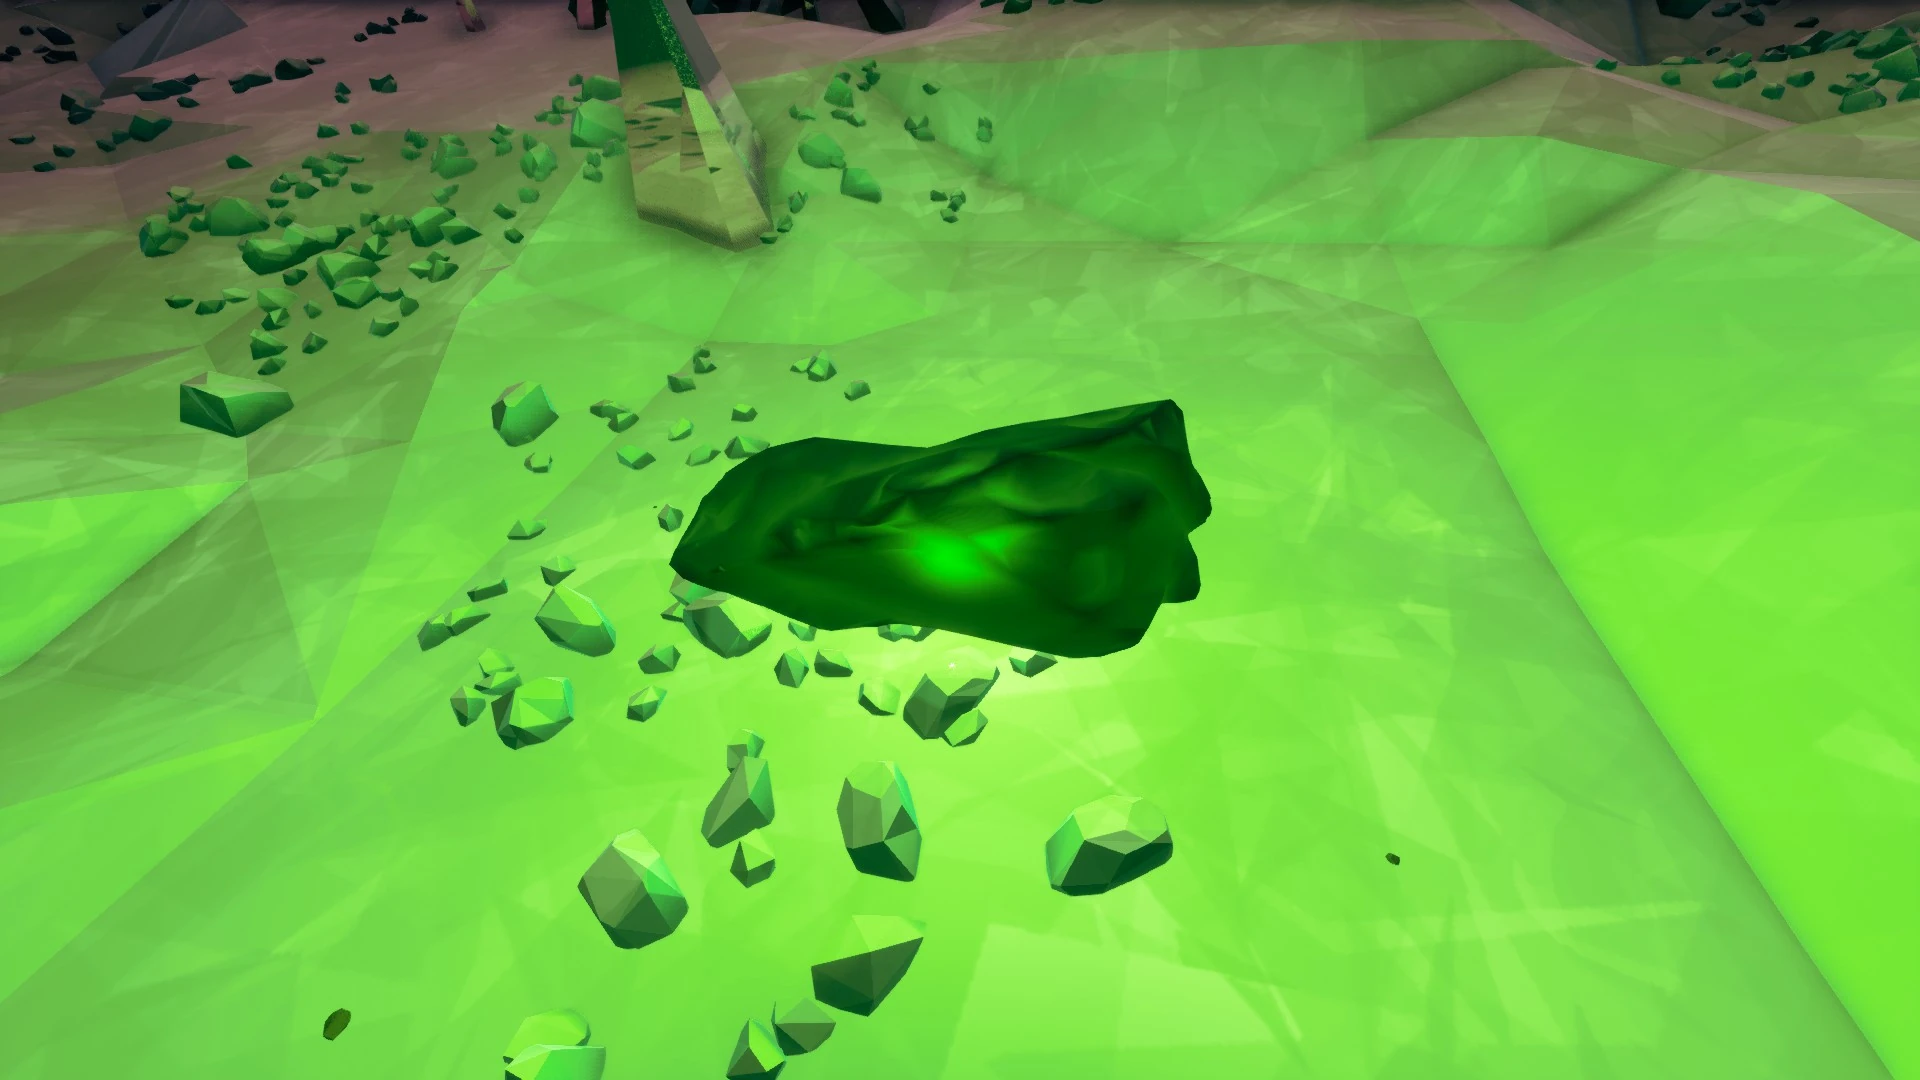
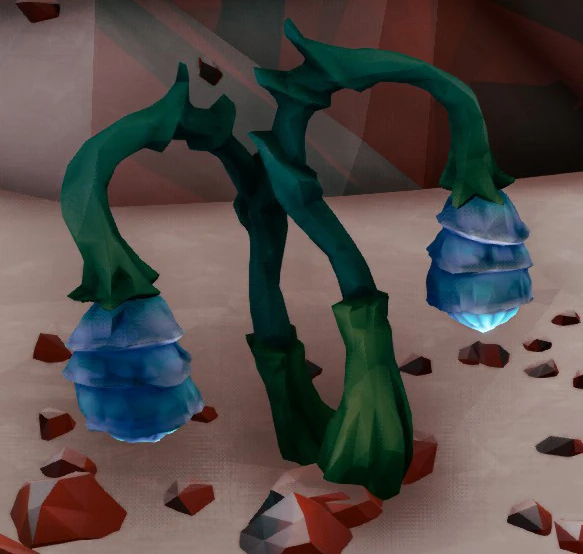
The Gunk Seed is a type of Secondary Objective which can appear in any mission type or biome. The Dwarves can collect a set amount of Gunk Seeds to be rewarded with a bonus payout of Credits and Experience upon mission completion. |
|
|
|---|
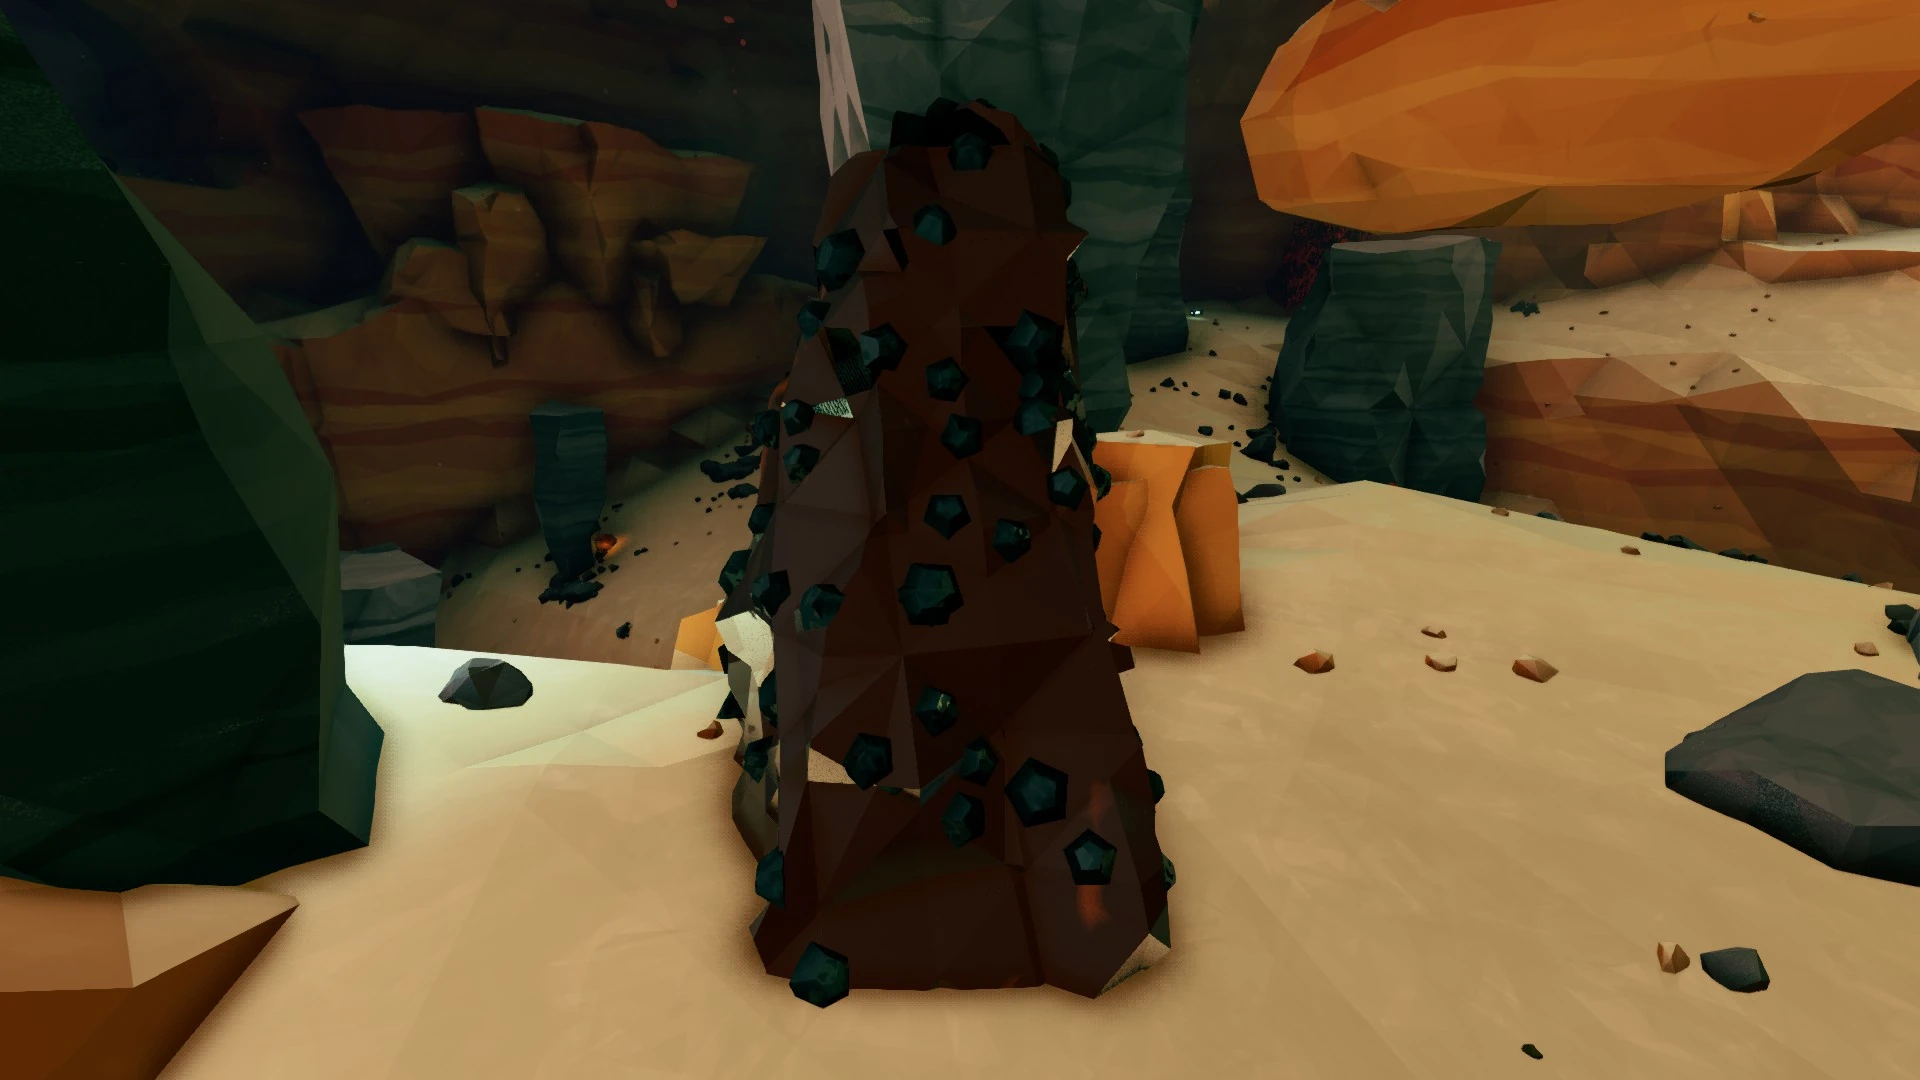
Found as dark blue-purple (almost black) formations within tunnels and caves, Hollomite is a secondary objective resource. The secondary objective will usually require 25 chunks to be deposited. |
|

Crafting/Upgrades
Minerals
These resources are not required for mission objectives, but are required to craft upgrades and cosmetics. As such, it's generally worth gathering them whenever they're discovered. They are permanently added to your inventory when the mission completes.
 Bismor
- Main article: Bismor
Bismor is found as large yellowish cubes with dark brown nodules dotting on each six faces. It is always located on the floor of caverns, making it an easy mineral to find and mine.
|
Located In | |||
|---|---|---|---|---|
| Abundant | Scarce | |||
|

|
|
| |
| Dense Biozone |
Crystalline Caverns |
Hollow Bough |
Salt Pits | |
Croppa
- Main article: Croppa
Croppa is a pale green metallic ore adorned with small purple spikes. It is found in surface deposits much like Morkite and Gold, although it slightly juts out of the walls and may spawn higher up than other crafting minerals.
|
Located In | ||
|---|---|---|---|
| Abundant | Scarce | ||
|
|
| |
| Azure Weald |
Fungus Bogs |
Magma Core | |
Enor Pearl
- Main article: Enor Pearl
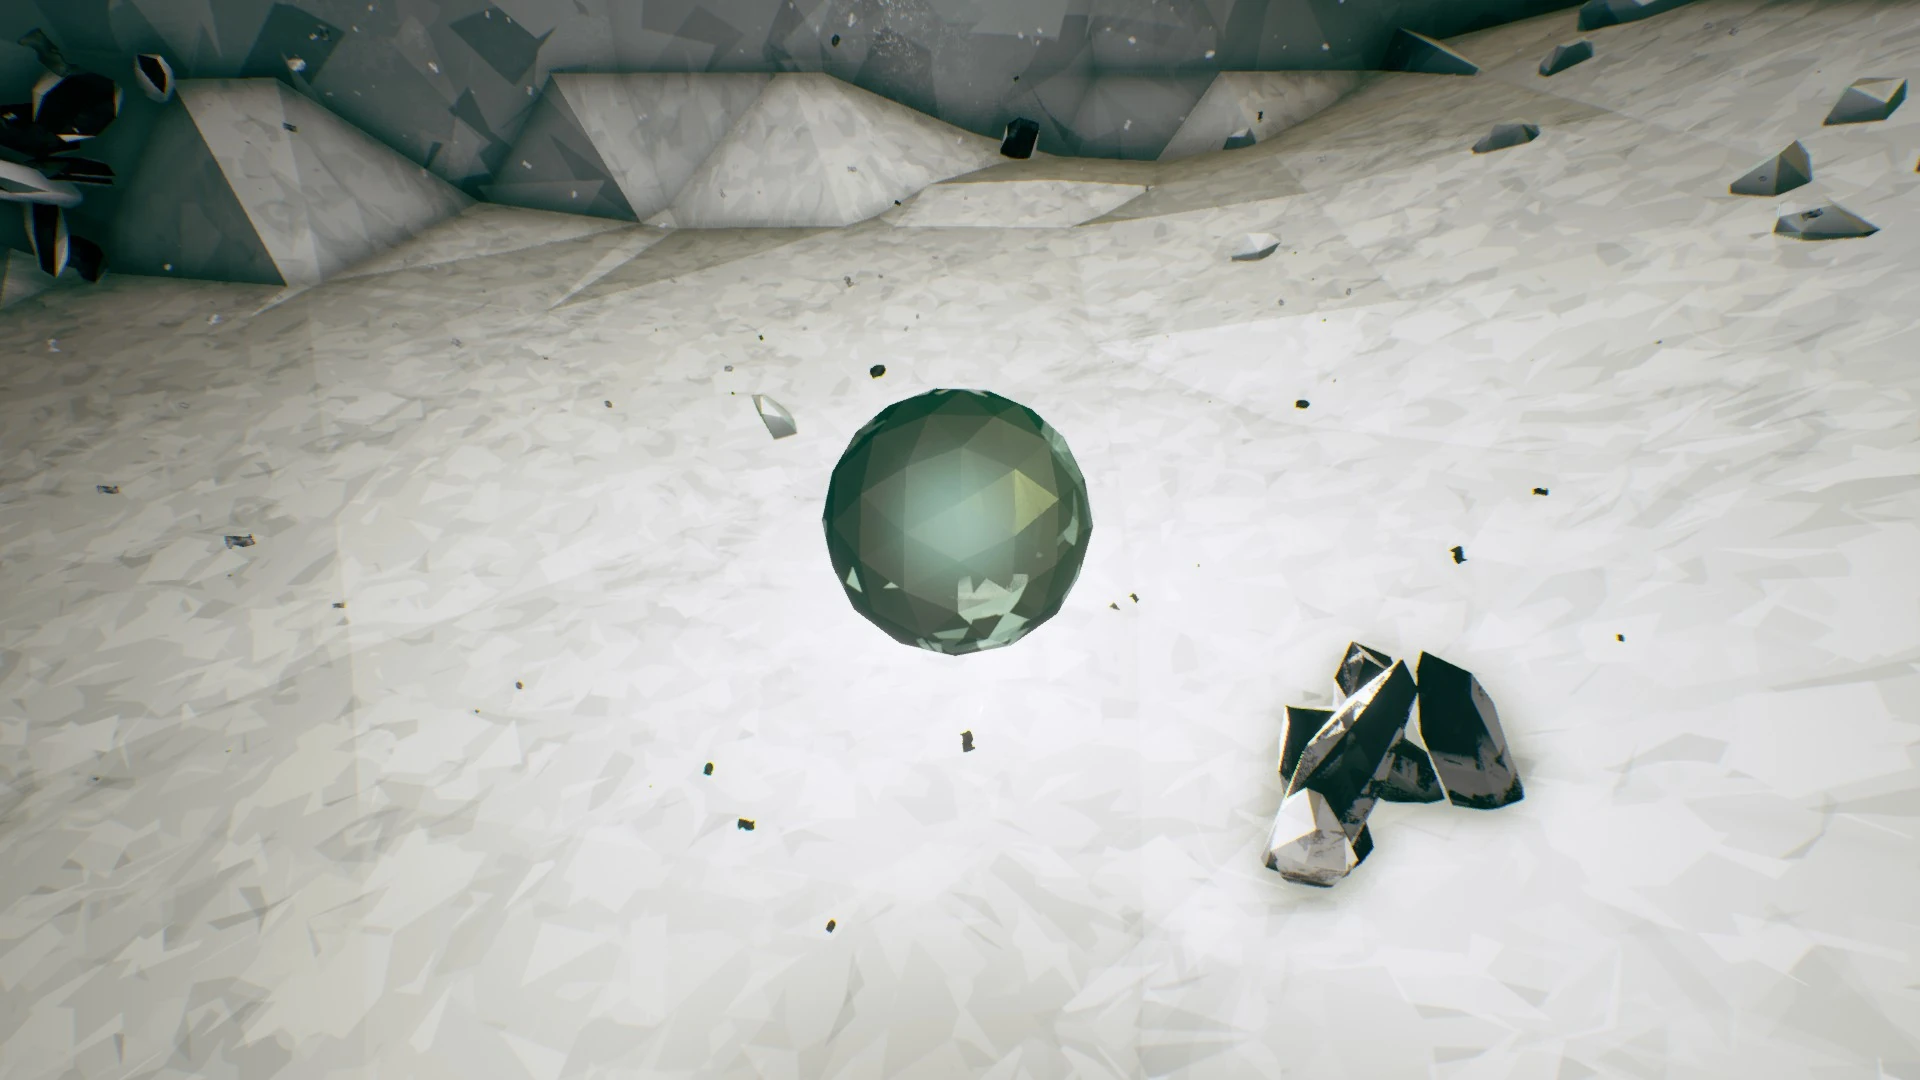
Enor Pearls are glowing white pearls available as large spheroids embedded into the terrain or loose tetrahedral pieces. They can be located by the clusters of smaller pearls on the surface nearby.
Loose Enor Pearl takes a roughly tetrahedral shape.
|
Located In | ||
|---|---|---|---|
| Abundant | Scarce | ||
|
|
|
| |
| Salt Pits |
Sandblasted Corridors |
Radioactive Exclusion Zone | |
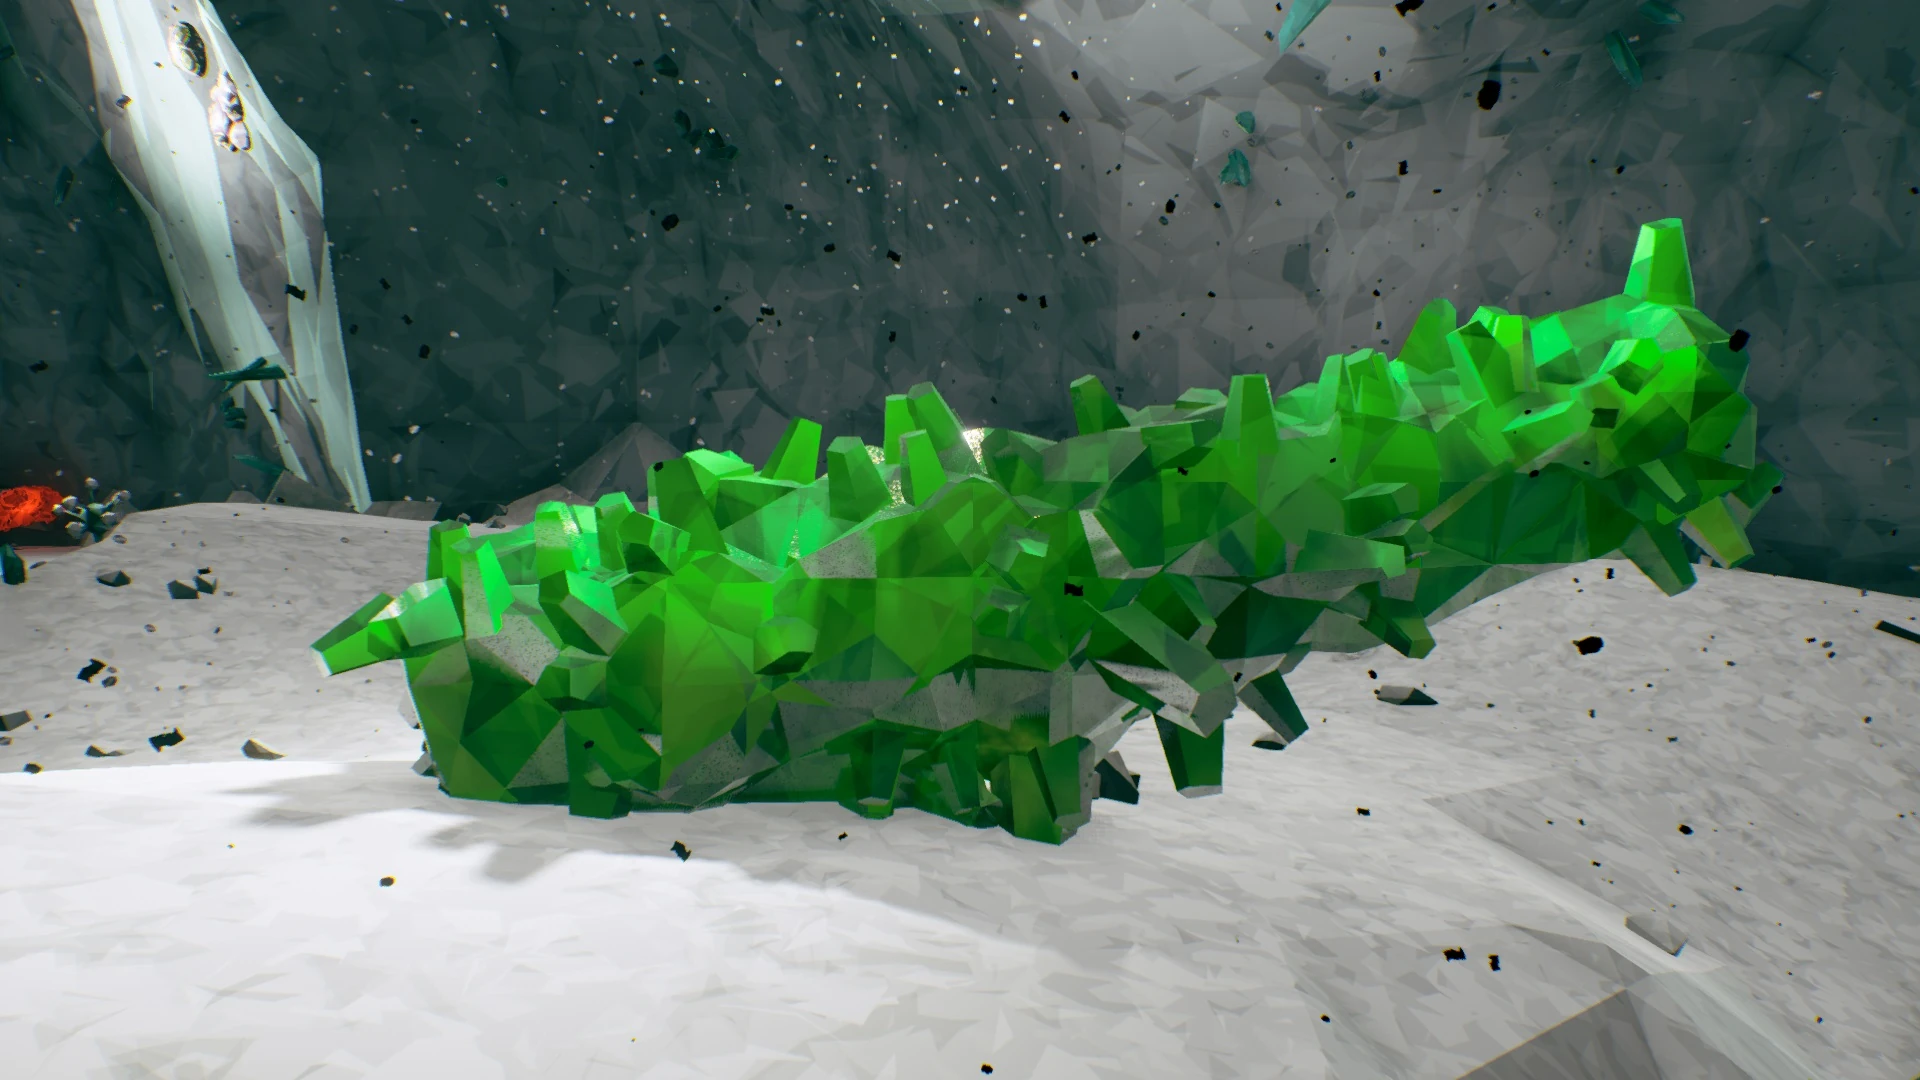
Jadiz
- Main article: Jadiz
Jadiz is found as large green crystals embedded into the rock, and can be identified by the smaller green crystal clusters on the surface around it.
|
Located In | ||
|---|---|---|---|
| Abundant | Scarce | ||
|
|
|
| |
| Crystalline Caverns |
Hollow Bough |
Fungus Bogs | |
Magnite
- Main article: Magnite
Found as reddish mineral clusters with grey-black protrusions that look a little like metal bolts, Magnite is a rare crafting resource located in some of the most hostile regions of Hoxxes.
|
Located In | ||
|---|---|---|---|
| Abundant | Scarce | ||
|
|
| |
| Glacial Strata |
Magma Core |
Sandblasted Corridors | |
Umanite
- Main article: Umanite
Taking the form of bright green mineral clusters, Umanite is found jutting out of the floors of caverns and tunnels, much like Hollomite.
|
Located In | |||
|---|---|---|---|---|
| Abundant | Scarce | |||
|
|
|
|
| |
| Radioactive Exclusion Zone |
Azure Weald |
Dense Biozone |
Glacial Strata | |
Hops
Hops are used for crafting beers in the Abyss Bar. Each plant can appear with one to four branches with a product, with the exception of the Barley Bulb which always only has one bulb.
|
|---|
Barley Bulb is an ingredient used to create Today's Special drinks or acquire Today's Special's Beer License in the Abyss Bar. |
|
|
|---|
Malt Star is an ingredient used to create Craftable drinks or acquire Beer Licenses in the Abyss Bar. |
|
|
|---|
Starch Nut is an ingredient used to create Craftable drinks or acquire Beer Licenses in the Abyss Bar. It is the most common beer ingredient. |
|
|
|---|
Yeast Cone is an ingredient used to create Craftable drinks or acquire Beer Licenses in the Abyss Bar. It is fairly rare. |
|
Other
These resources are not essential to mission completion, but are nevertheless important to gameplay. They do not carry over between missions, and are converted into gold and/or XP at the end of the mission.
|
|---|
A bright red mineral found in wall surface veins, Nitra is used to call in resupply pods. It costs 80 Nitra per pod, and each resupply pod has four supply racks, each restoring 50% health and ammo to the user by default. Loose Nitra takes a roughly tetrahedral shape. |
|
|
|---|
Red Sugar takes the form of bright red crystal and glowing formations scattered throughout the caves. It's vital to your survival, as Red Sugar is the only way to recover lost health besides calling for a Supply Pod (which costs Nitra) or using the Vampire perk. |
|
|
|---|
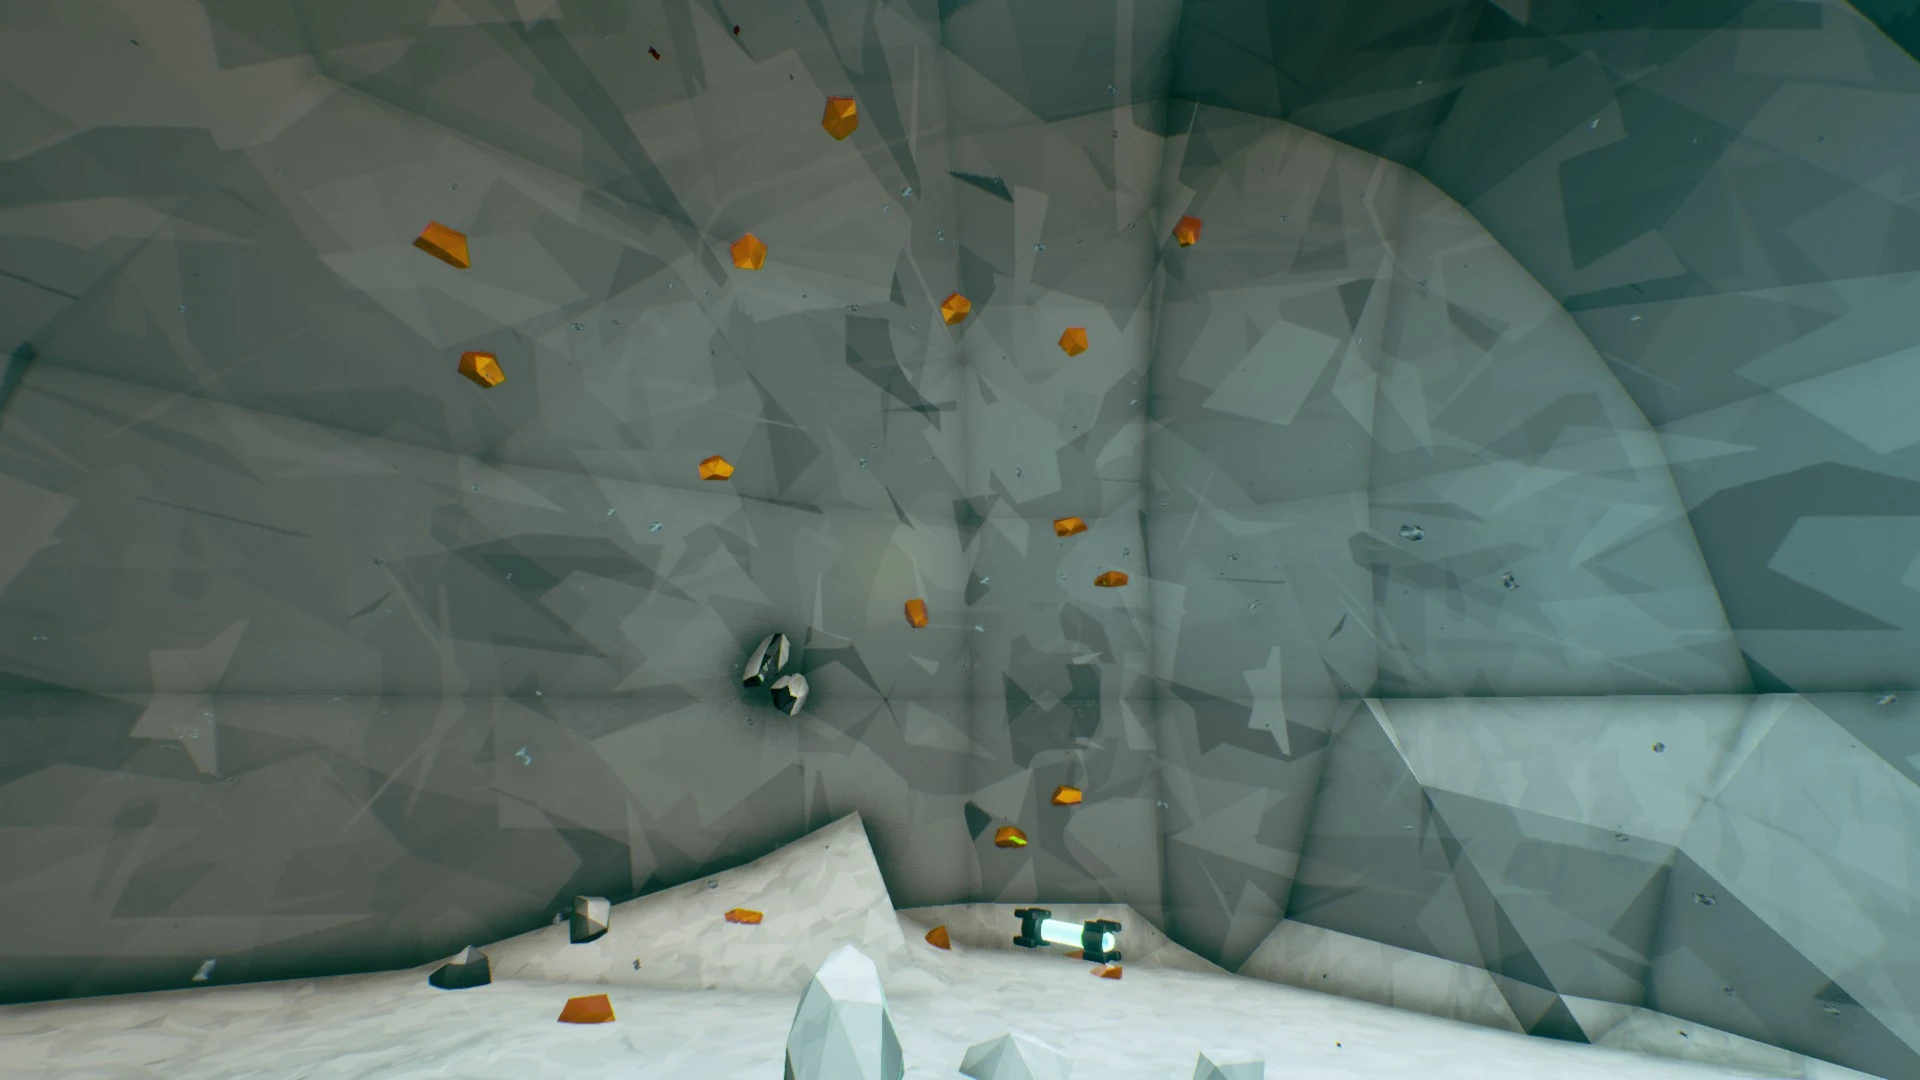
A lustrous metal found in wall surface veins and embedded into the terrain as massive chunks, Gold's primary function is to provide a boost to credits earned when extracted. |
|
|
|---|
Compressed Gold are massive chunks of Gold that can be found embedded into the rock. Look for flakes of gold on the walls and floor to find them. Each chunk is worth 150-250 units of gold. Gold chunks have a 1/3 chance to spawn. |
|
|
|---|
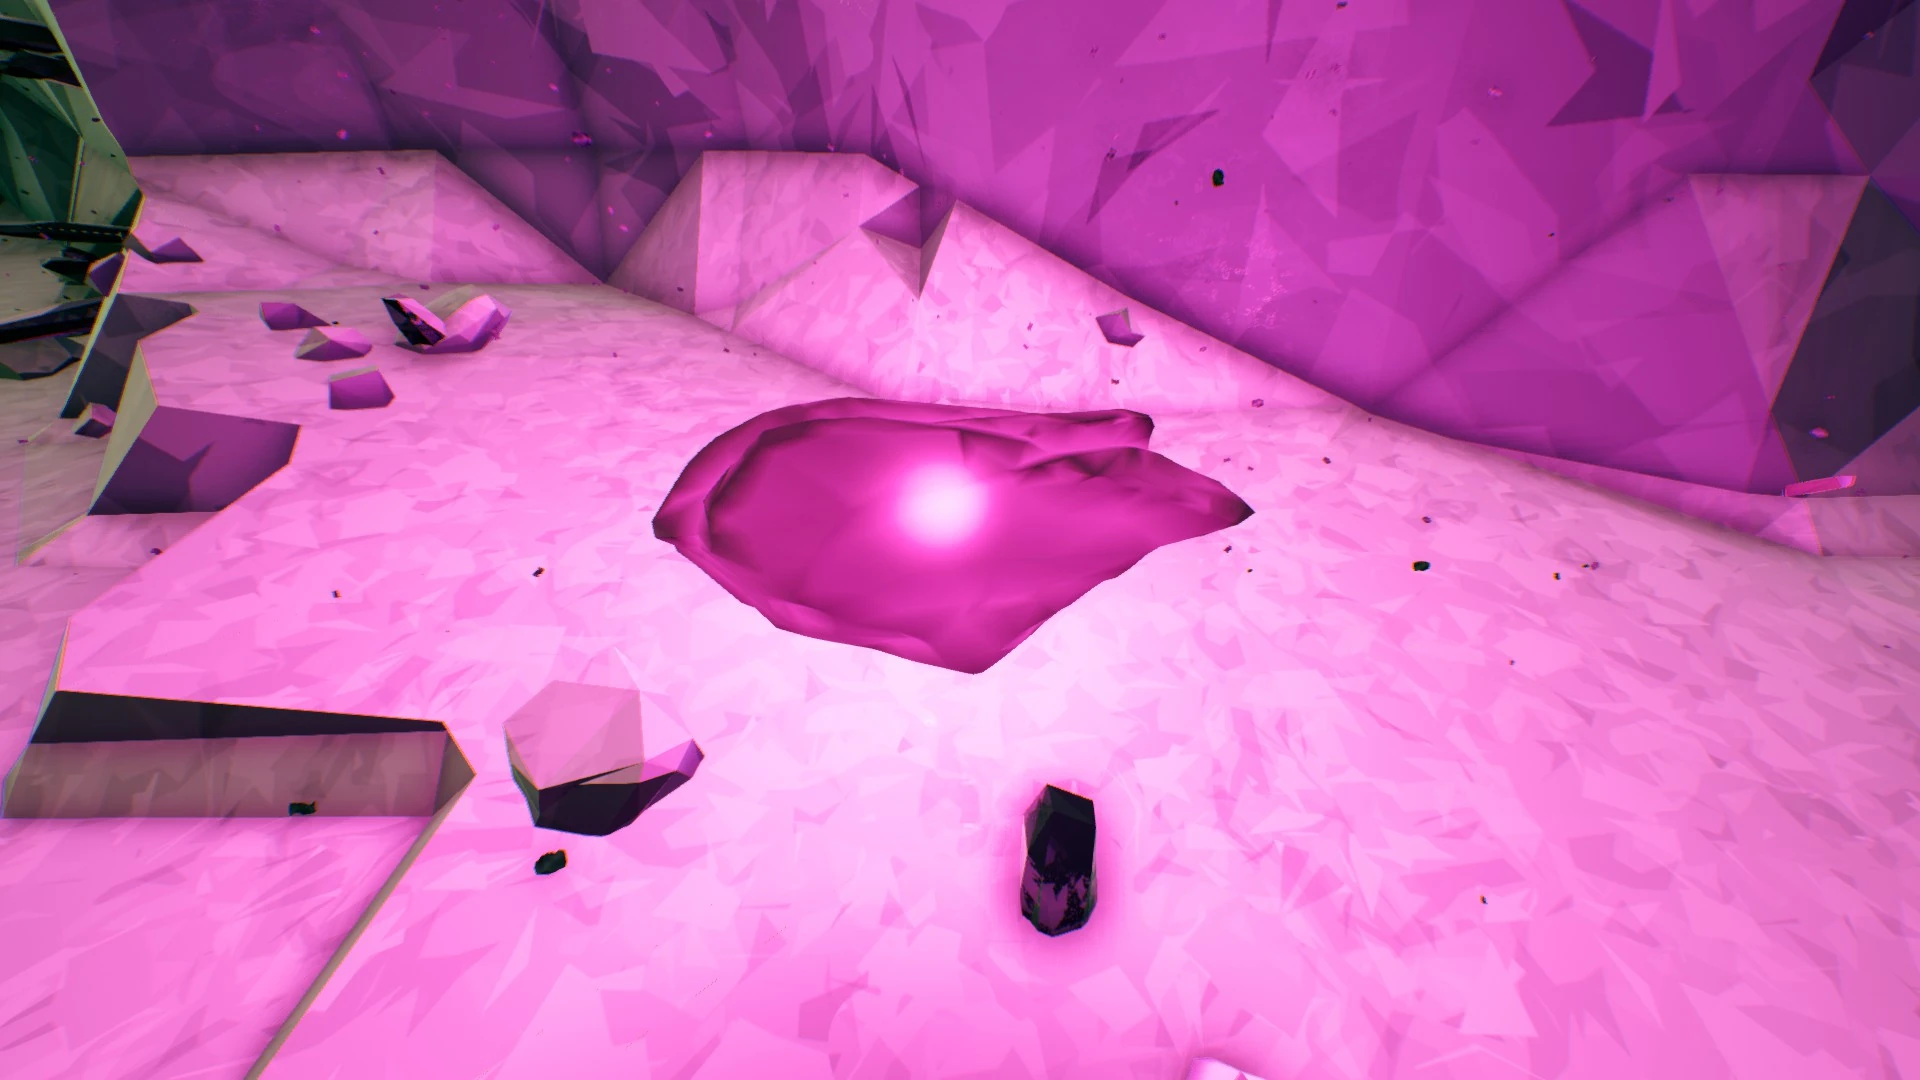
A brilliant magenta mineral only available as massive chunks embedded into the terrain, Bittergem can be found by looking for clusters of magenta crystals on the surfaces nearby. Once extracted, the chunk can be deposited into the M.U.L.E. and will be worth a very healthy amount of credits at the end of the mission. It is quite rare, only spawning with a 1/21 chance. Upon mission completion, the Bittergem will award 1000 - 1500 credits. |
|
|
|---|
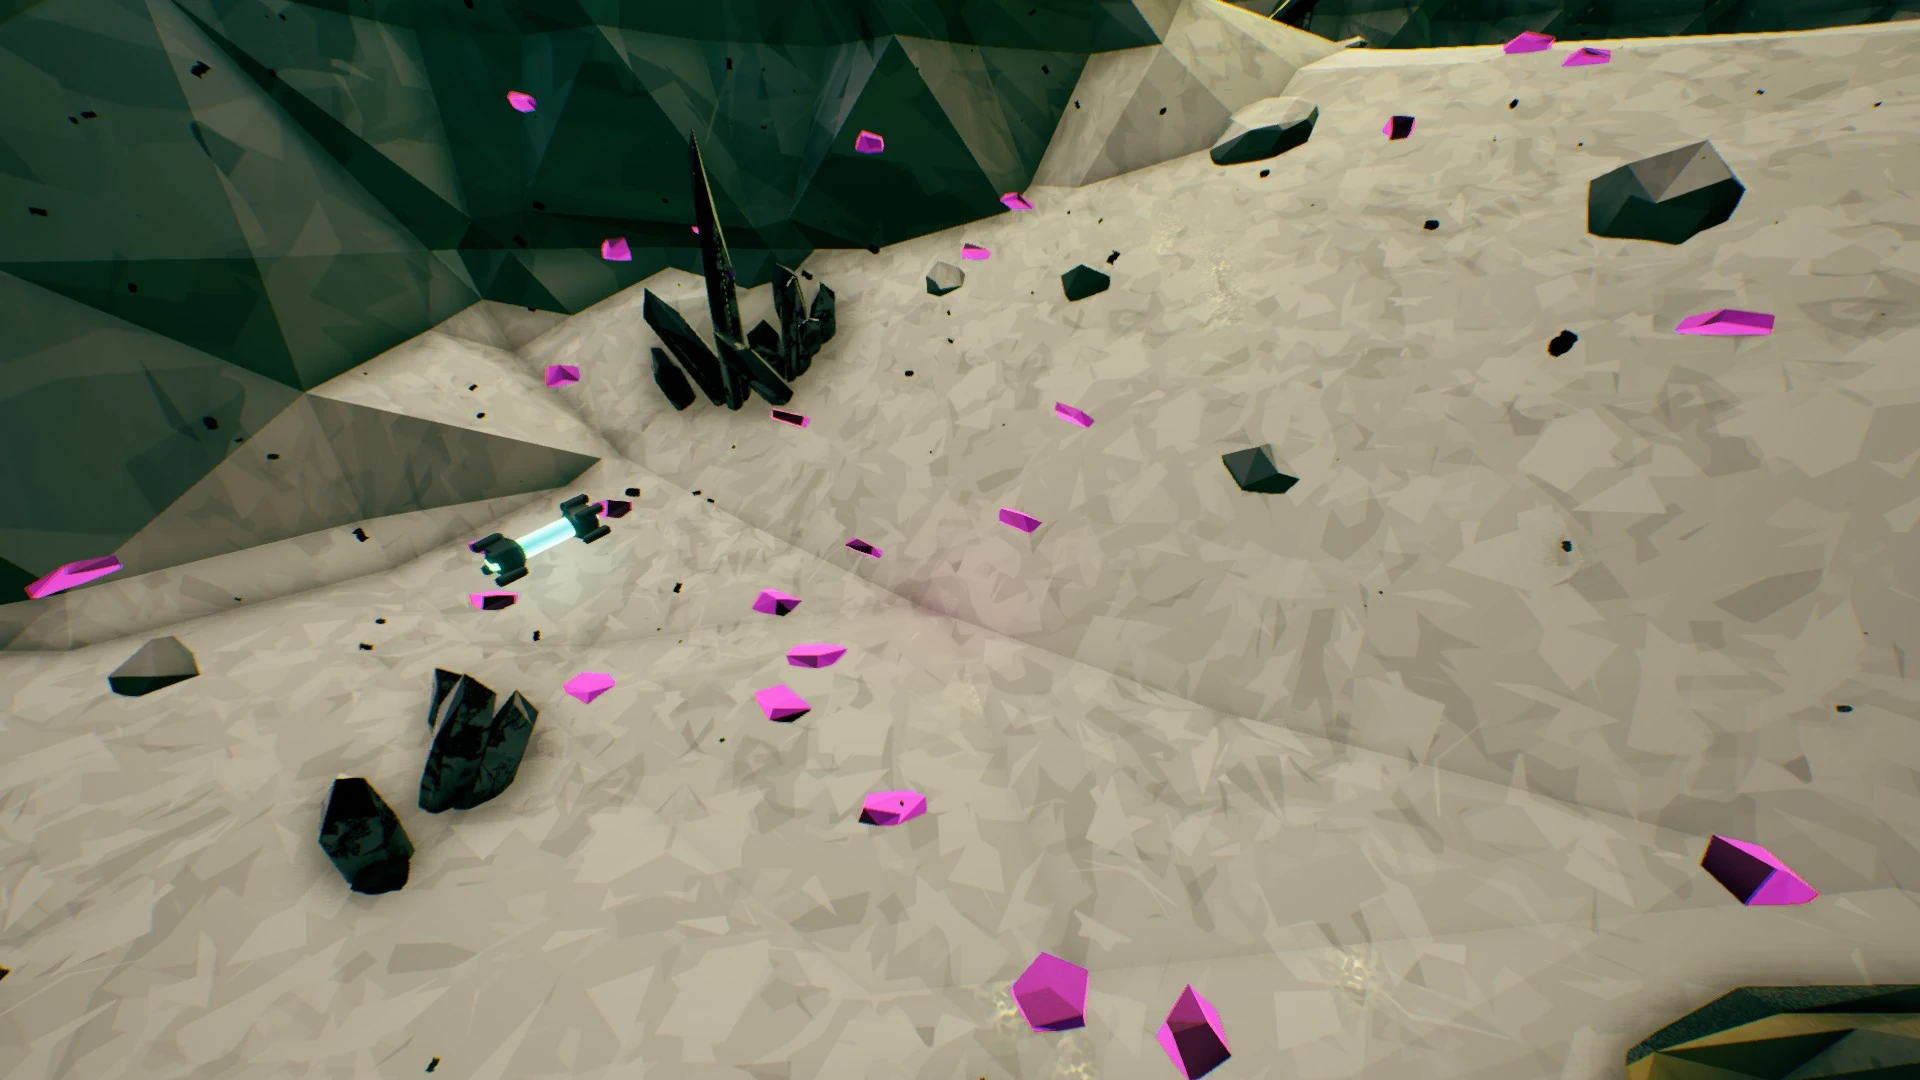
A strange black Rubik's cube-esque object with pulsating white grooves. It is a very rare resource that is not listed on any biome, and its uses are currently unknown. This 'mineral' (though it might better be described as an artifact) can be located by the presence of bright gray and glowing spikes on the surrounding rock. These spikes seem to pulse with energy, though once the artifact has been removed from the deposit the spikes fade to dull, lifeless grey. When examined, the characters will comment on its bizarre nature and strange appearance. It has a 1/26 chance to appear. Upon mission completion, the error cube will award 2000 experience. |
|
|
|---|
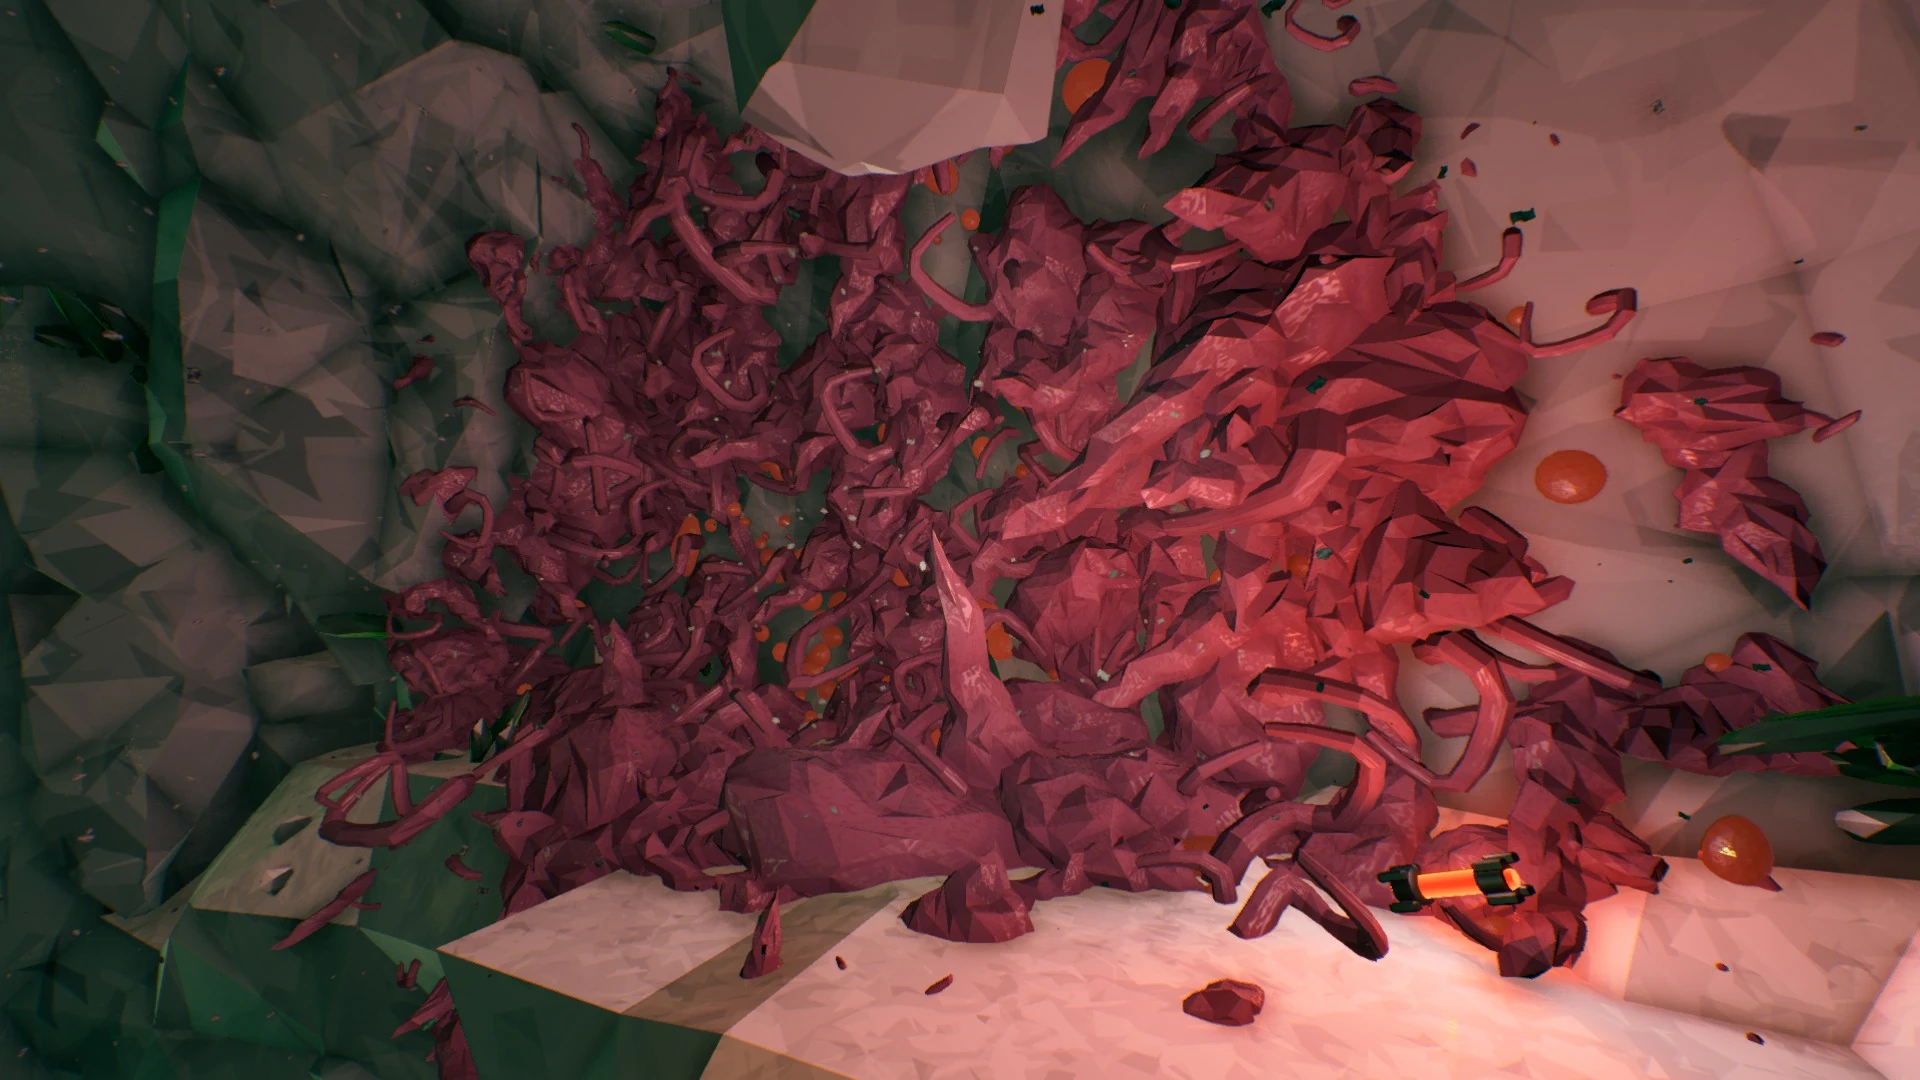
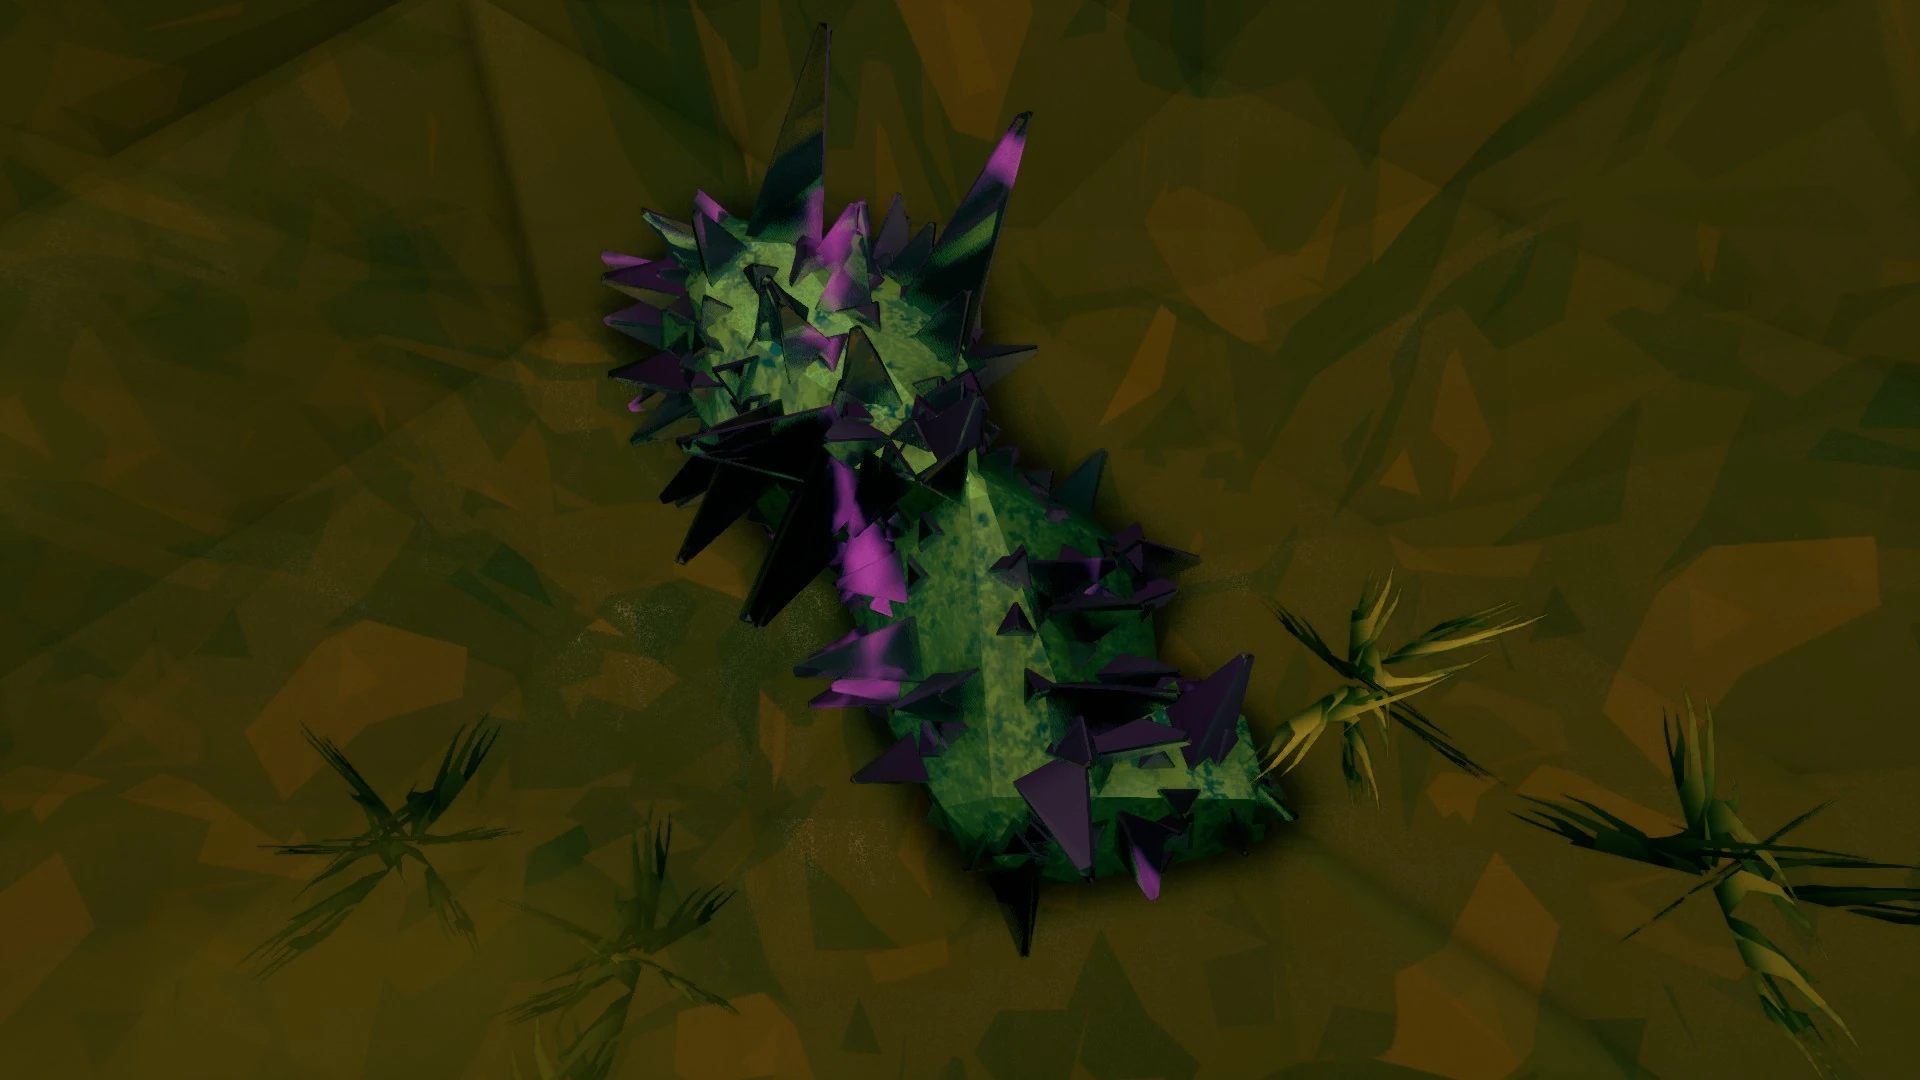
Tyrant Shards are massive chunks of plant material that drop from the Korlok Tyrant-Weed event. Upon defeating the mini-boss, the main bulb itself will drop 3 tyrant shards which provide 350 credits as well as 500 experience per shard. |
|
| ||||||||||||||||||||||||||||||
| |||||||||||