m (Text replacement - "{{Creature Health2" to "{{Creature Health") |
PunchyTurtle (talk | contribs) m (Added tip) |
||
| Line 78: | Line 78: | ||
== Tips == |
== Tips == |
||
| + | |||
| + | * Weapons with higher AoE are very effective against '''Glyphid Spawn'''. If you don't have an AoE weapon, using your [[pickaxe]] and/or [[Pickaxe#Modifications|power attack]] is most effective in eradicating the Spawn. |
||
== Gallery == |
== Gallery == |
||
Revision as of 17:12, 31 July 2020
 |
This article is a stub. You can help Deep Rock Galactic Wiki by expanding it. |
| “ | The Glyphid Swarmer is the smallest known variant of Glyphid, barely out of the larval stage and not yet to the point where they develop any significant armor plating. They're small enough to mostly be taken out with a single good stomp or a well-placed bullet, but don't let that fool you - their teeth and claws remain very razor-sharp, and are fully capable of puncturing both skin and heavy-duty cloth. Also, they jump. Management recommends protective headgear and goggles when dealing with swarmers. |
| — Miner's Manual Description |
Glyphid Swarmers are smaller, faster versions of the common Glyphid Grunt and often swarm the dwarves in large groups, serving as a distraction or overwhelming them with sheer numbers. They are one of the most agile of all Glyphid creatures, and will often leap around, towards, or run around their prey to startle them and attack from all directions. Swarmers are also found lurking in Swarmer Tunnels, and will awaken to attack when the nest is approached. Due to their small size and low health, the Driller will have an easier time incinerating Swarmers with his CRSPR Flamethrower than other dwarves. The Gunner's minigun should have no trouble outputting enough rounds to hit them all. The Engineer also has a distinct edge against swarmers, as his sentry can easily track the normally hard to hit swarm.
This creature has a Glacial Strata variant which is less vulnerable to cold but more vulnerable to heat, and a Radioactive Exclusion Zone variant which is immune to radiation and produces a small cloud of radiation upon death.
Swarmers can appear in a number of ways besides the usual roving packs and swarms. They spawn from glyphid tunnels surrounded by purple material; from clusters of glyphid eggs found in the Dense Biozone and Fungus Bogs; and from pheromone-filled egg sacs that Glyphid Dreadnoughts spit at dwarves.
The Glyphid Spawn produced by a Glyphid Brood Nexus are very similar to swarmers, but they're even smaller and less resilient.
Combat
Glyphid Swarmers' combat behaviour is identical to Glyphid Spawn. However, they have slightly more health.
Health and Armor
| Effective
Health Scaling |
Hazard Level | ||||||||||||
|---|---|---|---|---|---|---|---|---|---|---|---|---|---|
| Normal Mission | DD | EDD | |||||||||||
| 1 | 2 | 3 | 4 | 5 | 3 | 3.5 | 4.5 | 5 | 5.5 | ||||
| Player Count | 8.4 | 12 | 13.2 | 14.4 | 14.4 | 13.2 | 13.2 | 14.4 | 14.4 | 14.4 | |||
Attacks
| Damage Amount | Hazard Level | ||||||||||||
|---|---|---|---|---|---|---|---|---|---|---|---|---|---|
| Normal Mission | DD | EDD | |||||||||||
| 1 | 2 | 3 | 4 | 5 | 3 | 3.5 | 4.5 | 5 | 5.5 | ||||
| Player Count | 0.5 | 0.7 | 1.2 | 2 | 2.8 | 1.2 | 1.5 | 2.3 | 2.8 | 3 | |||
| 0.5 | 0.8 | 1.3 | 2.15 | 3 | 1.3 | 1.6 | 2.45 | 3 | 3.2 | ||||
| 0.5 | 0.9 | 1.4 | 2.3 | 3.2 | 1.4 | 1.7 | 2.6 | 3.2 | 3.4 | ||||
| 0.5 | 1 | 1.5 | 2.5 | 3.4 | 1.5 | 1.8 | 2.8 | 3.4 | 3.6 | ||||
| Details | |||||||||||||
| Damage Type | Melee | ||||||||||||
Variants
Glacial Strata Variant
Radioactive Exclusion Zone Variant
Tips
- Weapons with higher AoE are very effective against Glyphid Spawn. If you don't have an AoE weapon, using your pickaxe and/or power attack is most effective in eradicating the Spawn.
Gallery

Radioactive Exclusion Zone appearance
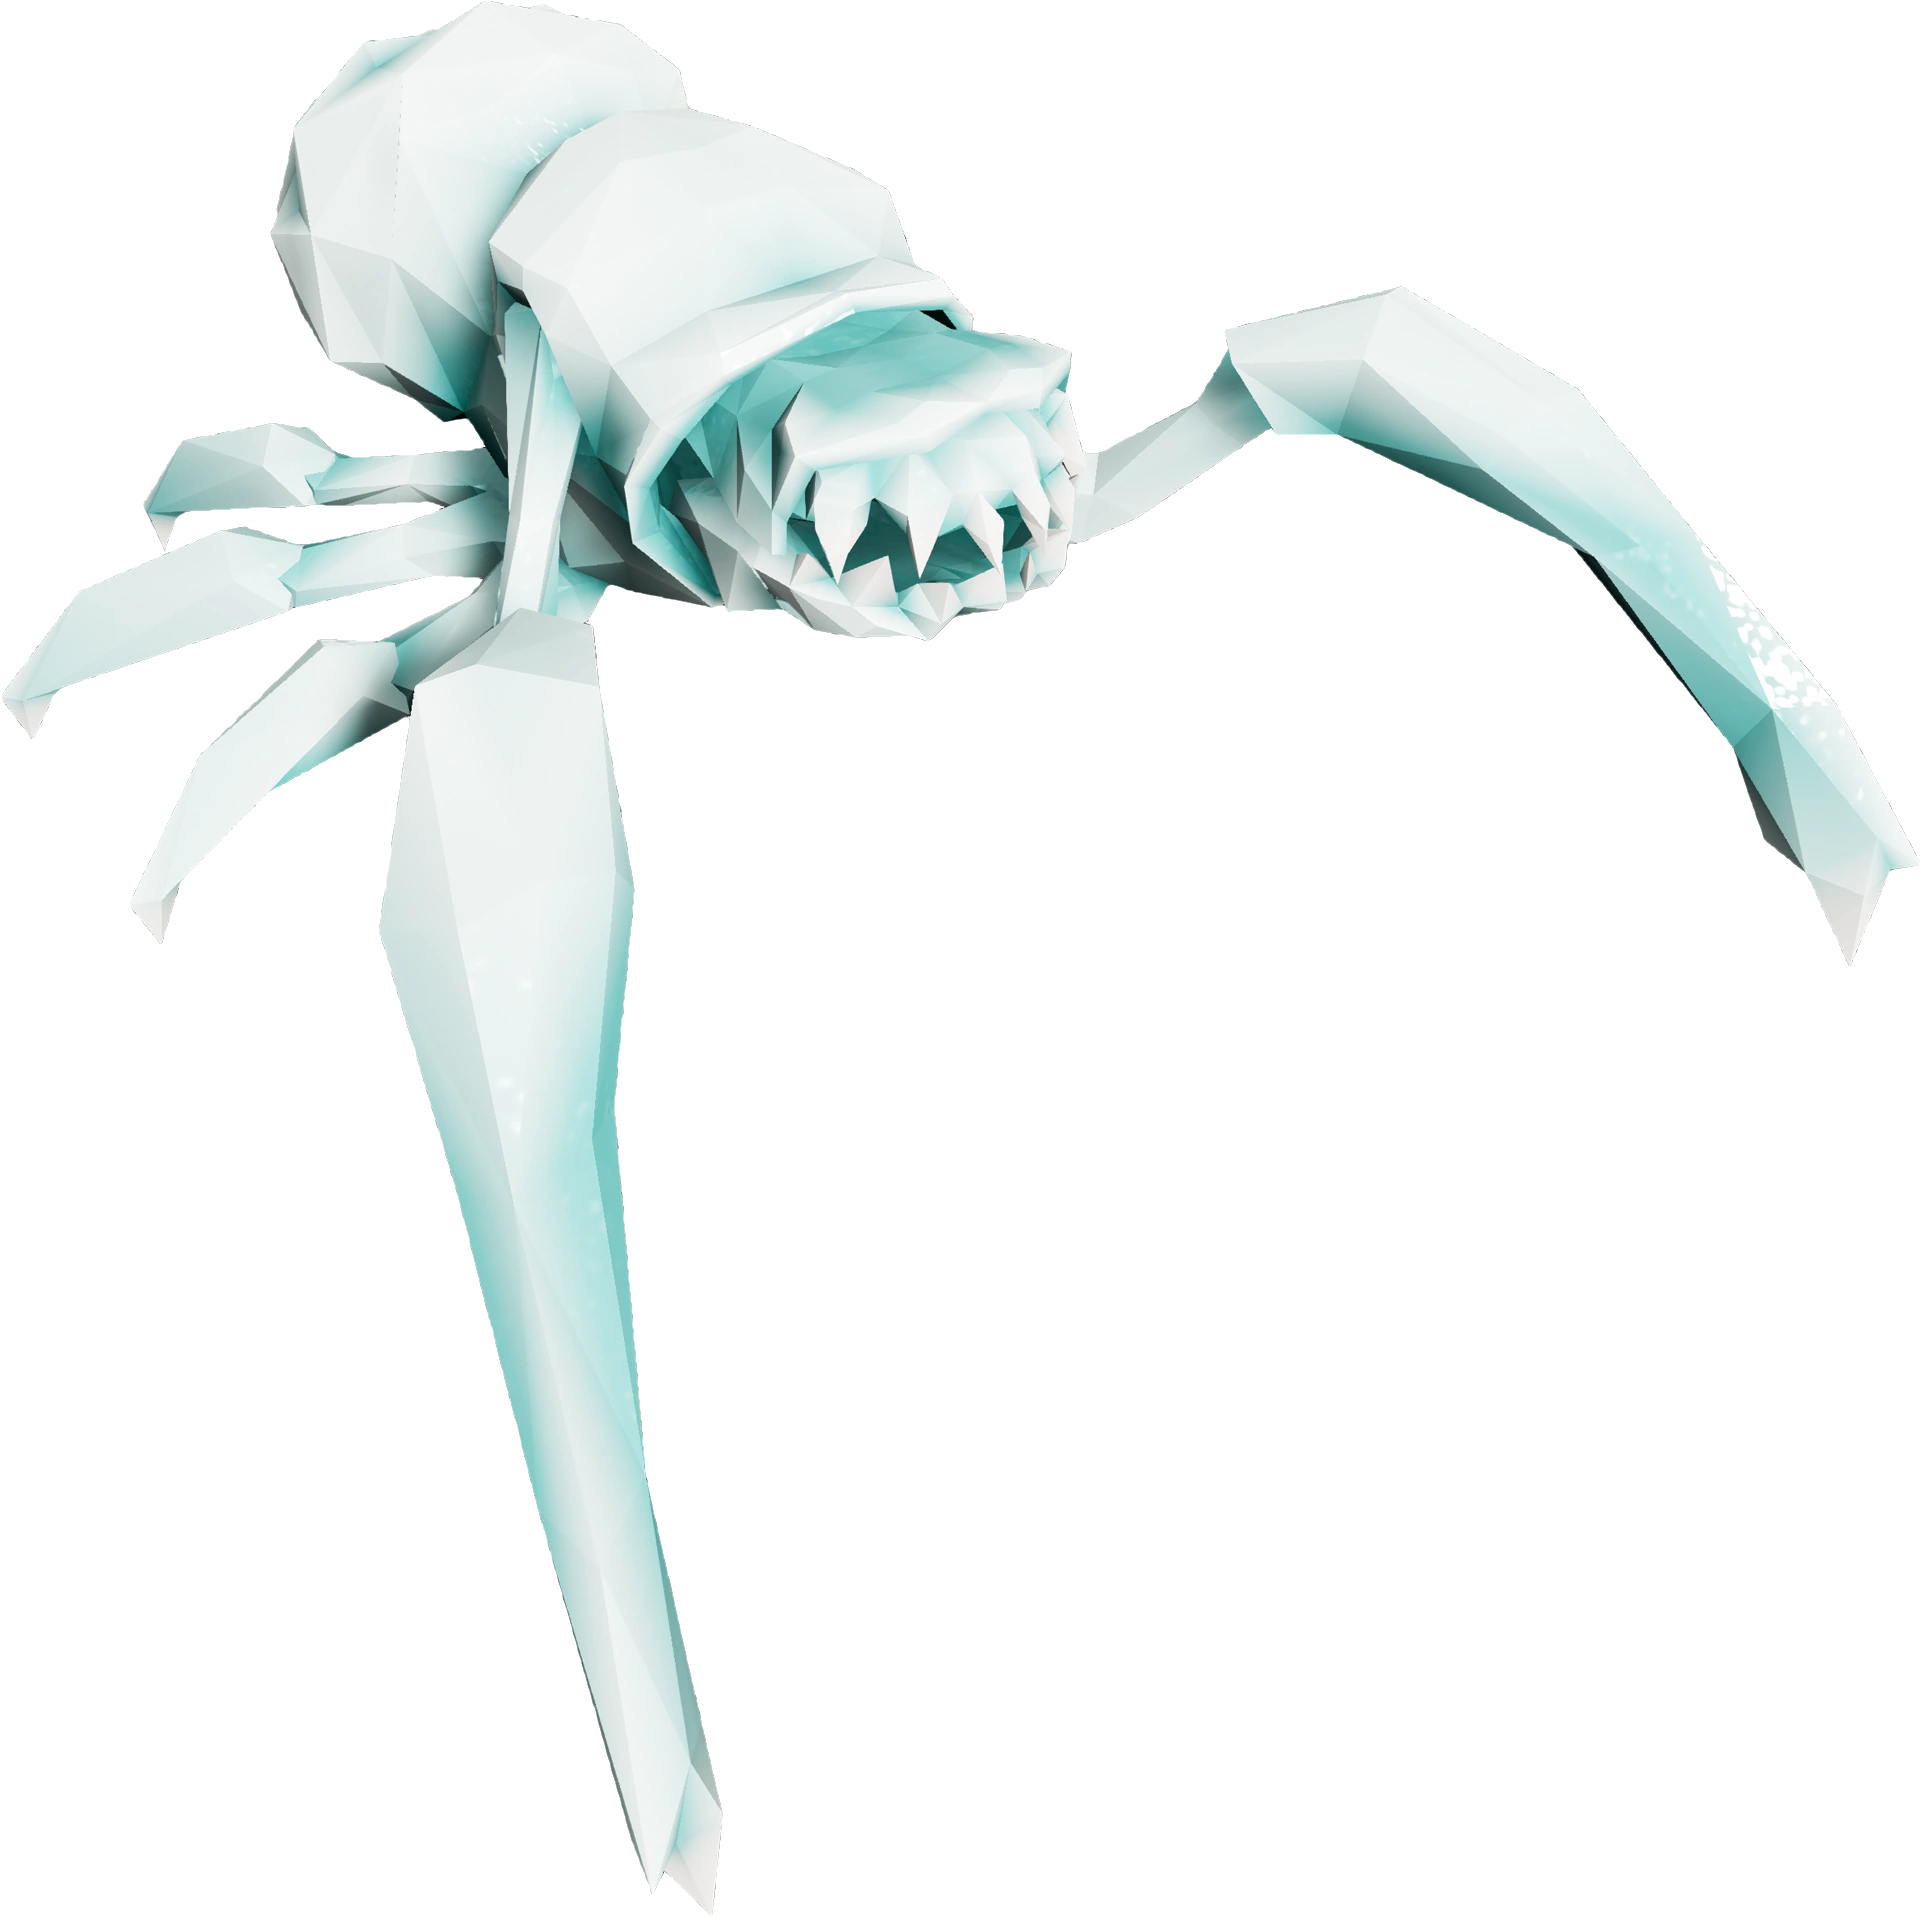
Glacial Strata appearance

Trivia
| |||||||||||||||||||||||||||||||||||||