(→Protect the Drilldozer: adding phases precisions, especially the duration) |
FabrizioBS (talk | contribs) (Leave strategy and tips to the strategy page, putting page back to proper version) Tag: Source edit |
||
| (15 intermediate revisions by 10 users not shown) | |||
| Line 1: | Line 1: | ||
{{Updated|U33}} |
{{Updated|U33}} |
||
| + | <div class="InvisibleAlignmentBox"><tabber> |
||
| + | Escort Duty= |
||
{{mission infobox |
{{mission infobox |
||
| name = Escort Duty |
| name = Escort Duty |
||
| Line 9: | Line 11: | ||
| xppayout = 2500 |
| xppayout = 2500 |
||
}} |
}} |
||
| + | |-| |
||
| + | Flying Rock= |
||
| + | {{Creature TabBox |
||
| + | | v1TabName = Common |
||
| + | | name = Flying Rock |
||
| + | | v1Image = Warning_placeholder_icon.png |
||
| + | | species = Other |
||
| + | | v1Biome = All |
||
| + | | category = Misc |
||
| + | | health = 250 |
||
| + | | v1Attack = Suicide Slam |
||
| + | | immunity = Stun<br> Electricity<br> Radiation<br> Poision |
||
| + | | v1Resistance = Electricity: 100%<br> Frost: 50%<br> Fire: 50% |
||
| + | | v1Weakness = Explosive: 100%<br> Melee: 200% |
||
| + | | weakpoint = None |
||
| + | | v1BurnTemperature = 101 |
||
| + | | v1DouseFireTemperature = 100 |
||
| + | | v1CoolingRate = 100 |
||
| + | | v1FreezeTemperature = -101 |
||
| + | | v1UnfreezeTemperature = 0 |
||
| + | | v1WarmingRate = 100 |
||
| + | }} |
||
| + | </tabber></div> |
||
[[{{PAGENAME}}]] is a mission type in ''{{Gamename}}''. |
[[{{PAGENAME}}]] is a mission type in ''{{Gamename}}''. |
||
| Line 17: | Line 42: | ||
Escort Duty involves escorting a [[Drilldozer]] (also known as the Dozer, and affectionately named "Doretta" by the [[Dwarves]]), a large automated drilling machine, protecting it from attacking Creatures and repairing damage done to it. The Drilldozer's health is segmented into three parts: the left side, right side, and body. The left side will take damage until it breaks, then the right side, then the body. Damage dealt to any part of the Drilldozer will only affect the active segment. However, it can only be repaired from the area of the Drilldozer it maps to. When a segment reaches 0%, [[Mission Control]] will announce that the Drilldozer has taken permanent damage. The damaged segment cannot be repaired anymore and the next segment will begin taking damage. If the Drilldozer's body runs out of health, the mission fails. |
Escort Duty involves escorting a [[Drilldozer]] (also known as the Dozer, and affectionately named "Doretta" by the [[Dwarves]]), a large automated drilling machine, protecting it from attacking Creatures and repairing damage done to it. The Drilldozer's health is segmented into three parts: the left side, right side, and body. The left side will take damage until it breaks, then the right side, then the body. Damage dealt to any part of the Drilldozer will only affect the active segment. However, it can only be repaired from the area of the Drilldozer it maps to. When a segment reaches 0%, [[Mission Control]] will announce that the Drilldozer has taken permanent damage. The damaged segment cannot be repaired anymore and the next segment will begin taking damage. If the Drilldozer's body runs out of health, the mission fails. |
||
| − | The Drilldozer's speed is determined by how many Creatures and Dwarves are nearby. The more Creatures are present, the slower it will move, leaving it vulnerable to attack |
+ | The Drilldozer's speed is determined by how many Creatures and Dwarves are nearby. The more Creatures are present, the slower it will move, leaving it vulnerable to attack. |
| − | When the Drilldozer runs out of fuel, it must be refueled by extracting oil from [[Oil Shale]]. This is done using the Fuel Canisters taken from back of the Drilldozer. The beams emitted from the Canisters |
+ | When the Drilldozer runs out of fuel, it must be refueled by extracting oil from [[Oil Shale]]. This is done using the Fuel Canisters taken from back of the Drilldozer. The beams emitted from the Canisters liquefy the shale, which automatically collects the fuel. Oil Shale can be mined normally (though it requires four pickaxe hits to break), but Dwarves cannot pick up the chunks. A delay similar to laser mining the ore is also applied when chunks are collected with the Canisters. It is faster to use the Canisters on the Oil Shale directly. Once a Canister is filled, it must be inserted back into the Drilldozer. When it is fully refueled, the Drilldozer must be manually restarted. |
| − | The Drilldozer will eventually arrive at the [[Ommoran Heartstone]], a large spherical structure. The Drilldozer must be manually started again to begin drilling into the Heartstone. Swarms will spawn frequently throughout this entire process. The Ommoran Shell's lifebar is divided in 4 parts, |
+ | The Drilldozer will eventually arrive at the [[Ommoran Heartstone]], a large spherical structure. The Drilldozer must be manually started again to begin drilling into the Heartstone. Swarms will spawn frequently throughout this entire process. The Ommoran Shell's lifebar is divided in 4 parts, the first two phases last about 60s, the second phase last about 75s, the last phase last about 100s, for a total of ~300 seconds (5 minutes) with the interval between the different phases. |
| + | |||
| + | The first phase will have a guaranteed [[Swarm|swarm]] spawn. |
||
| + | |||
| + | During the 2nd phase, once the outermost shell is broken, the Heartstone will summon Flying Rocks, dropping them onto the Drilldozer. These deal 50 Kinetic damage on a 2.5m radius, with the damage scaling with [[Difficulty Scaling|Hazard level]]. |
||
| + | |||
| + | The third phase will have another guaranteed [[Swarm|swarm]] spawn. |
||
| + | |||
| + | For the 4h phase, when the last shell is exposed, Ommoran Beamers will raise out of the ground, emitting lasers at the Drilldozer, dealing damage to it. On top of that, enemy spawn rate is increased (but not as much as in a [[Swarm|swarm]]). These crystals must be mined or drilled out to stop the beams. The drilling is completed when the Heartstone itself is exposed, which can then be picked up and deposited. Doing so completes the primary objective. Doretta's head can also be taken back in the Drop Pod. This yields no monetary or experience benefits, but the head will appear in the mission complete screen, off to the side. |
||
| + | |||
| ⚫ | |||
| + | === Health and Armor === |
||
| + | === Flying Rock === |
||
| + | {{Creature Health |
||
| + | |health = 250 |
||
| + | |scaling = Special |
||
| + | }} |
||
| + | === Attacks === |
||
| + | === Flying Rock === |
||
| + | {{Creature Attack |
||
| + | | attackName = Suicide Slam |
||
| + | | attackType = AoE Attack |
||
| + | | damage = 50 |
||
| + | | damageType = Kinetic |
||
| + | | radius = 2.5 |
||
| + | | maxDamageRadius = 2.5 |
||
| + | | minAreaDamage = 100 |
||
| + | }} |
||
== Cave == |
== Cave == |
||
Compared to the caves seen in other mission types, most of the "rooms" are not connected by tunnels or Compressed Dirt barriers. The only way to proceed is by accompanying the Drilldozer, which is programmed to follow a path to the Ommoran Hearthstone. This encourages the team to stay by the Dozer and protect it. Wherever the Dozer digs creates large tunnels in its wake, which can be navigated through later and are often necessary to use for the Extraction phase. The Dozer will only ever run out of fuel in the middle of a room, making Oil Shales easier to locate and collect. The Heartstone itself is found in a larger room and is fairly easy to spot given its dark red glow. |
Compared to the caves seen in other mission types, most of the "rooms" are not connected by tunnels or Compressed Dirt barriers. The only way to proceed is by accompanying the Drilldozer, which is programmed to follow a path to the Ommoran Hearthstone. This encourages the team to stay by the Dozer and protect it. Wherever the Dozer digs creates large tunnels in its wake, which can be navigated through later and are often necessary to use for the Extraction phase. The Dozer will only ever run out of fuel in the middle of a room, making Oil Shales easier to locate and collect. The Heartstone itself is found in a larger room and is fairly easy to spot given its dark red glow. |
||
| − | |||
| ⚫ | |||
| − | * Because it is necessary to guard Doretta at all times, it is not suggested to try completing tertiary objectives such as Cargo Crates or Machine Events while she is in transit. Wait until the Heartstone has been extracted, then return to their location and complete them. |
||
| − | * [[Experimental_Plasma_Charger#Thin_Containment_Field|"EPC Mining"]] or using the Driller's [[Satchel Charge]] on an [[Oil Shale]] deposit and collecting the chunks with the Fuel Canister is the fastest way to refuel. Picking up the chunks still has a 0.45s delay similar to mining. |
||
| − | * In the final room, mine or drill out the features jutting out of the rock to make for a flatter fighting area. |
||
| − | * When cracking the shell of the Ommoran Heartstone, have at least one Dwarf stay by the Drilldozer to repair it while the rest of the team deals with the Swarms and the Heartstone's defenses. |
||
| − | * Mining out an Ommoran Beamer from its base will cause the entire structure to collapse, as such the Driller [[Reinforced Power Drills]] make quick work of them. |
||
| − | * Using a weapon that destroys terrain, such as the [["Thunderhead" Heavy Autocannon]], you can quickly disarm the Ommoran Beamers by shooting the tip of the Beamer. |
||
| − | * Placing platforms around the Drilldozers base will allow better contrast between the bugs and the color of the Ommoran Bedrock that is below the Drilldozer during the drilling process, allowing you to more easily spot what type and how many bugs are attacking the Drilldozer. |
||
| − | ** Keep in mind that after the Drilldozer breaks through each section of the Ommoran Heartstone, the platforms will be destroyed. |
||
== Objectives == |
== Objectives == |
||
| Line 99: | Line 141: | ||
* This mission type was added in [[Update 32: Roughnecks At Work]]. |
* This mission type was added in [[Update 32: Roughnecks At Work]]. |
||
* Repairing the Drilldozer uses various tools instead of the typical hammer used when constructing/repairing objects, including a pipe wrench and an oil can. |
* Repairing the Drilldozer uses various tools instead of the typical hammer used when constructing/repairing objects, including a pipe wrench and an oil can. |
||
| − | * It is possible to pet the Drilldozer by pressing the E key on its "head", found at the top of its body behind the drill. |
+ | * It is possible to pet the Drilldozer by pressing the [USE] ("E" by default) key on its "head", found at the top of its body behind the drill. |
* Pressing the Salute key while holding a Fuel Canister causes the dwarf to say a beer-holding salute line. |
* Pressing the Salute key while holding a Fuel Canister causes the dwarf to say a beer-holding salute line. |
||
Revision as of 23:24, 15 August 2021
| Escort Duty | |
|---|---|
| Mission Details | |
| Cave Type | Linear |
| Deposit Type | M.U.L.E |
| Objective(s) | Escort the Drill, Crack the Shell, Return Ommoran Heartstone |
| Payout | |
| XP Payout | |
Escort Duty is a mission type in Deep Rock Galactic.
Escort the Drilldozer while it makes its way to the Ommoran Heartstone.
Protect the Drilldozer
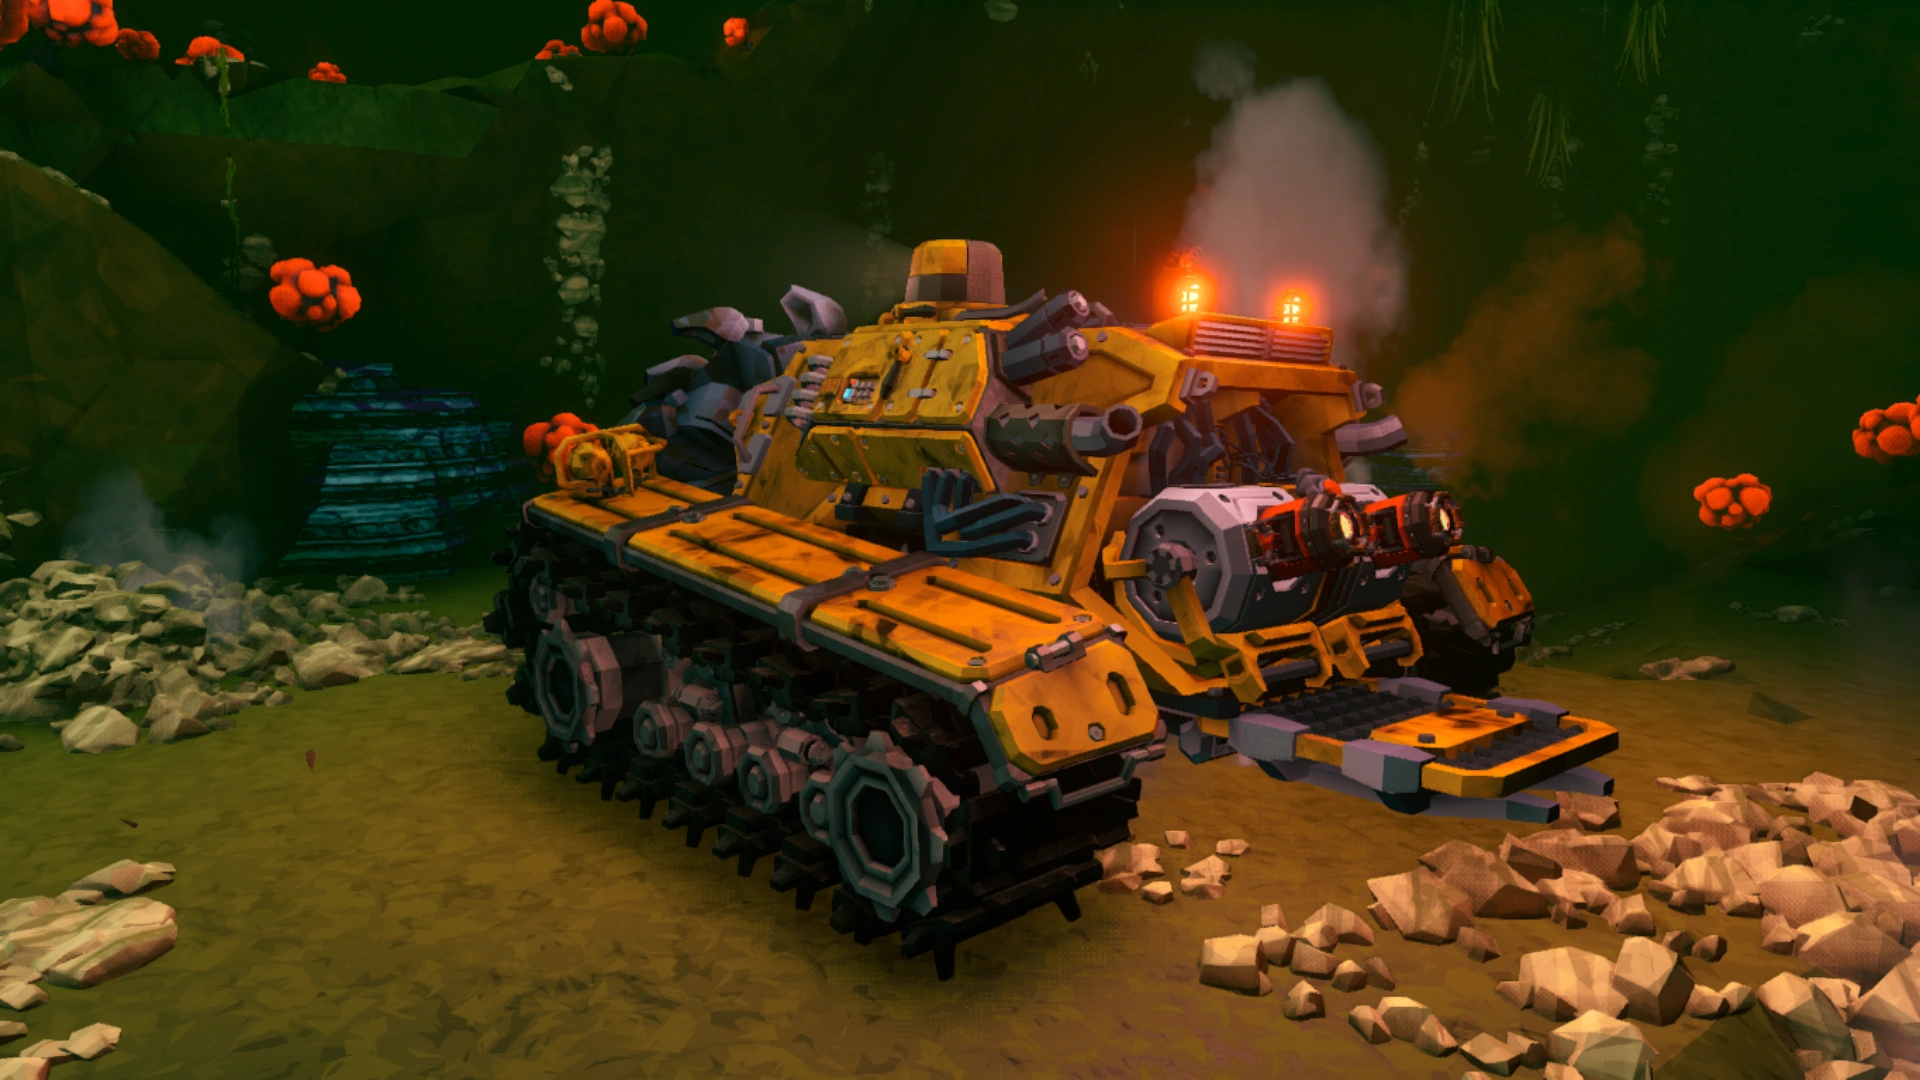
Escort Duty involves escorting a Drilldozer (also known as the Dozer, and affectionately named "Doretta" by the Dwarves), a large automated drilling machine, protecting it from attacking Creatures and repairing damage done to it. The Drilldozer's health is segmented into three parts: the left side, right side, and body. The left side will take damage until it breaks, then the right side, then the body. Damage dealt to any part of the Drilldozer will only affect the active segment. However, it can only be repaired from the area of the Drilldozer it maps to. When a segment reaches 0%, Mission Control will announce that the Drilldozer has taken permanent damage. The damaged segment cannot be repaired anymore and the next segment will begin taking damage. If the Drilldozer's body runs out of health, the mission fails.
The Drilldozer's speed is determined by how many Creatures and Dwarves are nearby. The more Creatures are present, the slower it will move, leaving it vulnerable to attack.
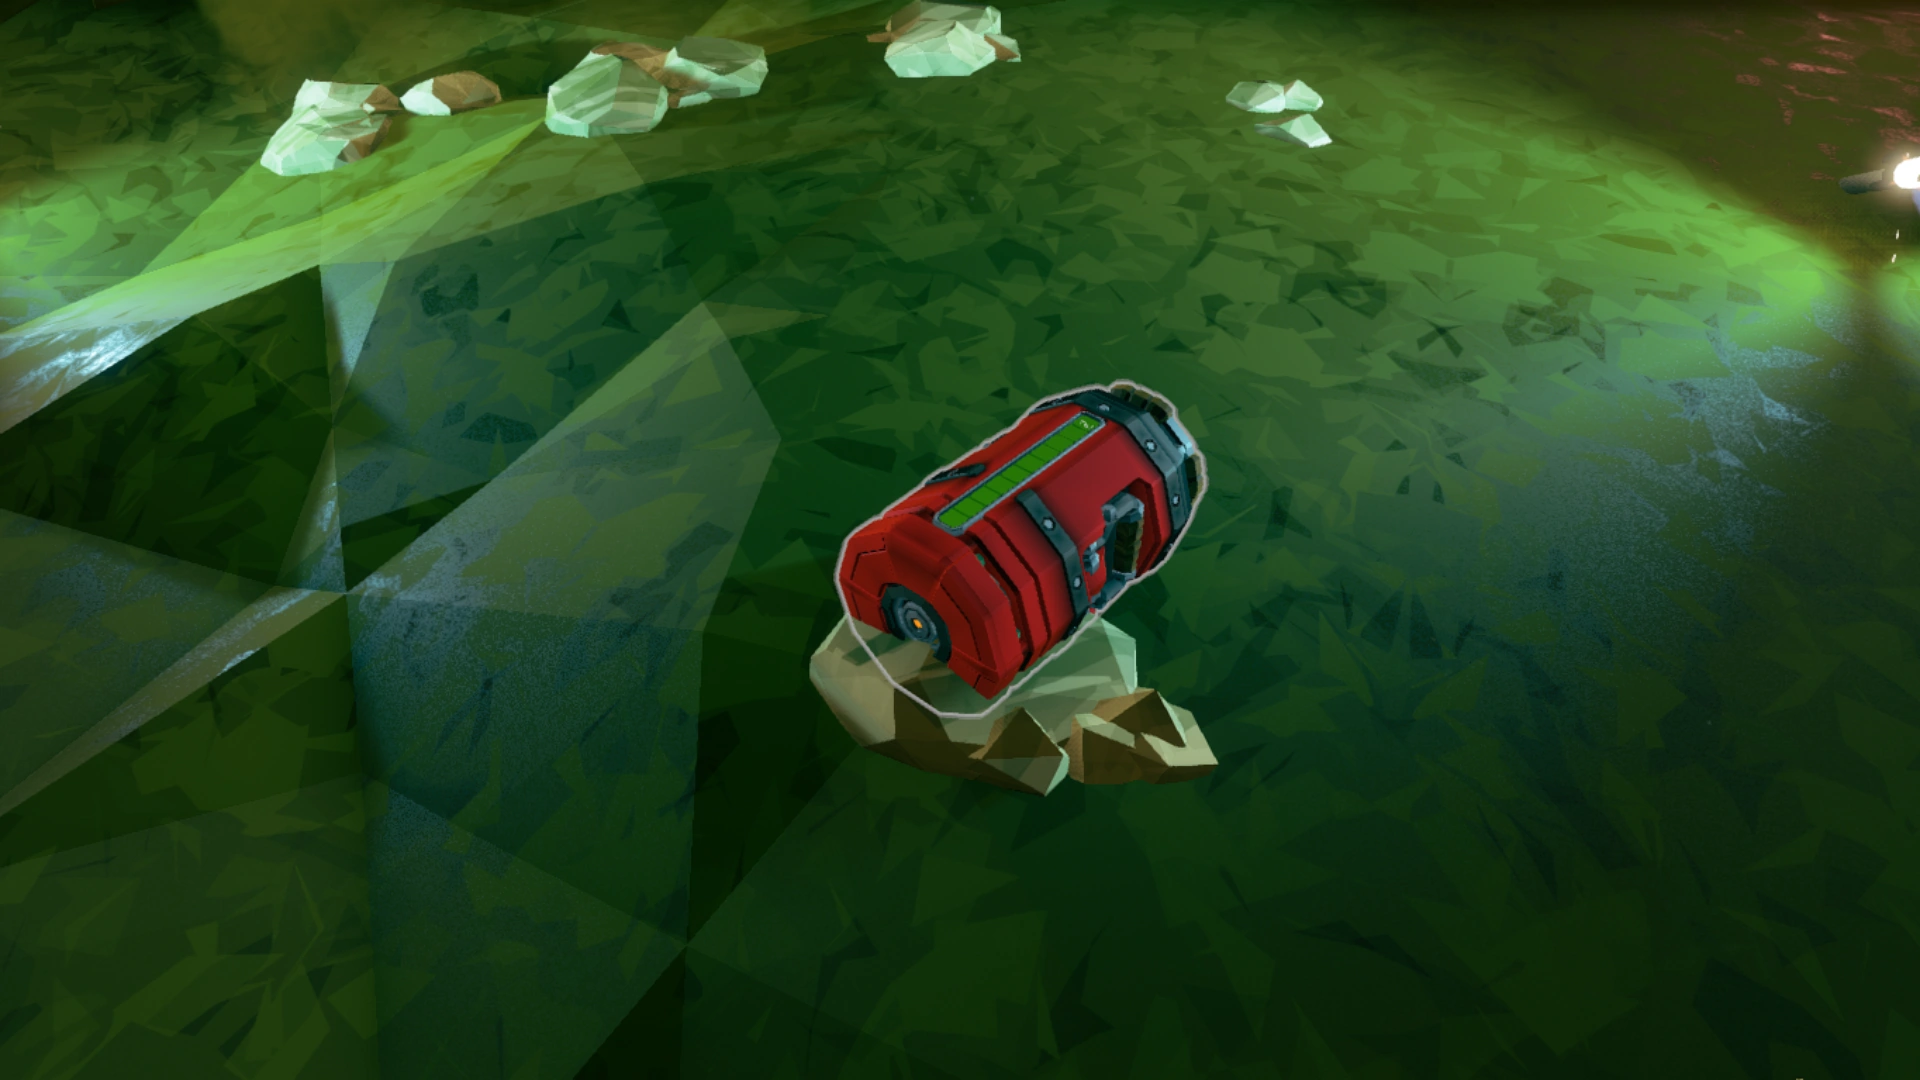
When the Drilldozer runs out of fuel, it must be refueled by extracting oil from Oil Shale. This is done using the Fuel Canisters taken from back of the Drilldozer. The beams emitted from the Canisters liquefy the shale, which automatically collects the fuel. Oil Shale can be mined normally (though it requires four pickaxe hits to break), but Dwarves cannot pick up the chunks. A delay similar to laser mining the ore is also applied when chunks are collected with the Canisters. It is faster to use the Canisters on the Oil Shale directly. Once a Canister is filled, it must be inserted back into the Drilldozer. When it is fully refueled, the Drilldozer must be manually restarted.
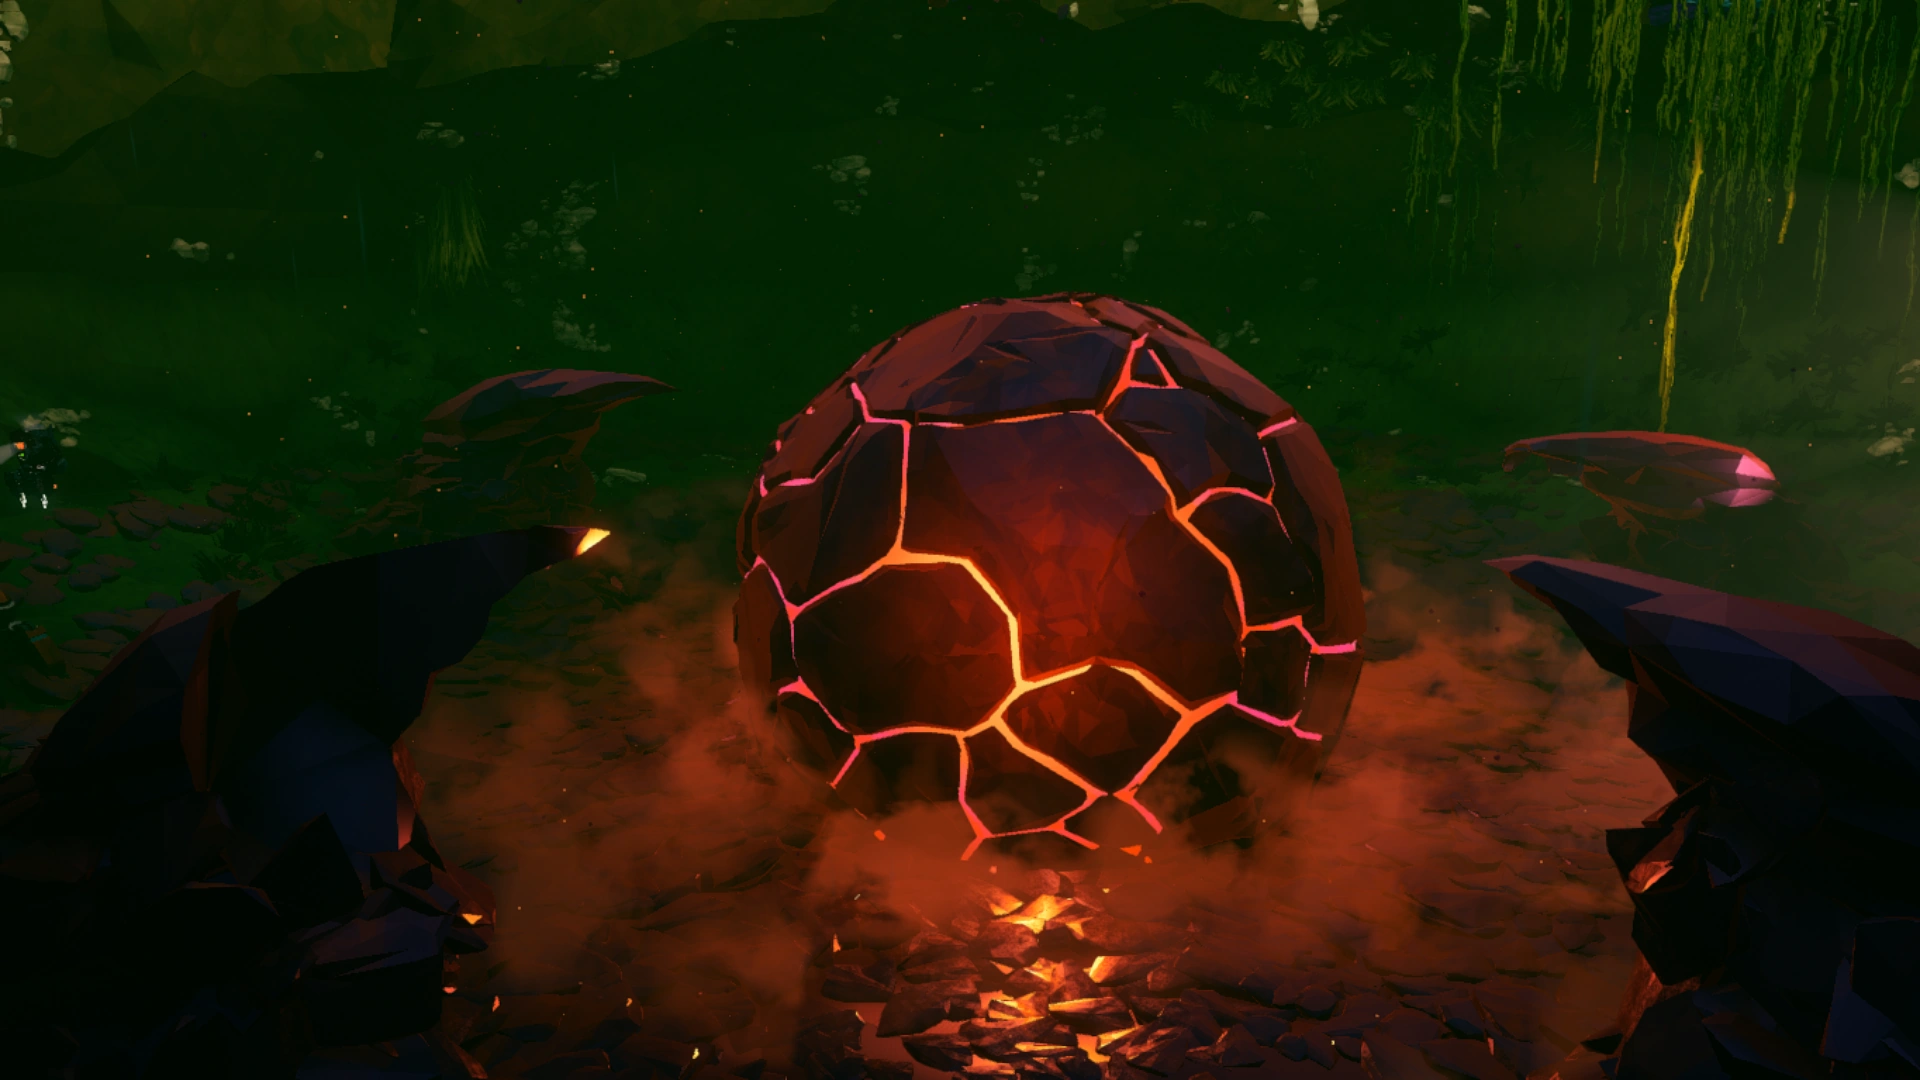
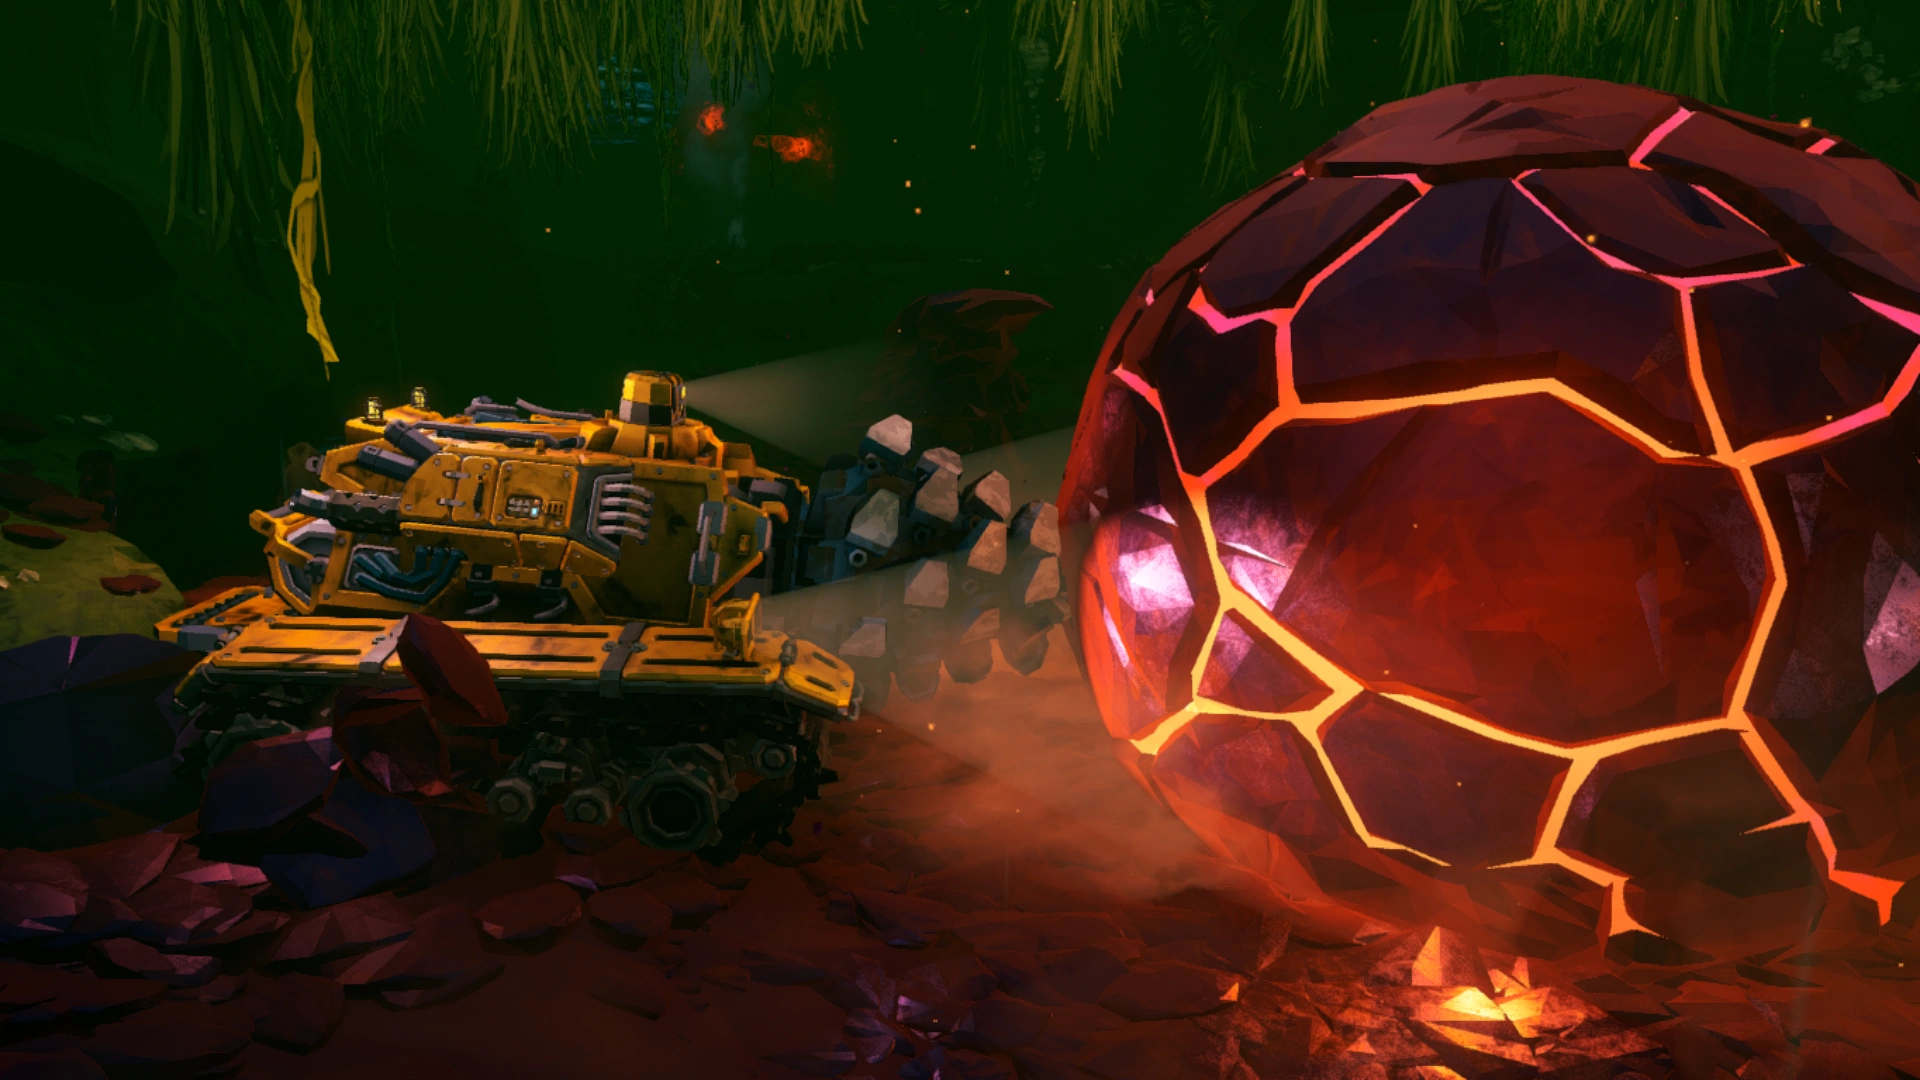
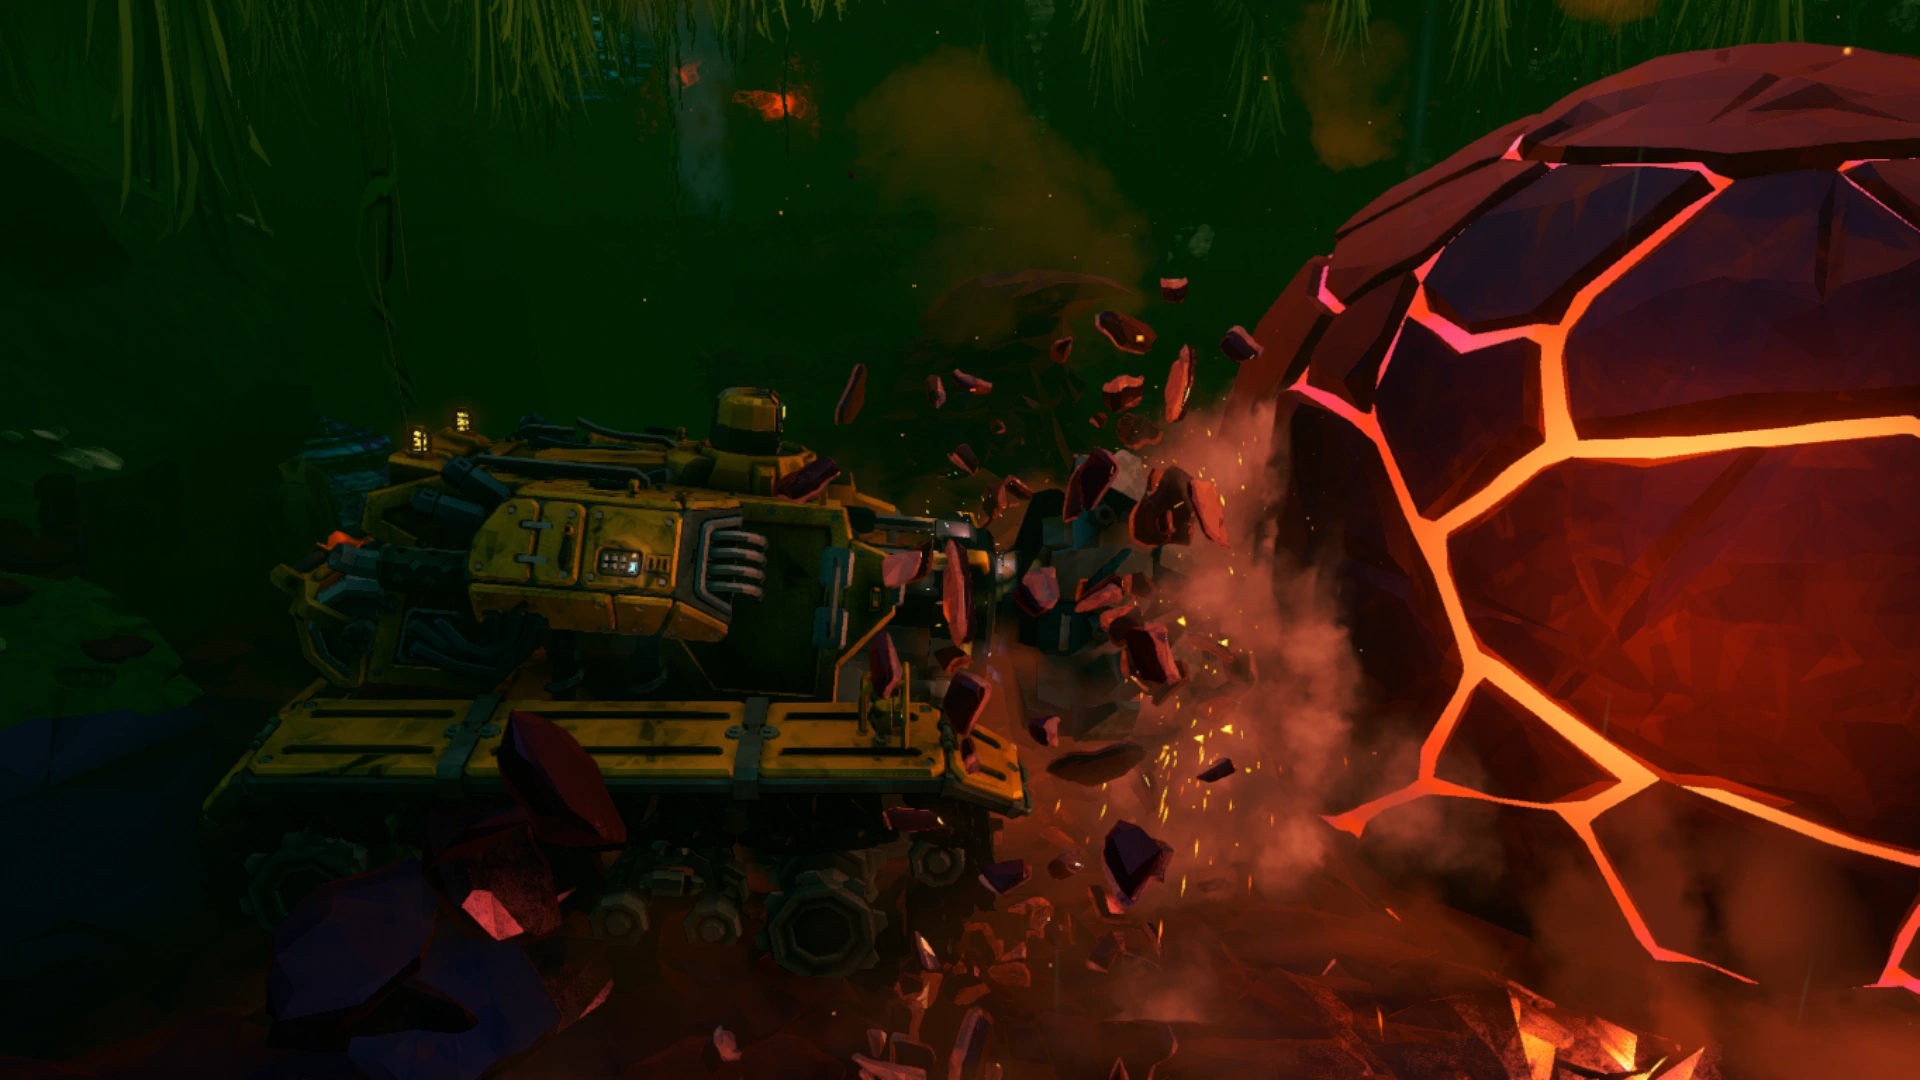
The Drilldozer will eventually arrive at the Ommoran Heartstone, a large spherical structure. The Drilldozer must be manually started again to begin drilling into the Heartstone. Swarms will spawn frequently throughout this entire process. The Ommoran Shell's lifebar is divided in 4 parts, the first two phases last about 60s, the second phase last about 75s, the last phase last about 100s, for a total of ~300 seconds (5 minutes) with the interval between the different phases.
The first phase will have a guaranteed swarm spawn.
During the 2nd phase, once the outermost shell is broken, the Heartstone will summon Flying Rocks, dropping them onto the Drilldozer. These deal 50 Kinetic damage on a 2.5m radius, with the damage scaling with Hazard level.
The third phase will have another guaranteed swarm spawn.
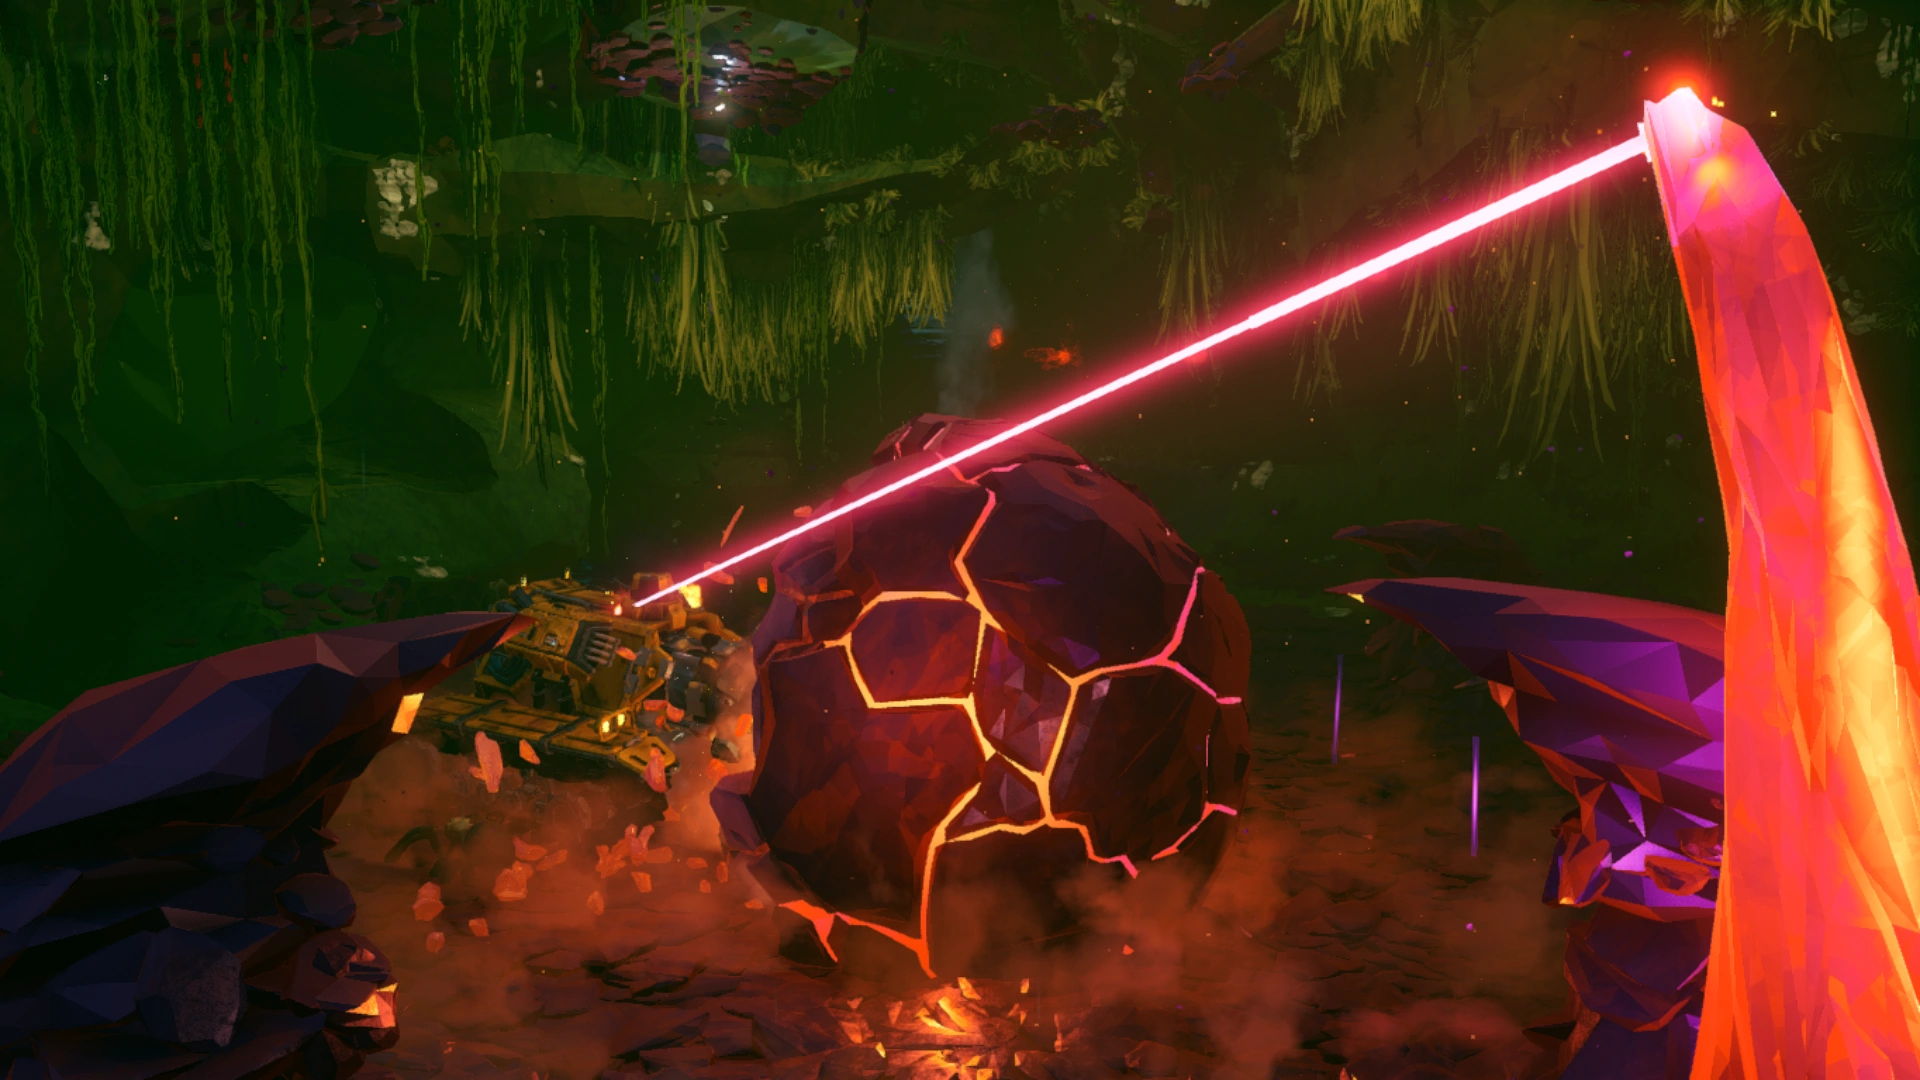
For the 4h phase, when the last shell is exposed, Ommoran Beamers will raise out of the ground, emitting lasers at the Drilldozer, dealing damage to it. On top of that, enemy spawn rate is increased (but not as much as in a swarm). These crystals must be mined or drilled out to stop the beams. The drilling is completed when the Heartstone itself is exposed, which can then be picked up and deposited. Doing so completes the primary objective. Doretta's head can also be taken back in the Drop Pod. This yields no monetary or experience benefits, but the head will appear in the mission complete screen, off to the side.
Combat
Health and Armor
Flying Rock
| Effective
Health Scaling |
Hazard Level | ||||||||||||
|---|---|---|---|---|---|---|---|---|---|---|---|---|---|
| Normal Mission | DD | EDD | |||||||||||
| 1 | 2 | 3 | 4 | 5 | 3 | 3.5 | 4.5 | 5 | 5.5 | ||||
| Player Count | 112.5 | 162.5 | 200 | 250 | 300 | 200 | 212.5 | 275 | 300 | 325 | |||
| 137.5 | 187.5 | 225 | 250 | 300 | 225 | 237.5 | 275 | 300 | 325 | ||||
| 175 | 225 | 250 | 300 | 350 | 250 | 275 | 325 | 350 | 375 | ||||
| 212.5 | 250 | 275 | 325 | 375 | 275 | 300 | 350 | 375 | 400 | ||||
Attacks
Flying Rock
| AoE Attack | |||||||||||||
|---|---|---|---|---|---|---|---|---|---|---|---|---|---|
| Area Damage | Hazard Level | ||||||||||||
| Normal Mission | DD | EDD | |||||||||||
| 1 | 2 | 3 | 4 | 5 | 3 | 3.5 | 4.5 | 5 | 5.5 | ||||
| Player Count | 25 | 35 | 60 | 100 | 140 | 60 | 75 | 115 | 140 | 150 | |||
| 25 | 40 | 65 | 107.5 | 150 | 65 | 80 | 122.5 | 150 | 160 | ||||
| 25 | 45 | 70 | 115 | 160 | 70 | 85 | 130 | 160 | 170 | ||||
| 25 | 50 | 75 | 125 | 170 | 75 | 90 | 140 | 170 | 180 | ||||
| Details | |||||||||||||
| Damage Type | Kinetic | Radius: 2.5 m | |||||||||||
Cave
Compared to the caves seen in other mission types, most of the "rooms" are not connected by tunnels or Compressed Dirt barriers. The only way to proceed is by accompanying the Drilldozer, which is programmed to follow a path to the Ommoran Hearthstone. This encourages the team to stay by the Dozer and protect it. Wherever the Dozer digs creates large tunnels in its wake, which can be navigated through later and are often necessary to use for the Extraction phase. The Dozer will only ever run out of fuel in the middle of a room, making Oil Shales easier to locate and collect. The Heartstone itself is found in a larger room and is fairly easy to spot given its dark red glow.
Objectives
Primary Objective
- Escort the Drilldozer
- Refuel the Drilldozer 1-2 times
- Continue escort
- Crack the Shell of the Ommoran Heartstone
- Return the Ommoran Heartstone
The amount of times the Drilldozer will need to be refueled depends on the mission length.
| Length | Complexity | Refueling Stops |
|---|---|---|
| 1 | ||
| 2 |
Secondary Objective
|
|
|
Gallery

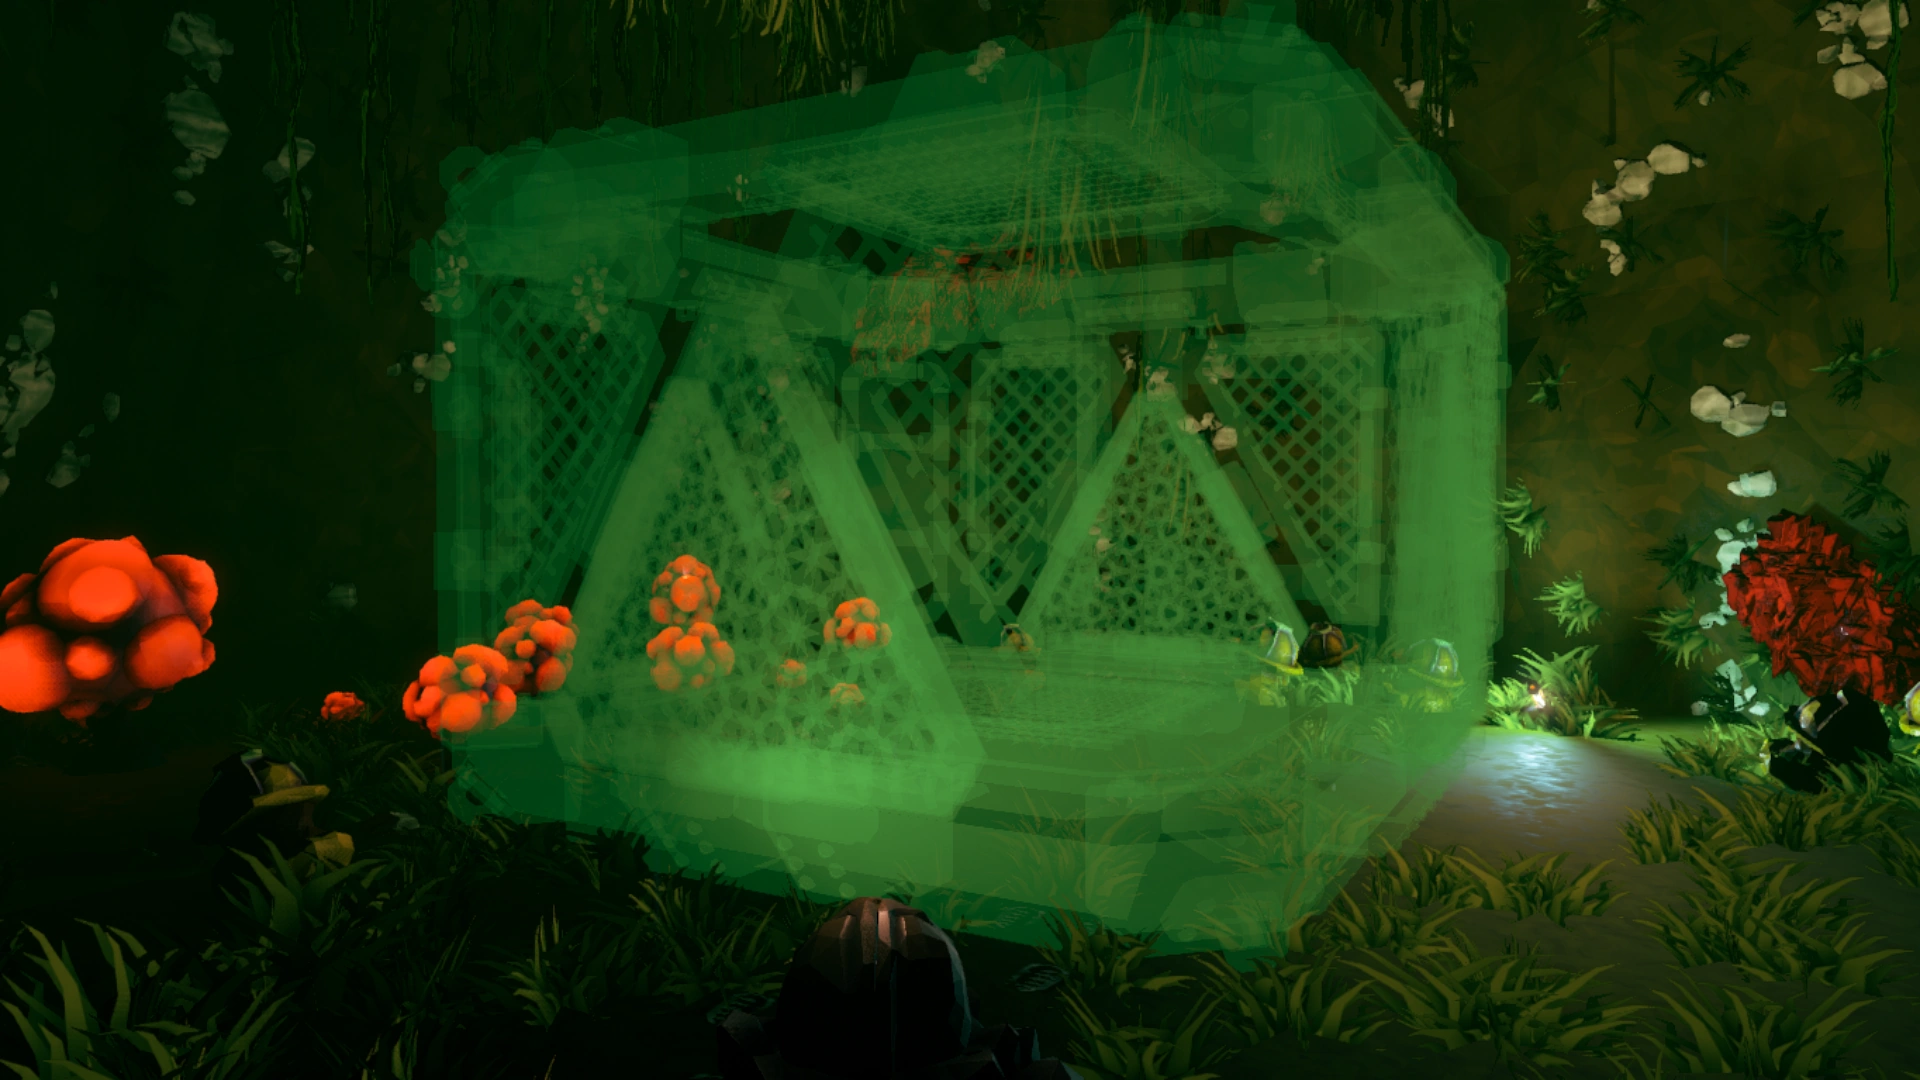
Hologram of the Heavy Cargo Drop.
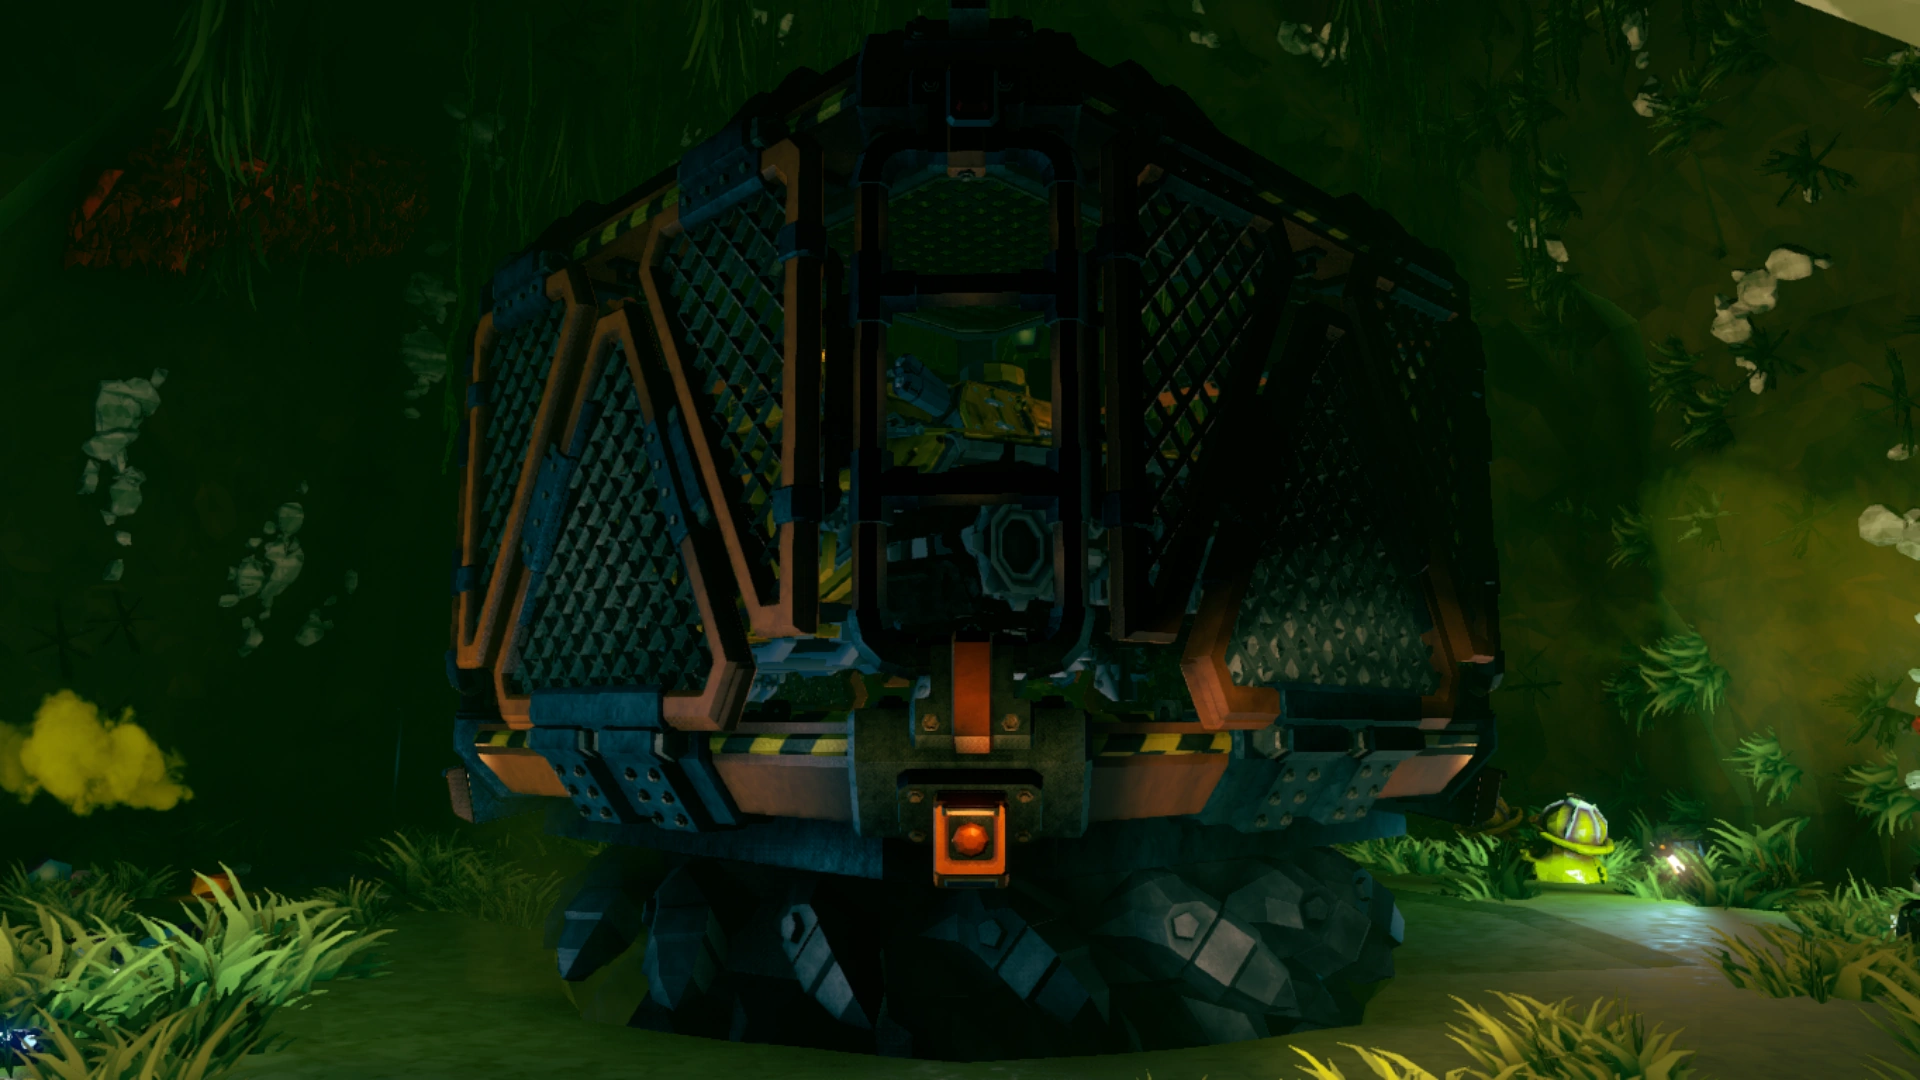
The Heavy Cargo Drop.
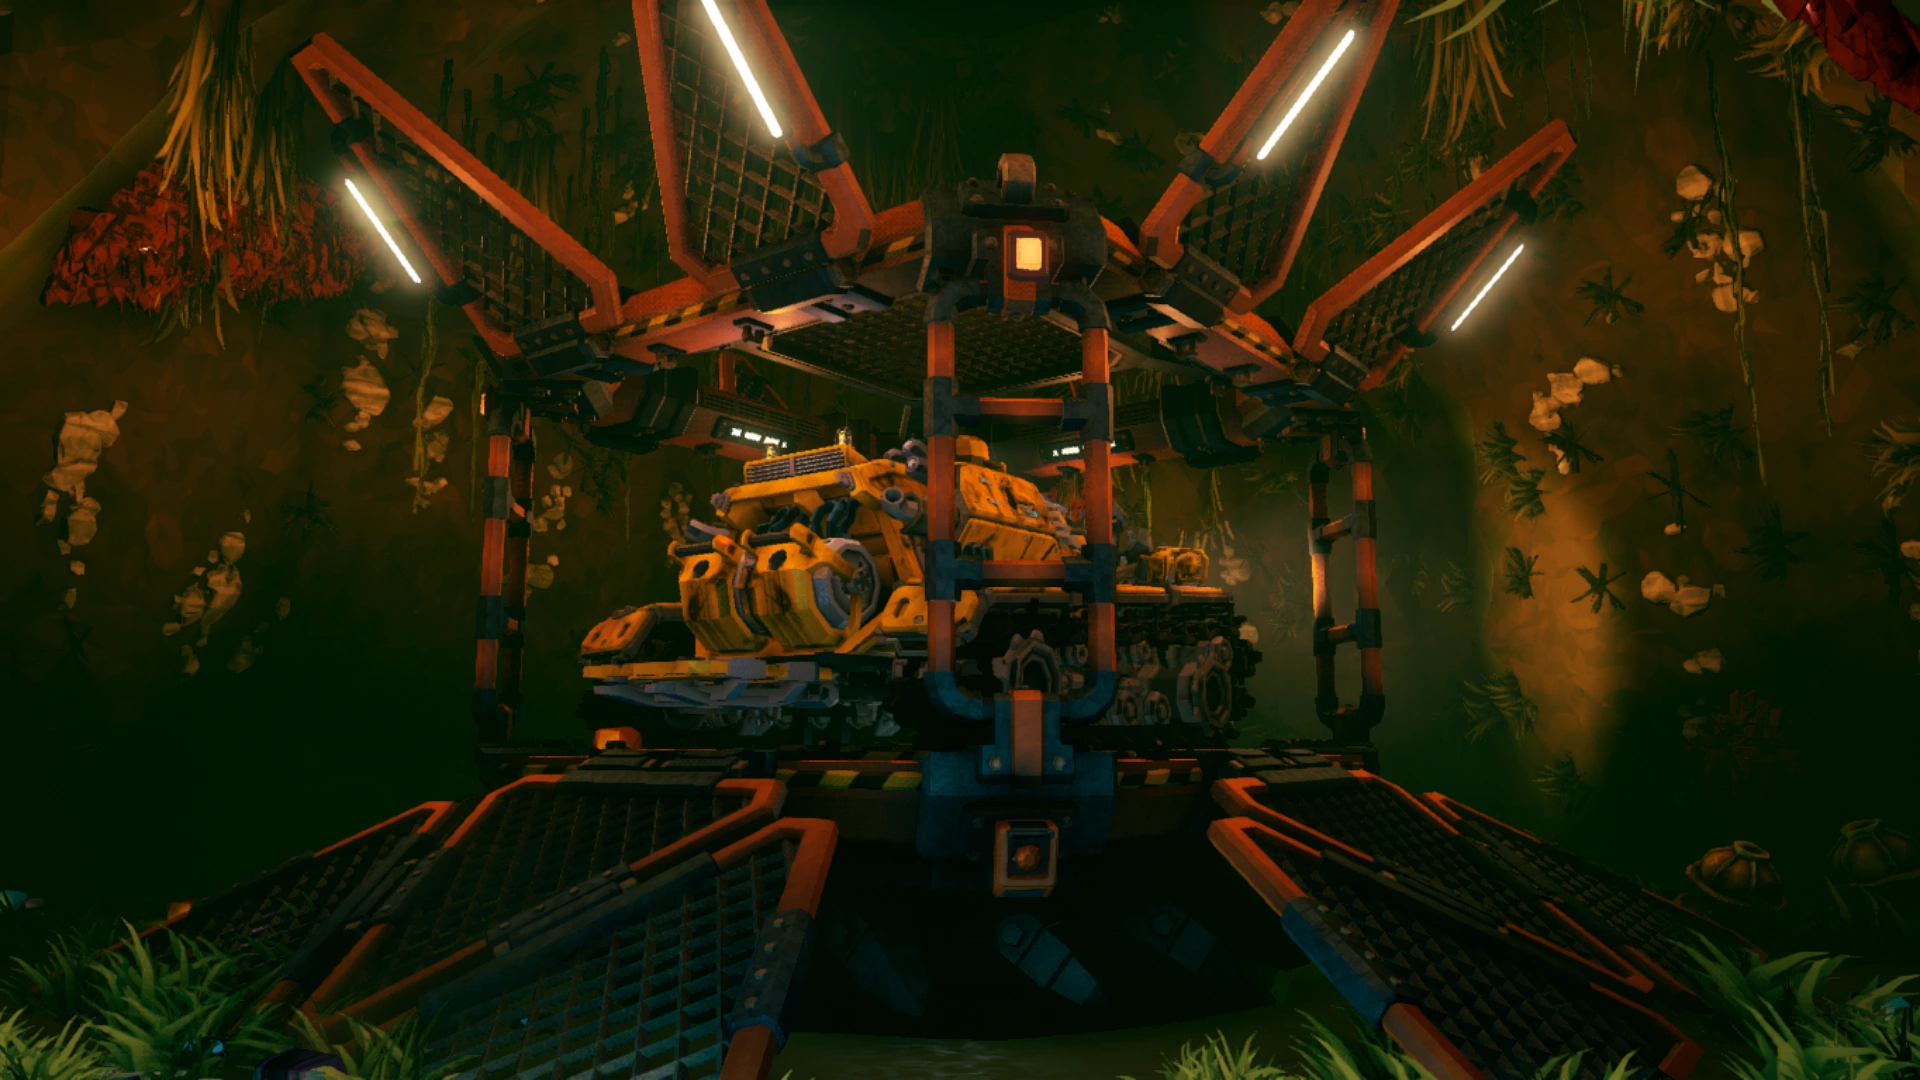
The opened Heavy Cargo Drop.
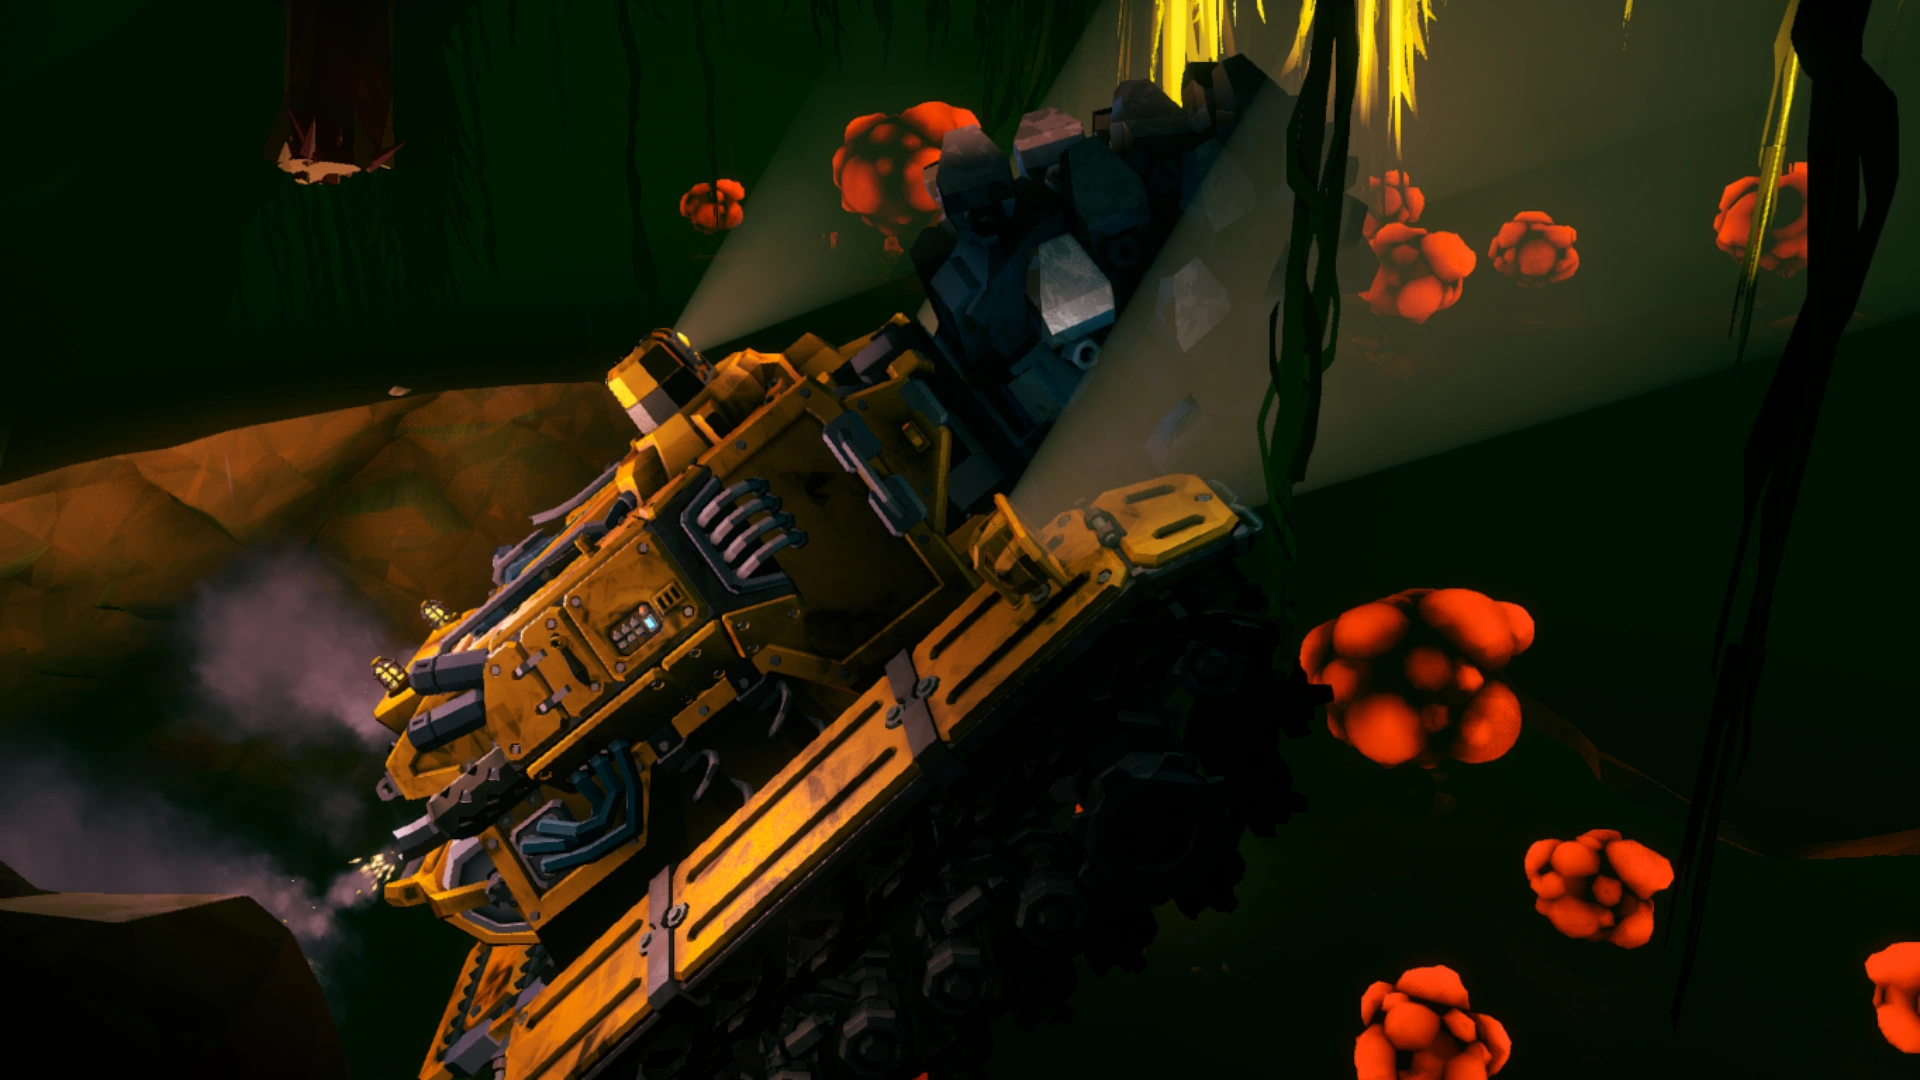
Doretta entering a new cave.
Doretta in the refuel stage.
Doretta fuel canister.
The Ommoran Heartstone.
Doretta preparing to drill out the Ommoran Heartstone.
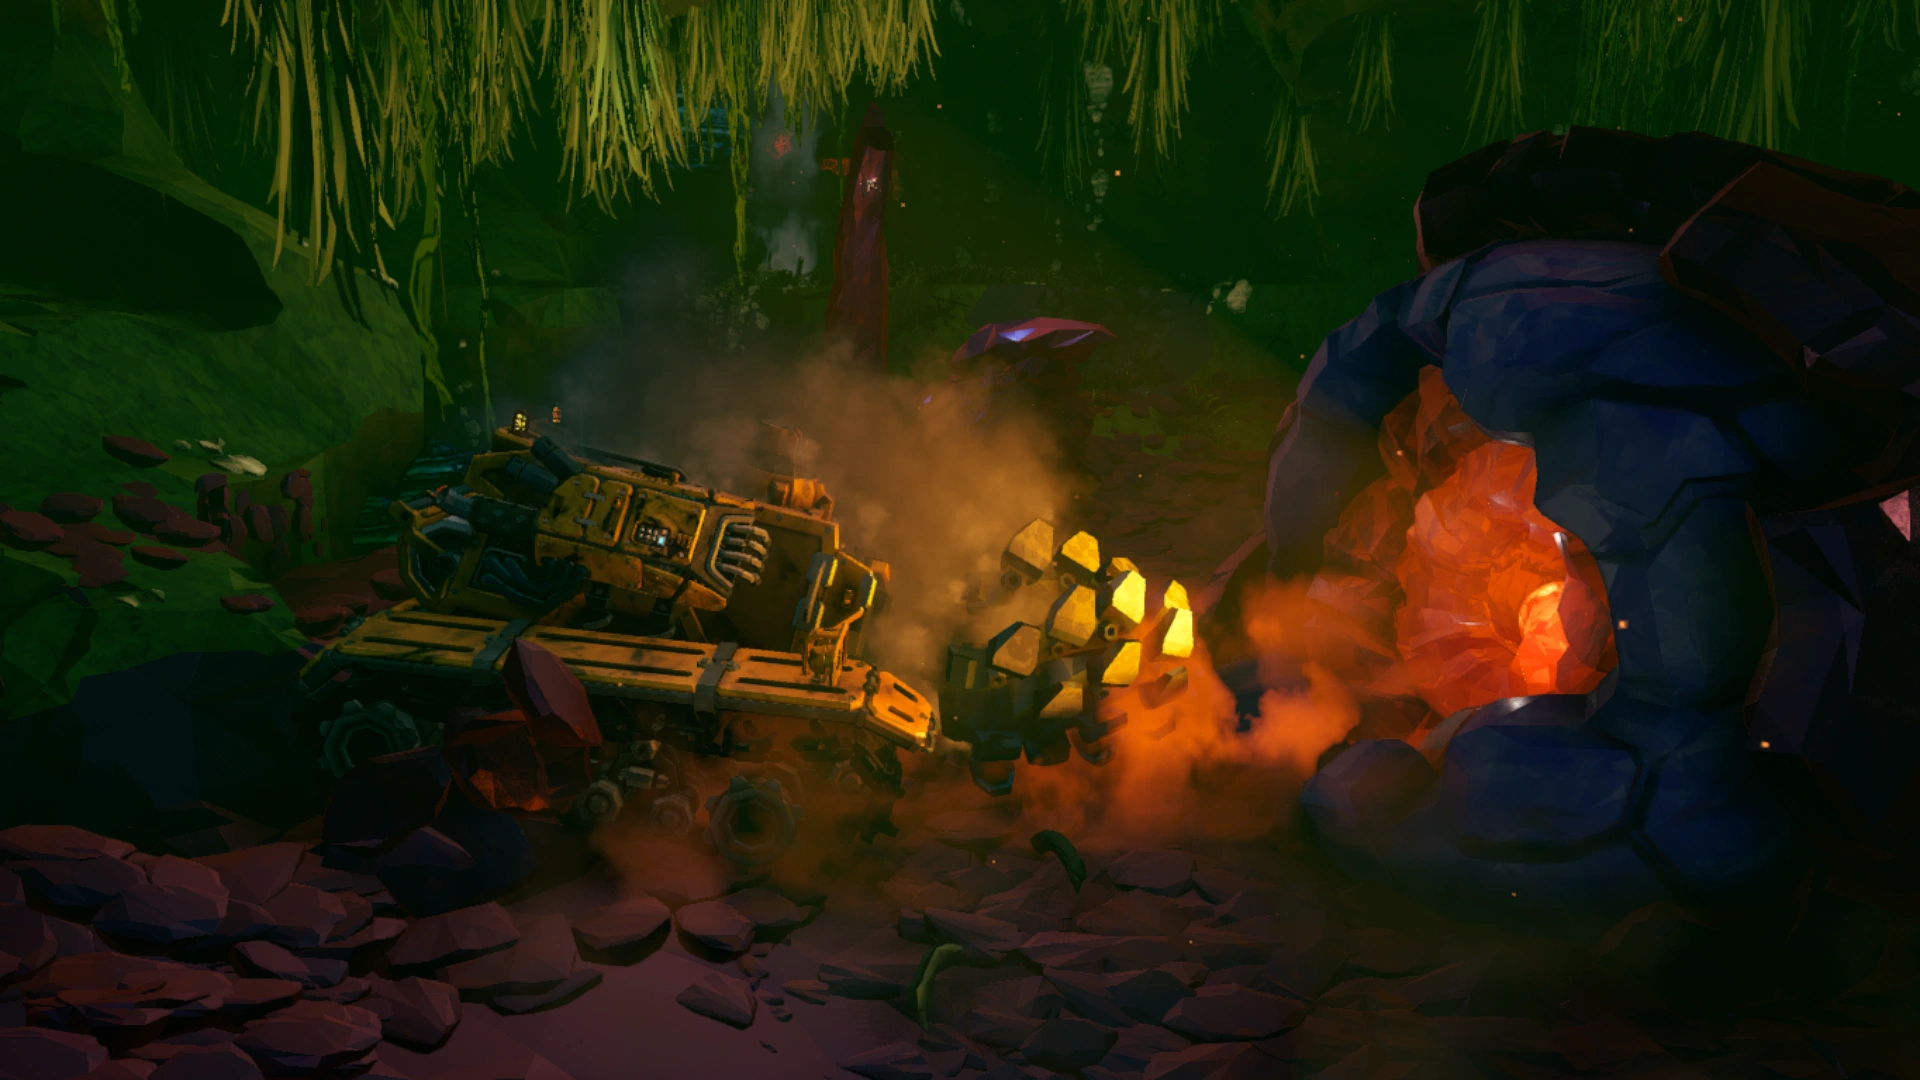
Doretta drilling out the Ommoran Heartstone.
Doretta being damaged by an Ommoran Beamer.
Doretta completing the drilling process.
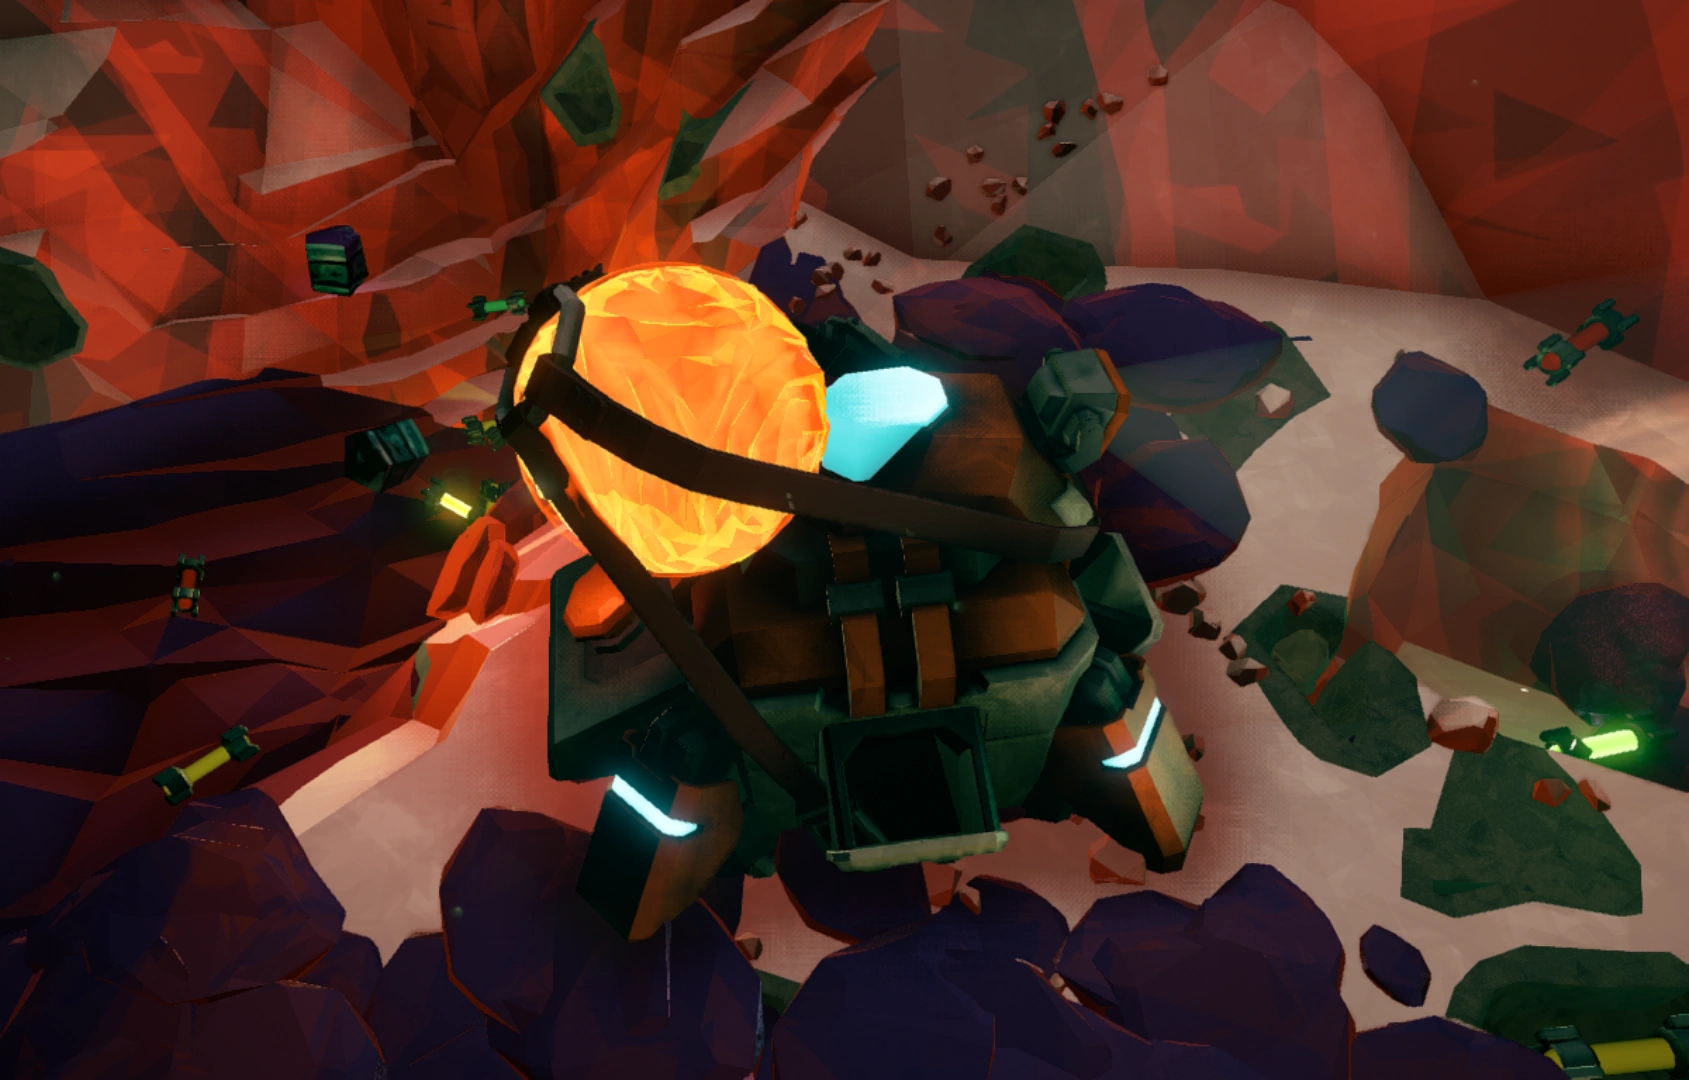
The extracted Heartstone.
The Heartstone after being deposited on the M.U.L.E..

Trivia
- This mission type was added in Update 32: Roughnecks At Work.
- Repairing the Drilldozer uses various tools instead of the typical hammer used when constructing/repairing objects, including a pipe wrench and an oil can.
- It is possible to pet the Drilldozer by pressing the [USE] ("E" by default) key on its "head", found at the top of its body behind the drill.
- Pressing the Salute key while holding a Fuel Canister causes the dwarf to say a beer-holding salute line.
| ||||||||