| Escort Duty | |
|---|---|
| Mission Details | |
| Cave Type | Linear |
| Deposit Type | M.U.L.E |
| Objective(s) | Escort the Drill, Crack the Shell, Return Ommoran Heartstone |
| Payout | |
| XP Payout | |
Escort Duty is a mission type in Deep Rock Galactic.
Escort the Drilldozer while it makes its way to the Ommoran Heartstone.
Protect the Drilldozer
Escort Duty involves escorting a Drilldozer (also known as the Dozer, and affectionately named "Doretta" by the Dwarves), a large automated drilling machine, protecting it from attacking Creatures and repairing damage done to it. The Drilldozer's health is segmented into three parts: the left side, right side, and body. The left side will take damage until it breaks, then the right side, then the body. Damage dealt to any part of the Drilldozer will only affect the active segment. However, it can only be repaired from the area of the Drilldozer it maps to. When a segment reaches 0%, Mission Control will announce that the Drilldozer has taken permanent damage. The damaged segment cannot be repaired anymore and the next segment will begin taking damage. If the Drilldozer's body runs out of health, the mission fails.
The Drilldozer's speed is determined by how many Creatures and Dwarves are nearby. The more Creatures are present, the slower it will move, leaving it vulnerable to attack.

Fuel tank in use.
When the Drilldozer runs out of fuel, it must be refueled by extracting oil from Oil Shale. This is done using the Fuel Canisters taken from back of the Drilldozer. The beams emitted from the Canisters liquefy the shale, which automatically collects the fuel. Oil Shale can be mined normally (though it requires four pickaxe hits to break), but Dwarves cannot pick up the chunks. A delay similar to laser mining the ore is also applied when chunks are collected with the Canisters. It is faster to use the Canisters on the Oil Shale directly. Once a Canister is filled, it must be inserted back into the Drilldozer. When it is fully refueled, the Drilldozer must be manually restarted to let it continue on to the Ommoran Heartstone.
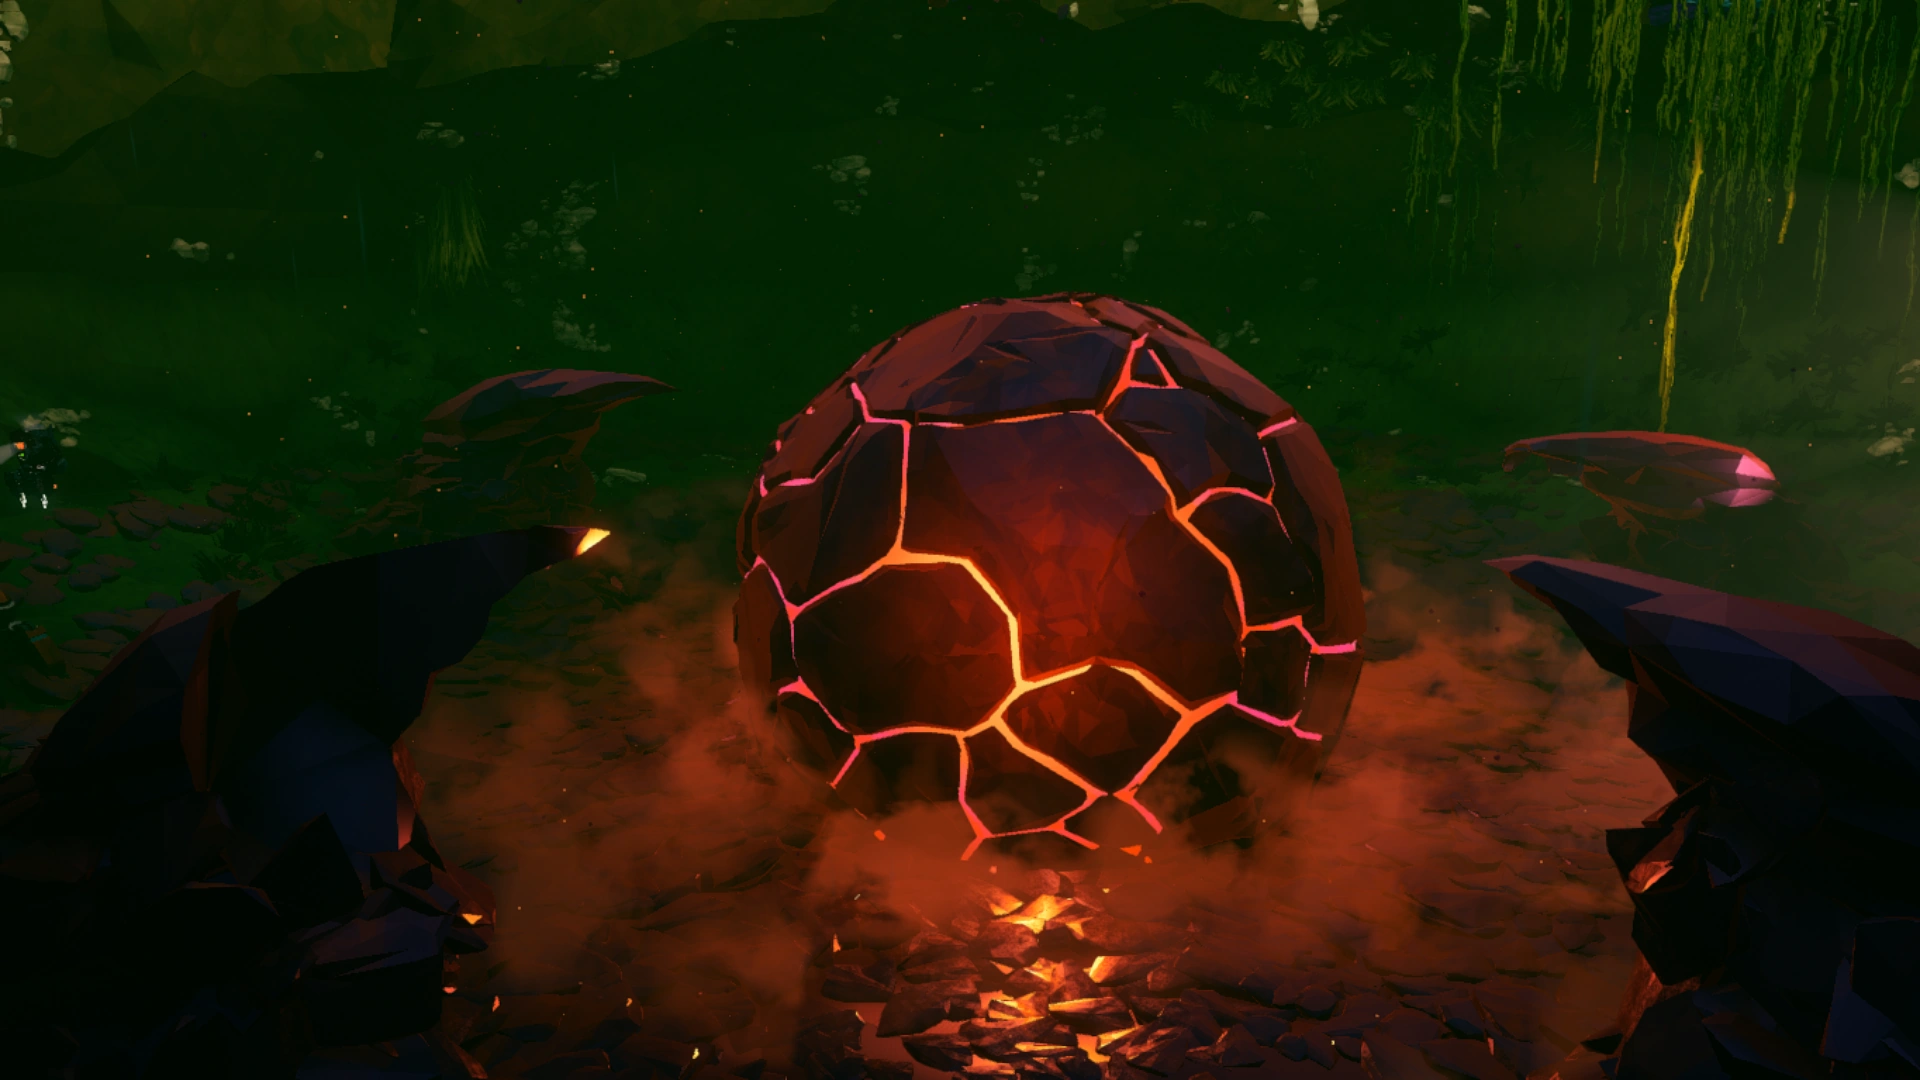
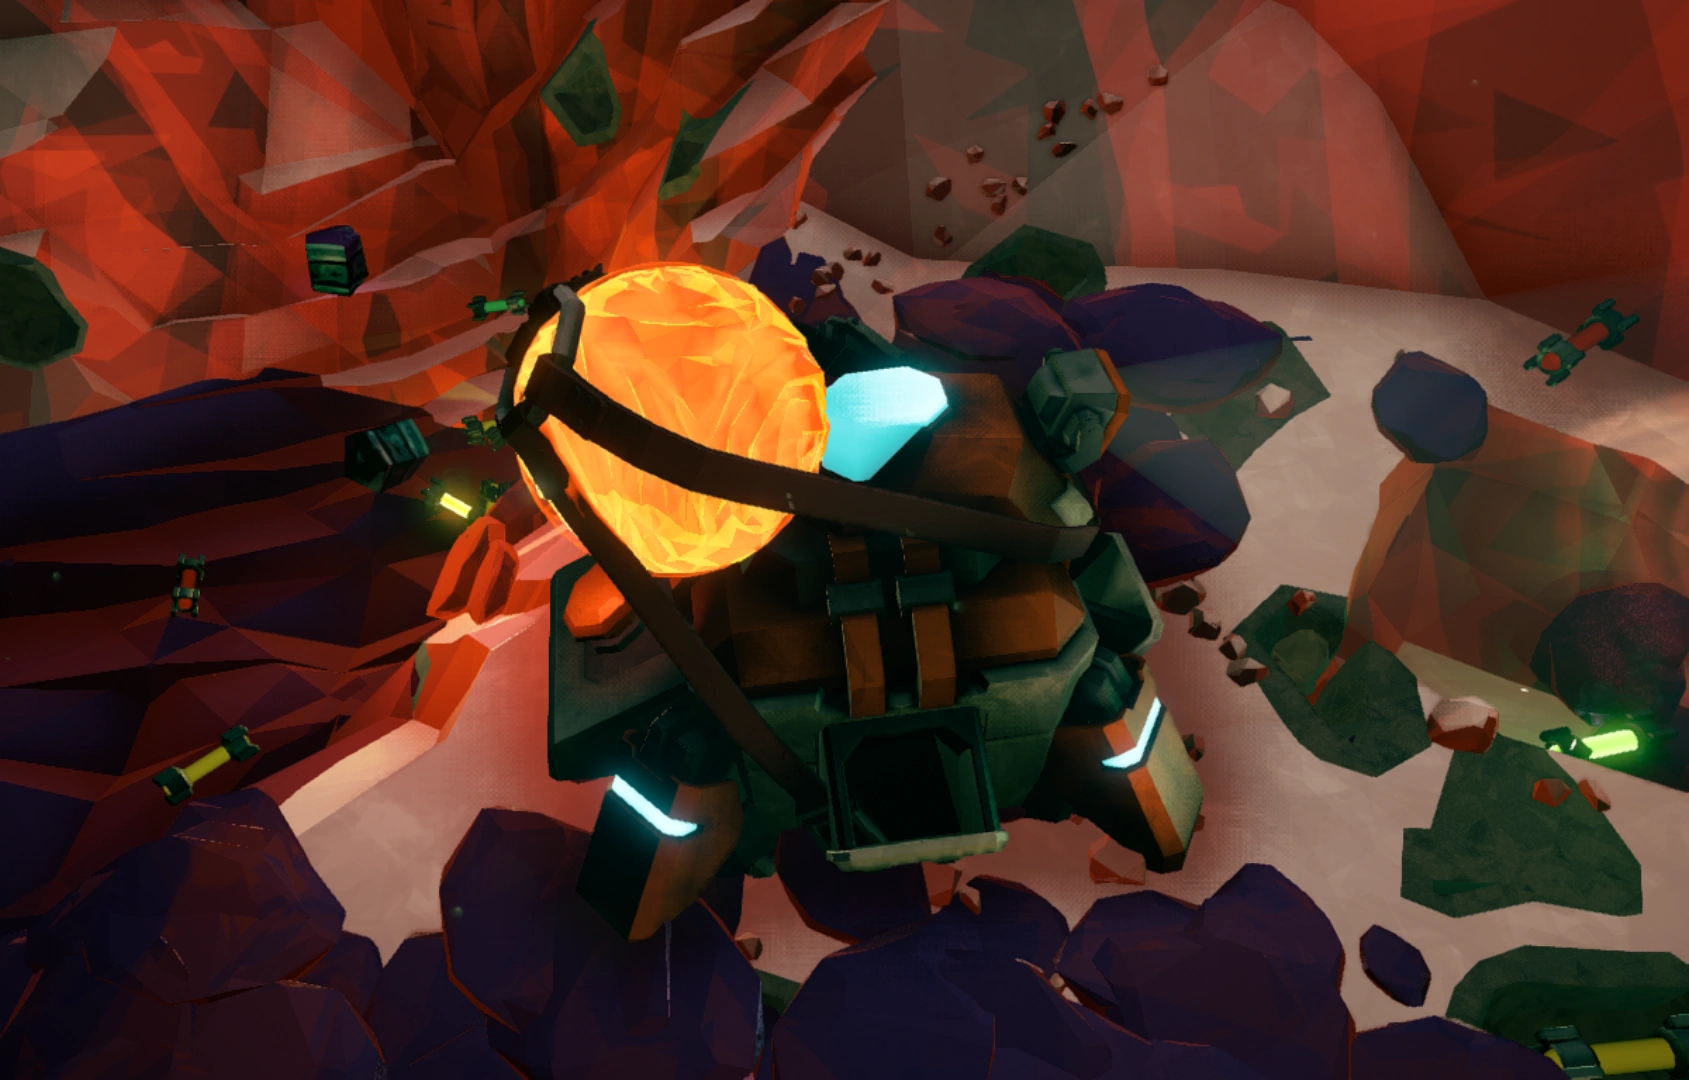
The Drilldozer will eventually arrive at the Ommoran Heartstone, a large spherical structure. The Drilldozer must be manually started again to begin drilling into the Heartstone. Swarms will spawn frequently throughout this entire process. The Ommoran Shell's lifebar is divided in 4 parts, the first two phases last about 60s, the second phase last about 75s, the last phase last about 100s, for a total of ~300 seconds (5 minutes) with the interval between the different phases. Each time a phase ends, the heartstone releases an explosion which will heavily damage the players the closer they are to the drilled part of the core.

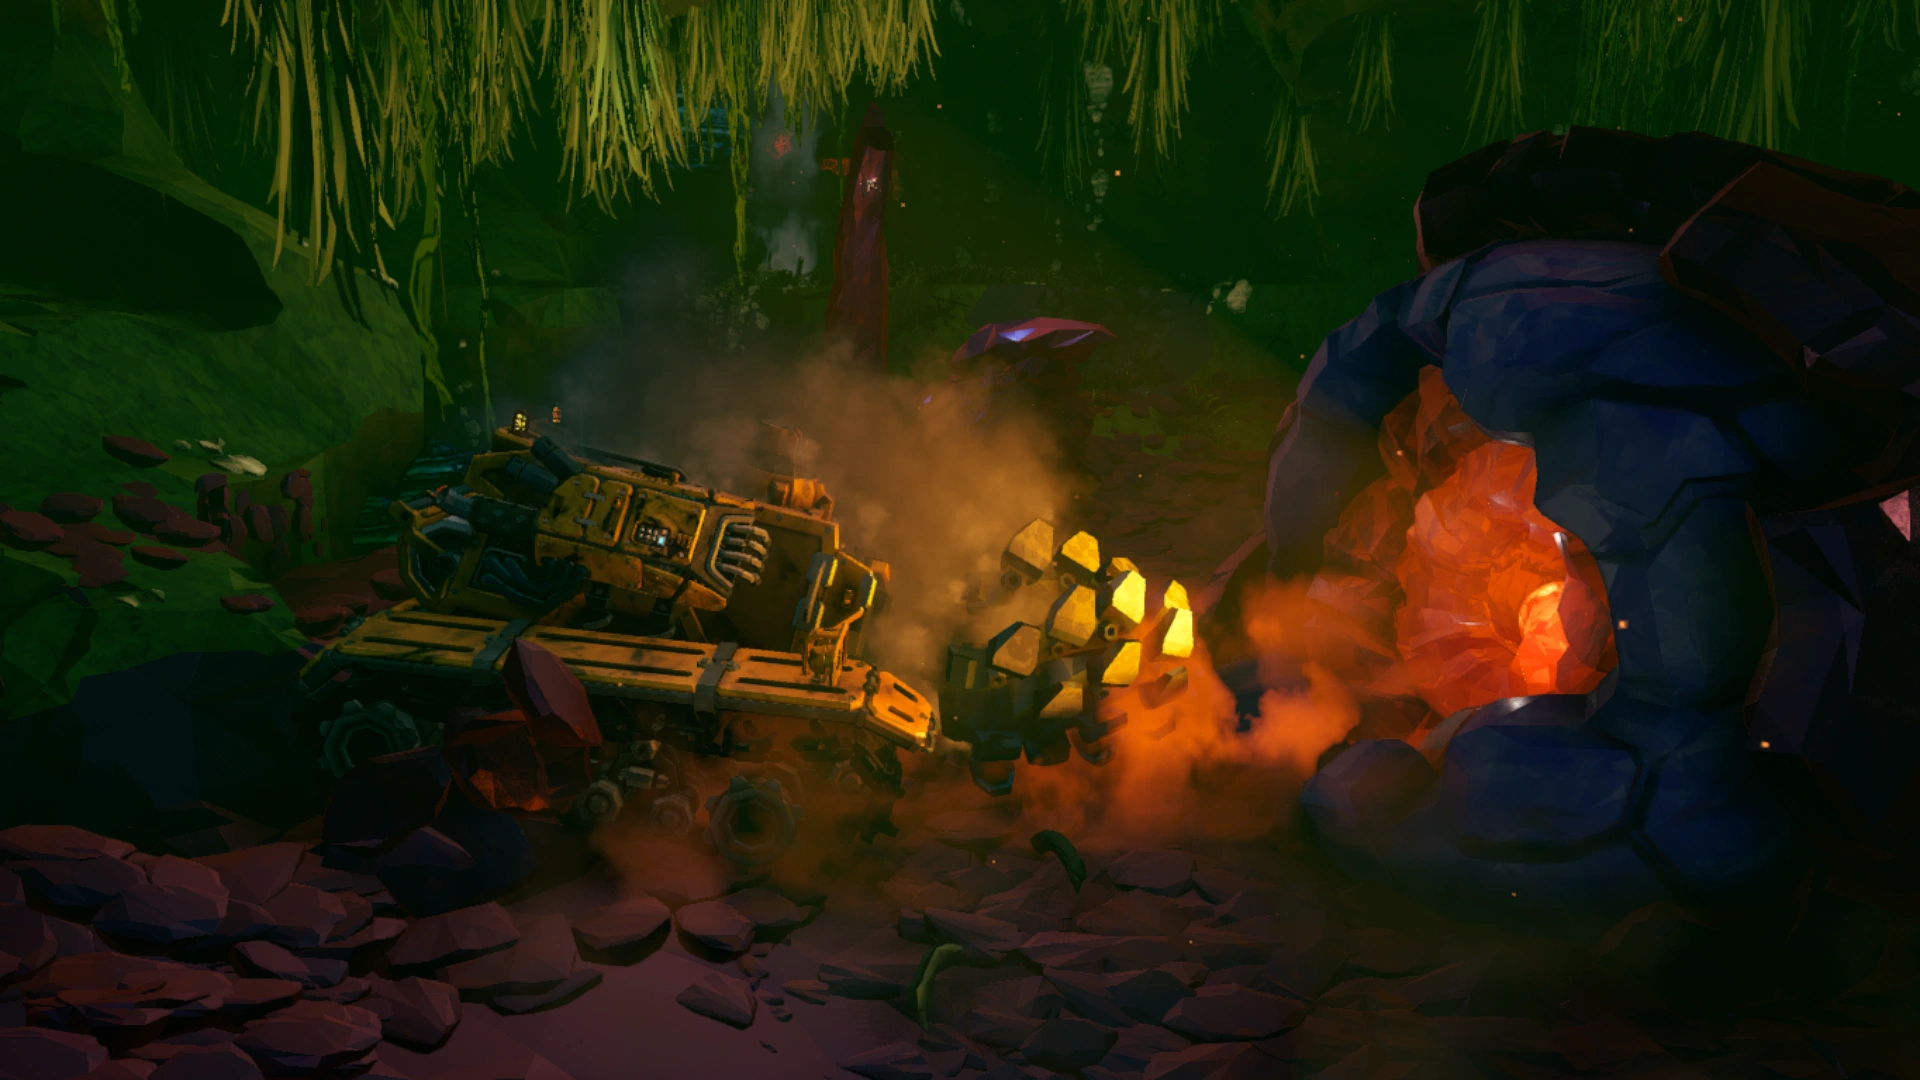
Doretta being damaged by an Ommoran Beamer.
- Phase One: Swarm trigger.
- Phase Two: Summons floating rocks to slam into Doretta - these deal extreme damage but can be destroyed before they hit the Dozer.
- Phase Three: No longer throws rocks but causes another swarm trigger with increased enemy presence.
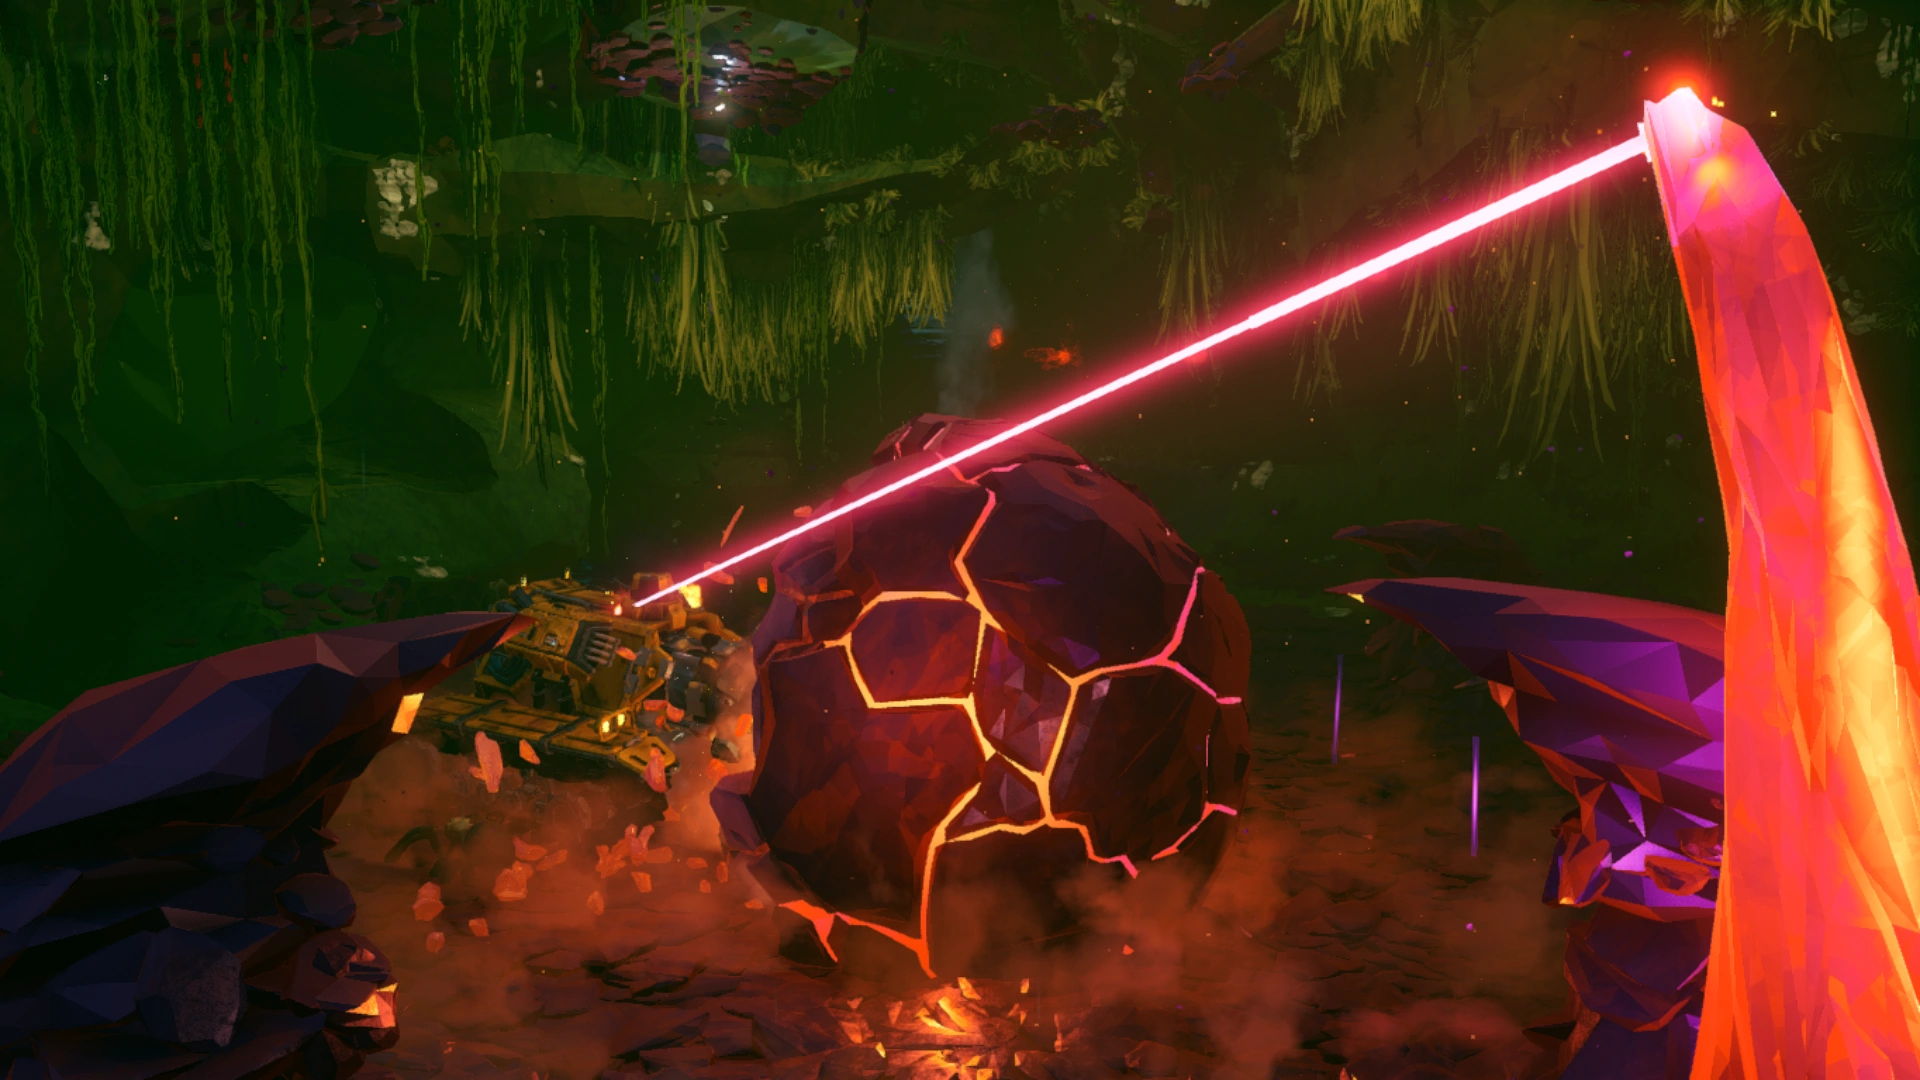
- Phase Four: Starts spawning Ommoran Beamers: large destructible crystal towers which fire laser beams at the Dozer, dealing constant damage. On top of this, a slow trickle of huge swarms of enemies constantly spawn in until the drilldozer is either destroyed or if 'till the Ommoran Heartstone is ours.
At the conclusion of Phase 4, The Heartstone will emit a shockwave that instantly kills all nearby enemies and without any friendly fire. The Heartstone can then be extracted and strapped onto the back of the M.U.L.E., where Drop Pod extraction process can begin. The Drilldozer is retired at this point and must be left behind.
Combat
Health and Armor
Flying Rock
| Effective
Health Scaling |
Hazard Level | ||||||||||||
|---|---|---|---|---|---|---|---|---|---|---|---|---|---|
| Normal Mission | DD | EDD | |||||||||||
| 1 | 2 | 3 | 4 | 5 | 3 | 3.5 | 4.5 | 5 | 5.5 | ||||
| Player Count | 175 | 250 | 275 | 300 | 300 | 275 | 275 | 300 | 300 | 300 | |||
Attacks
Flying Rock
| AoE Attack | |||||||||||||
|---|---|---|---|---|---|---|---|---|---|---|---|---|---|
| Area Damage | Hazard Level | ||||||||||||
| Normal Mission | DD | EDD | |||||||||||
| 1 | 2 | 3 | 4 | 5 | 3 | 3.5 | 4.5 | 5 | 5.5 | ||||
| Player Count | 25 | 35 | 60 | 100 | 140 | 60 | 75 | 115 | 140 | 150 | |||
| 25 | 40 | 65 | 107.5 | 150 | 65 | 80 | 122.5 | 150 | 160 | ||||
| 25 | 45 | 70 | 115 | 160 | 70 | 85 | 130 | 160 | 170 | ||||
| 25 | 50 | 75 | 125 | 170 | 75 | 90 | 140 | 170 | 180 | ||||
| Details | |||||||||||||
| Damage Type | Kinetic | Radius: 2.5 m | |||||||||||
Cave
Compared to the caves seen in other mission types, most of the "rooms" are not connected by tunnels or Compressed Dirt barriers. The only three ways to proceed it is by accompanying the Drilldozer, which is programmed to follow a path to the Ommoran Hearthstone or if pickaxed or drilled through it if you played by driller. This encourages the team to stay by the Dozer and protect it. Wherever the Dozer digs creates large tunnels in its wake, which can be navigated through later and are often necessary to use for the Extraction phase. The Dozer will only ever run out of fuel in the middle of a room, making Oil Shales easier to locate and collect. The Heartstone itself is found in a larger room and is fairly easy to spot given its dark red glow.
Big potential cautious warnings
One big danger with the drilldozer if that if there is a Glyphid Bulk Detonator after it, it will actually take immediately instant permanent damage to the drilldozer no matter how much hull it has on any of it’s three segments if the last final blow was in the damage radius zone.
One other potential pitfall with dorreta is that you can actually do segment damage but not enough for permanent damage but %45 of it is gone, %55 is there if you order a Resupply Pod and landed directly on the Drilldozer, that is not even half way down from destroyed, but still be careful on where you place it in the first place.
Comparison on each fatal attacks
If we compare the differences between each other and another, the bulk detonator’s final blow does 100% to 0% even on lowest difficulty where as Resupplier does 45% doing not nearly as much. Repairing it will still take less time than building a single pipeline on On-site Refining, but it is still enough to down a dwarf standing in the danger zone and you will die.
Objectives
Primary Objective
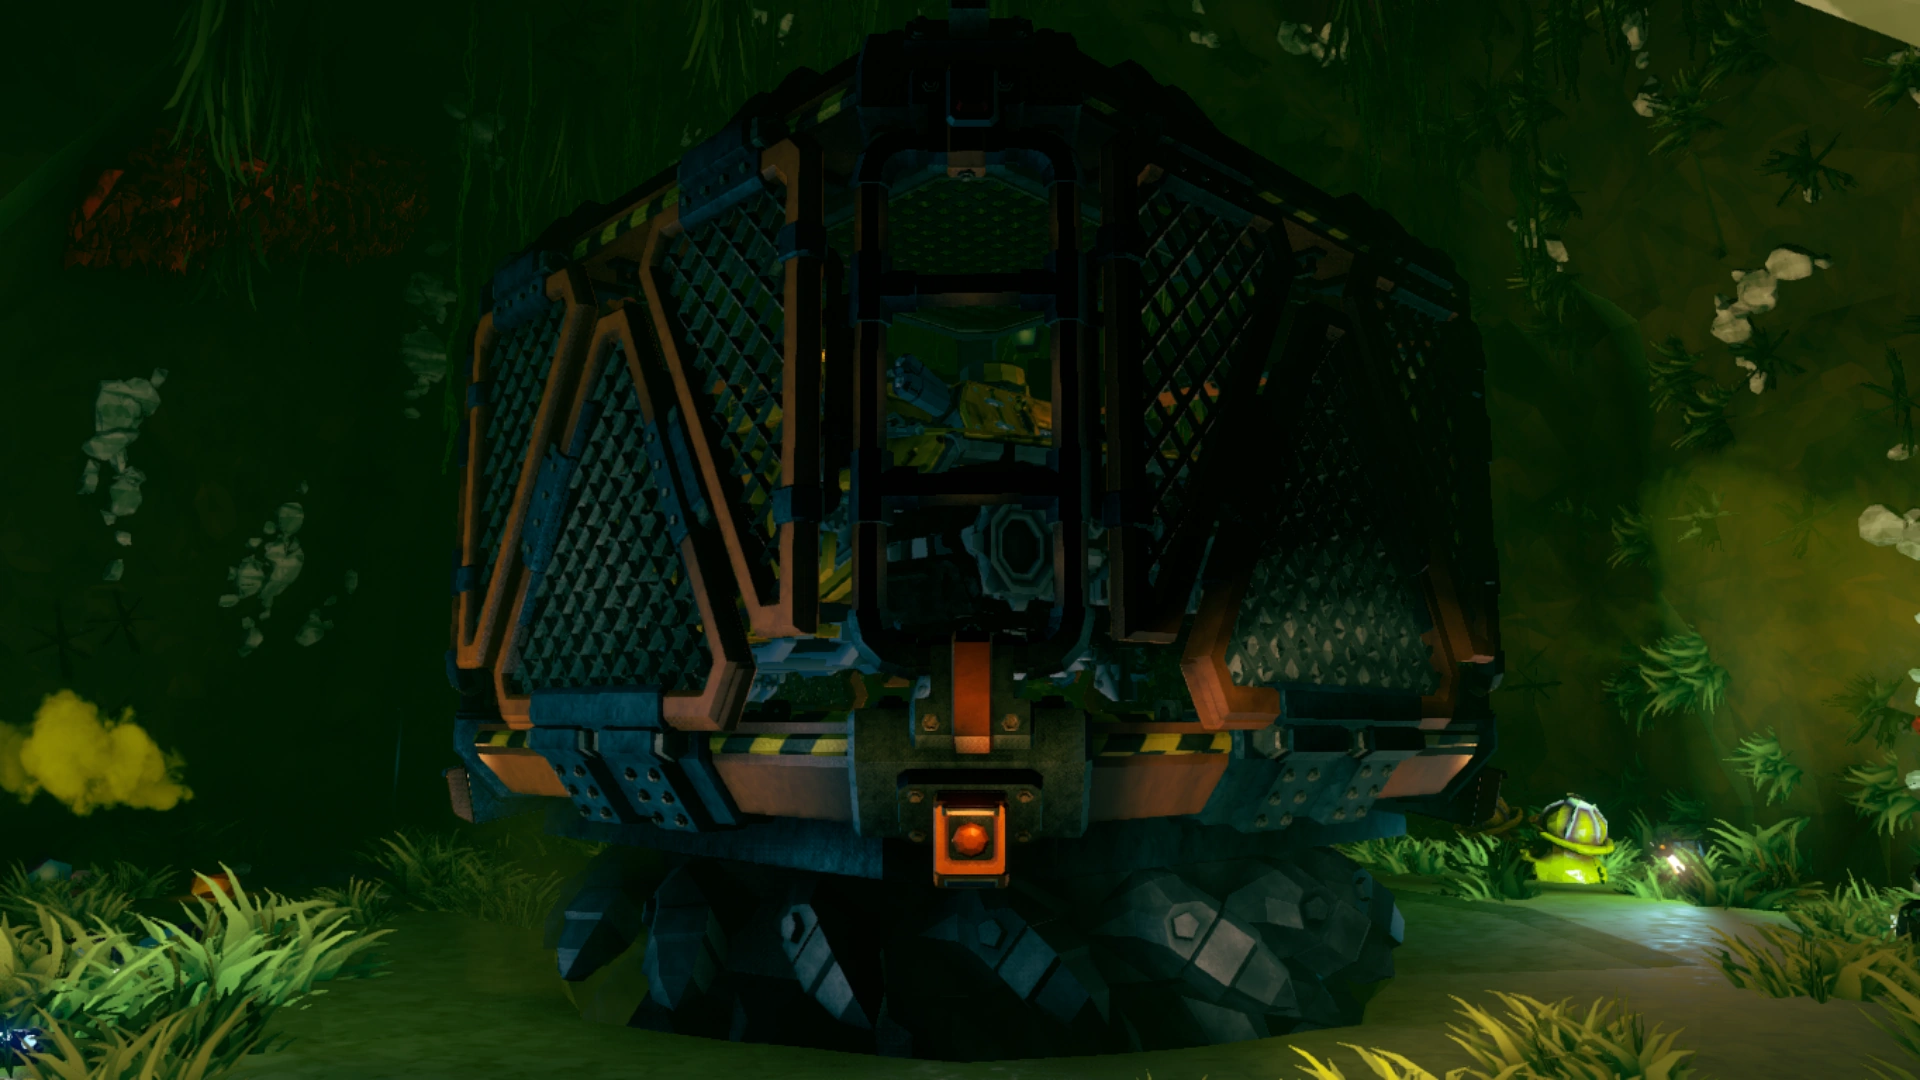
- Push button on Heavy Cargo Drop
- Escort the Drilldozer
- Refuel the Drilldozer 1-2 times
- Continue escort
- Crack the Shell of the Ommoran Heartstone
- Return the Ommoran Heartstone
The amount of times the Drilldozer will need to be refueled depends on the mission length.
| Length | Complexity | Refueling Stops | Caverns |
|---|---|---|---|
| 1 | 5 cave rooms | ||
| 2 | 7 cave rooms |
Secondary Objective
|
|
|
Gallery

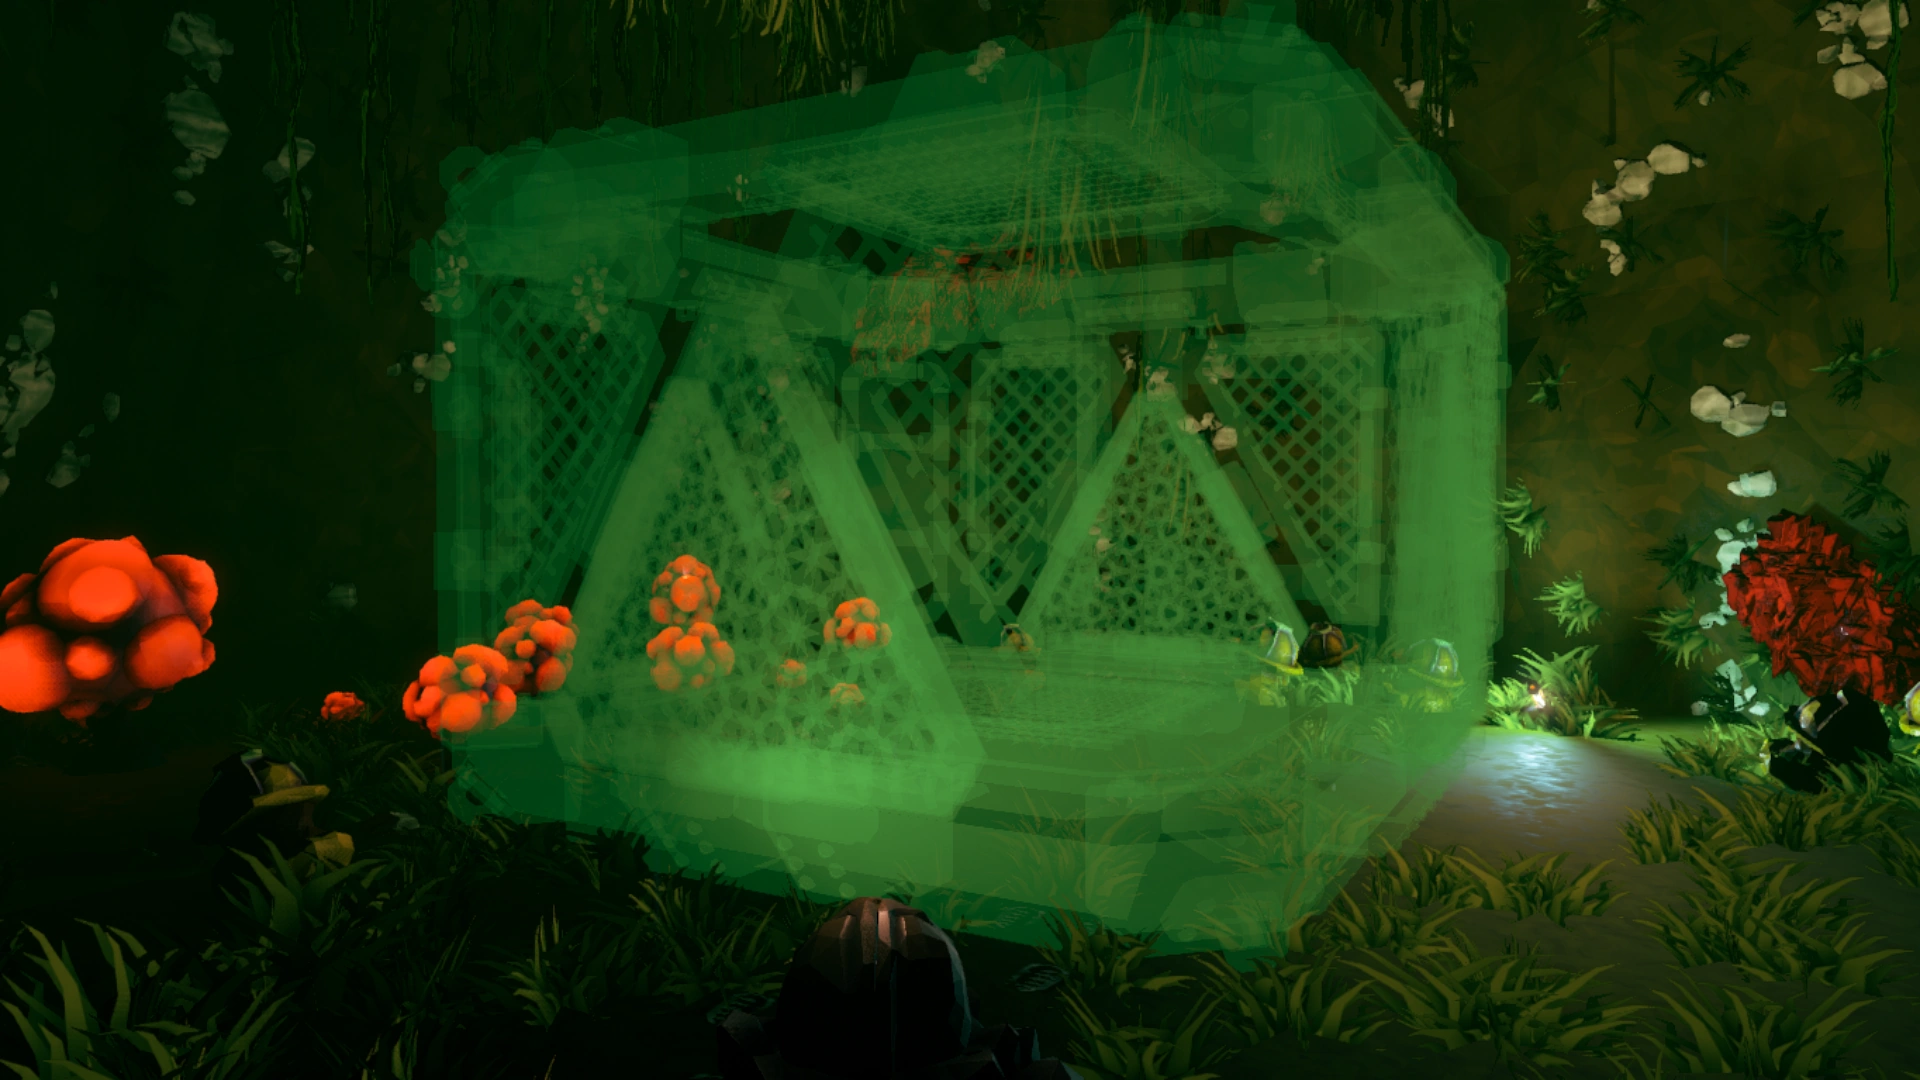
Hologram of the Heavy Cargo Drop.
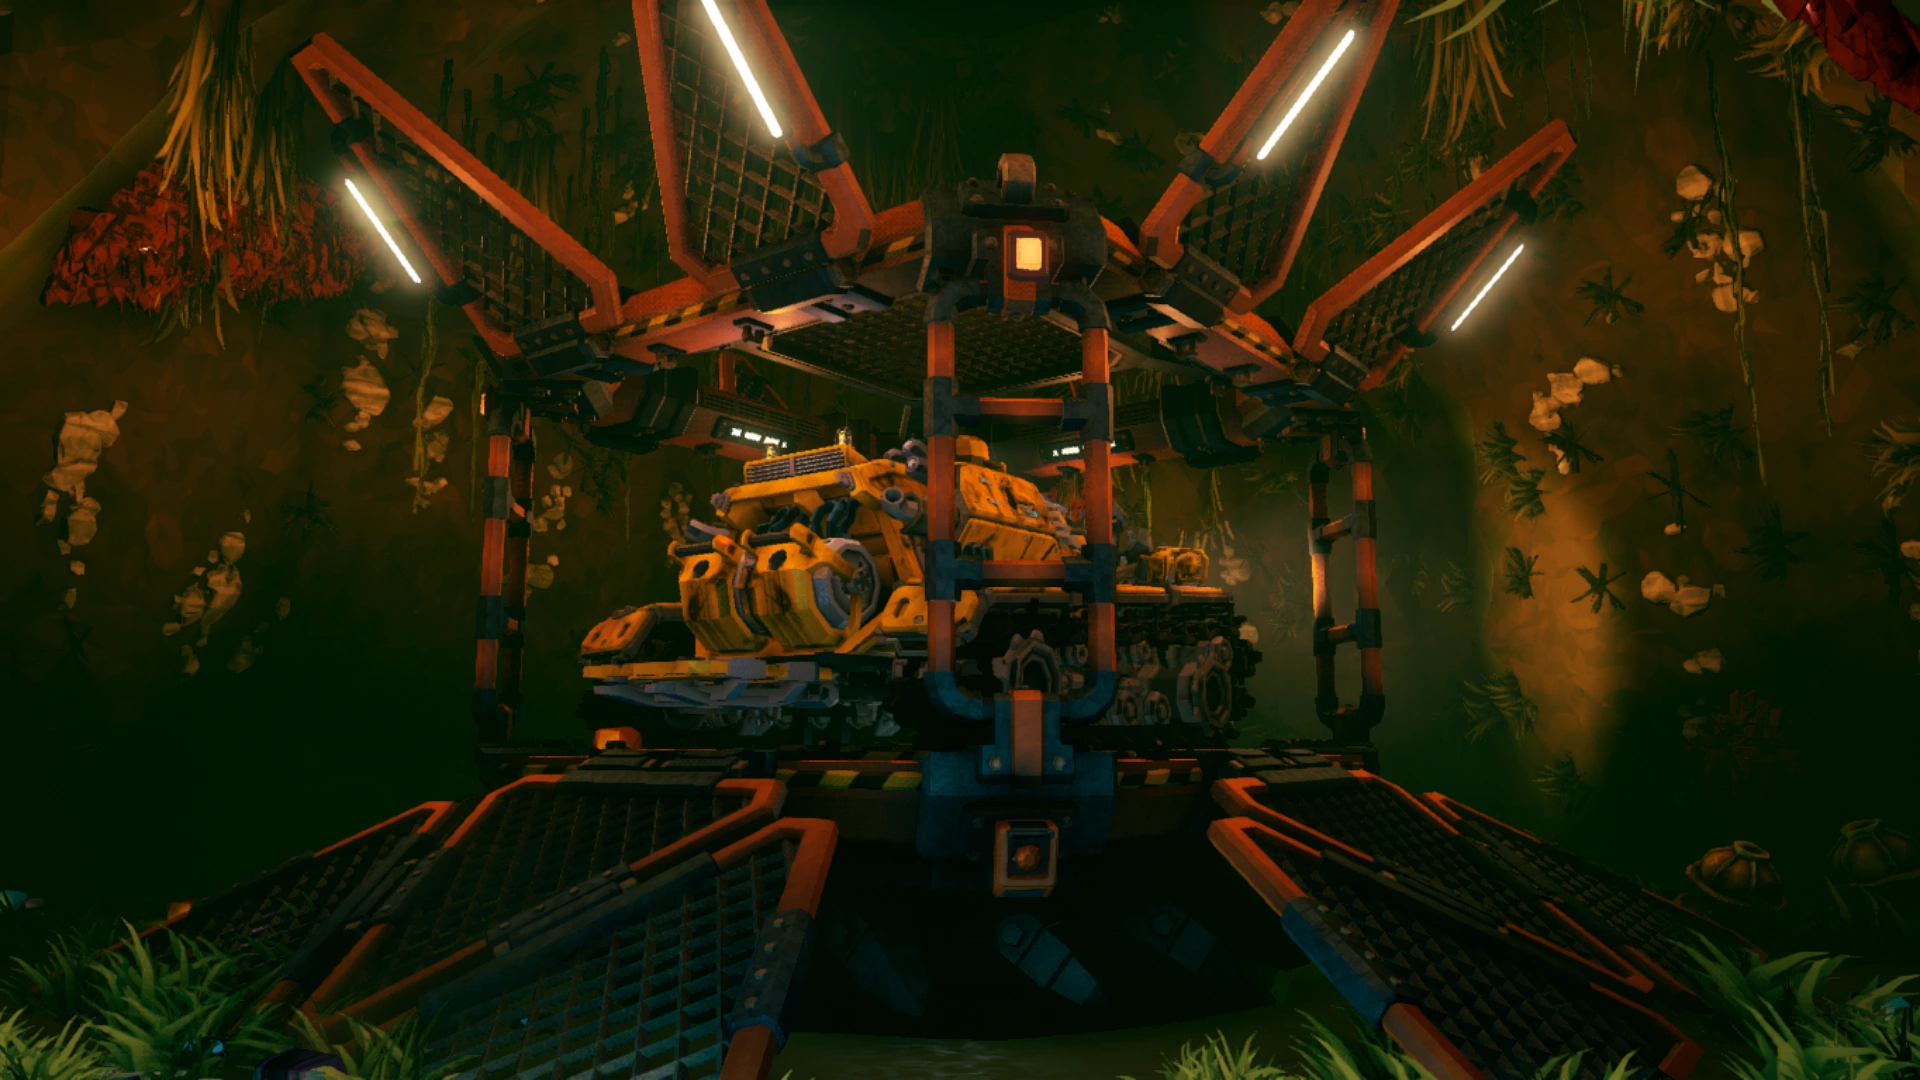
The Heavy Cargo Drop.
The opened Heavy Cargo Drop.
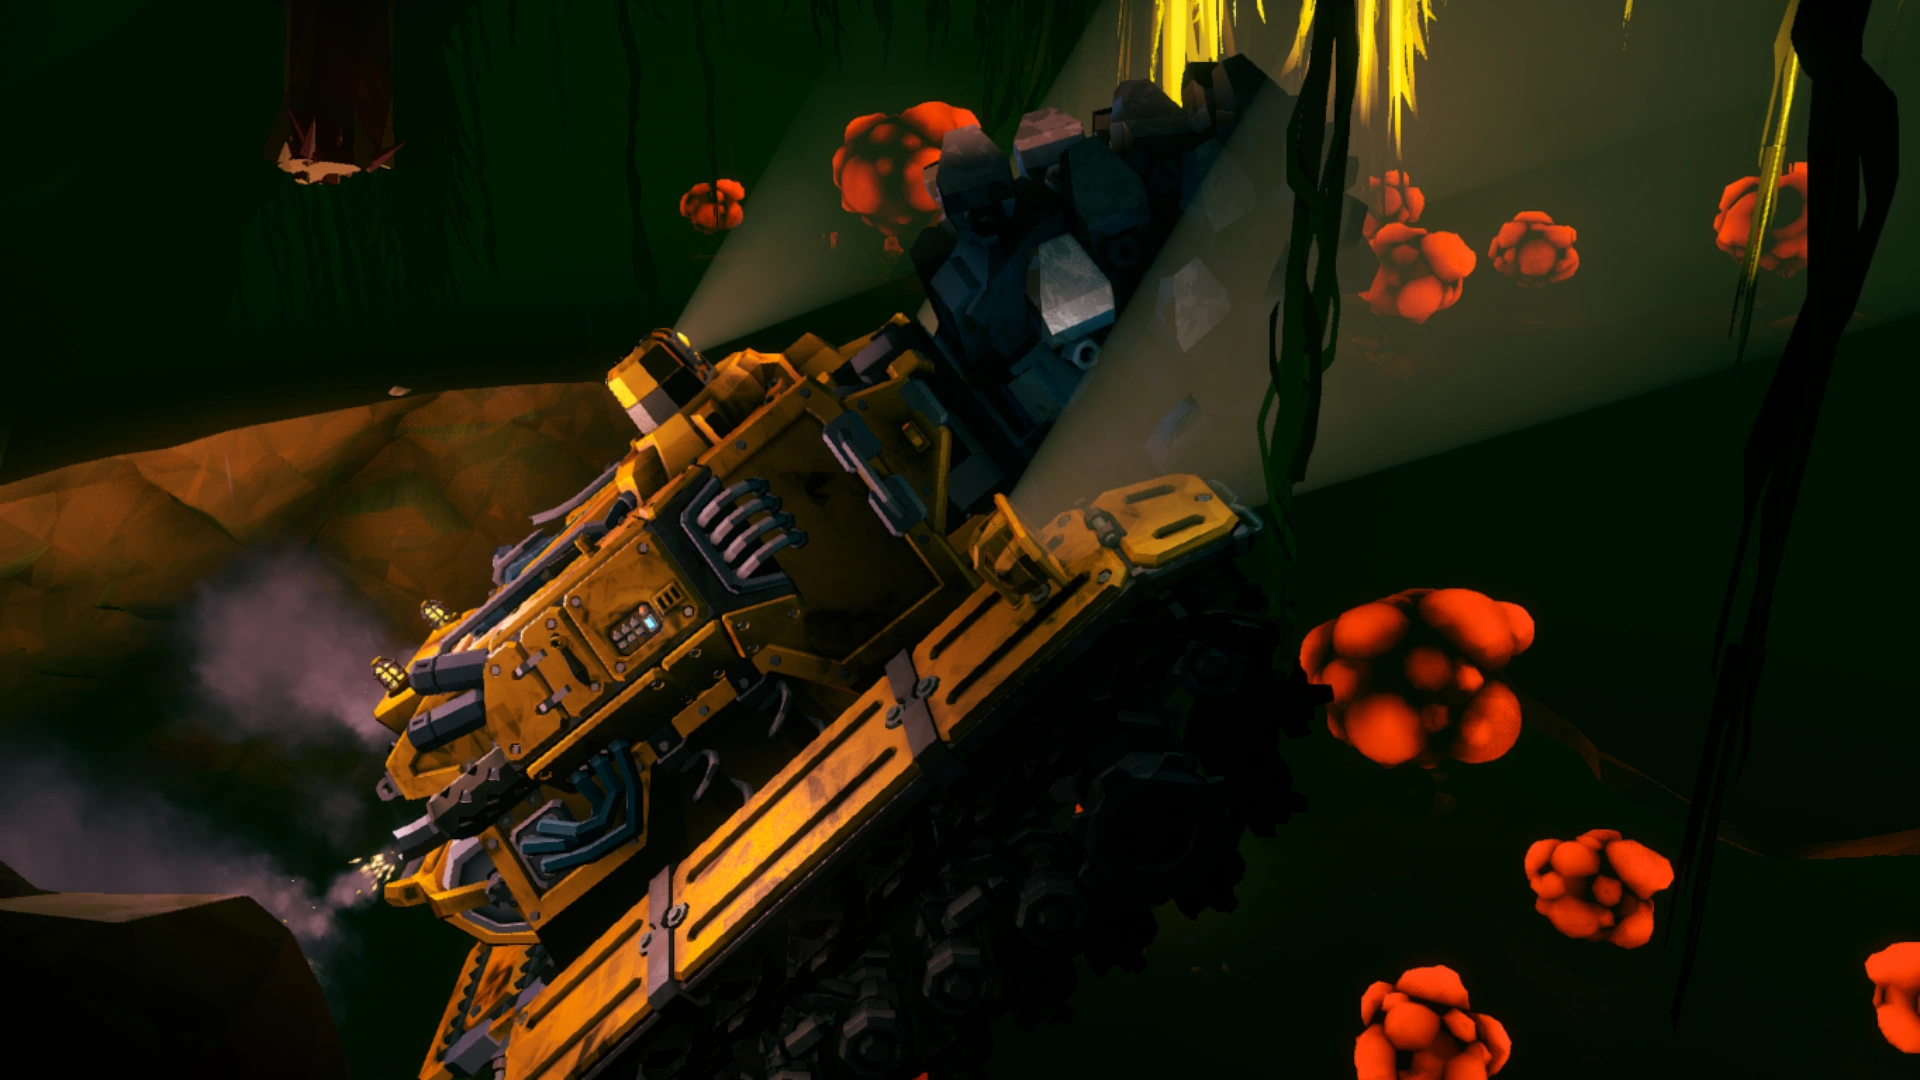
Doretta entering a new cave.
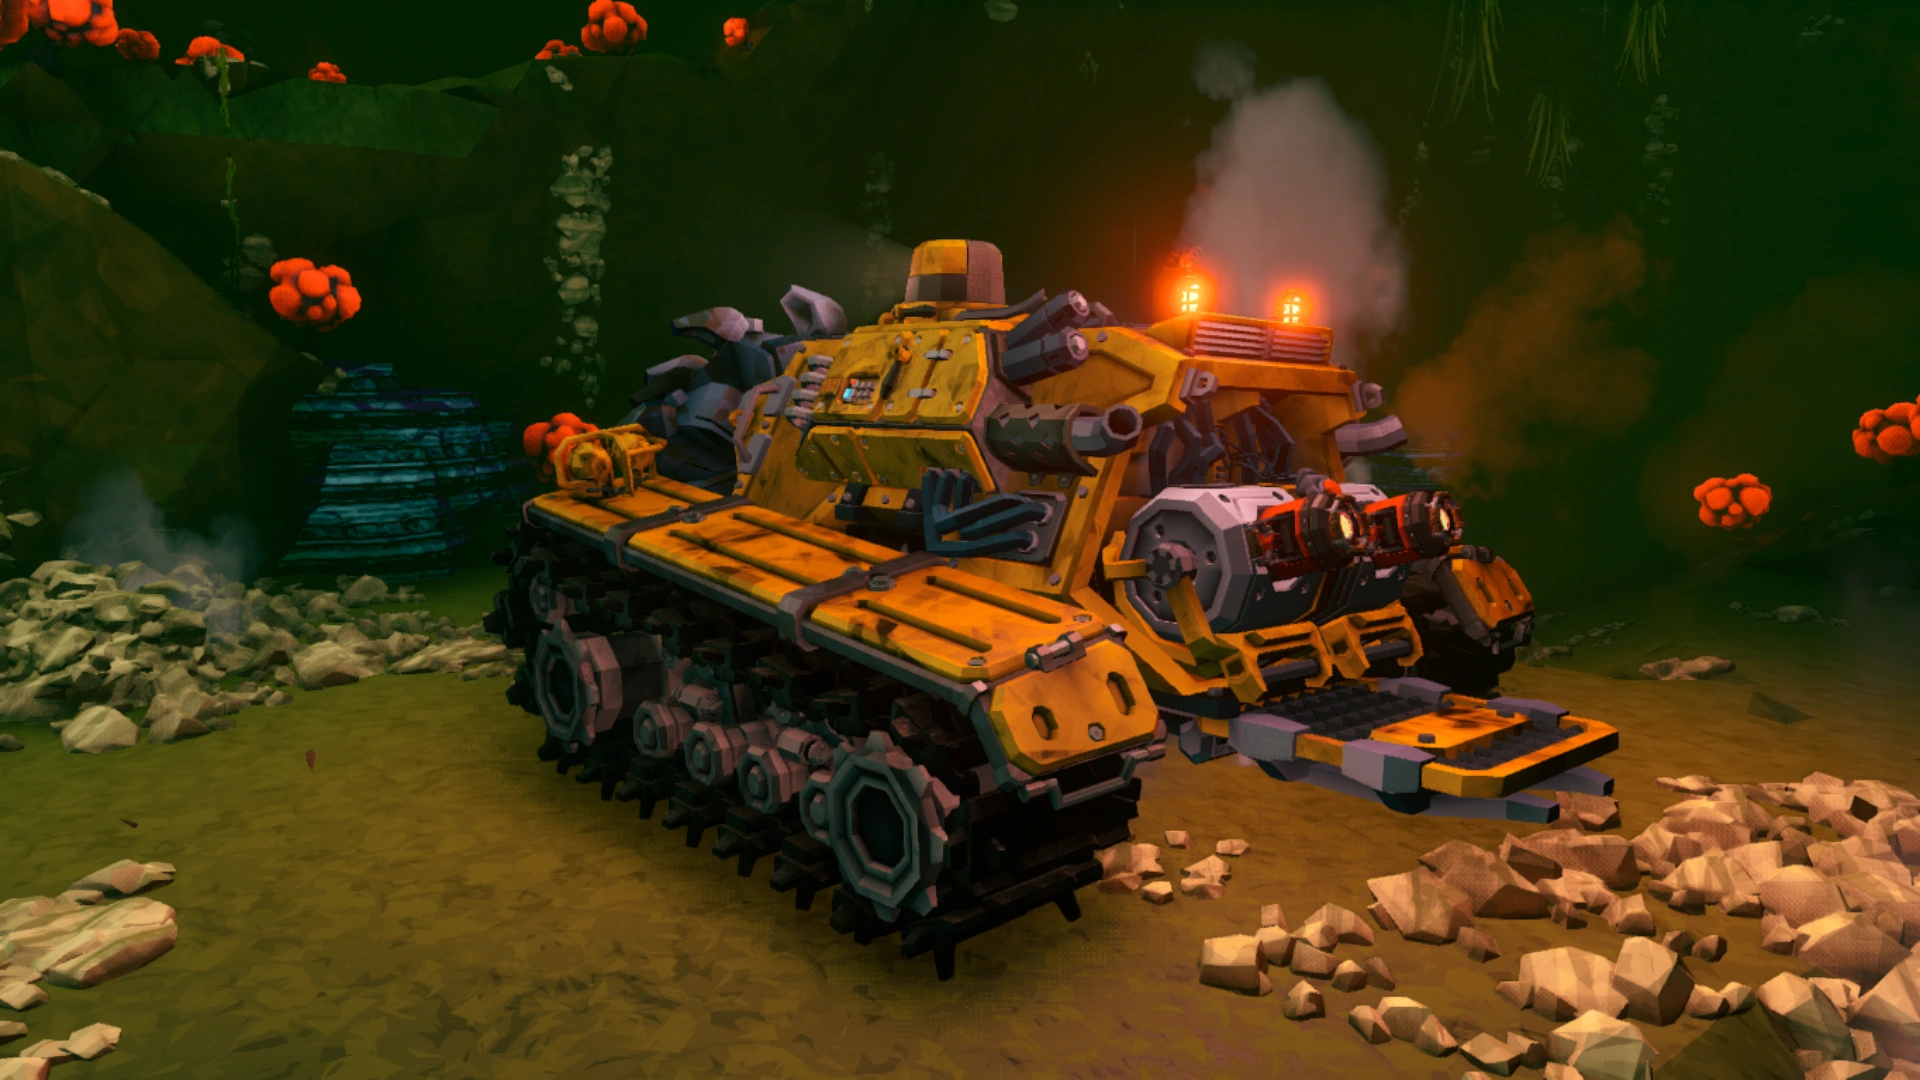
Doretta in the refuel stage.
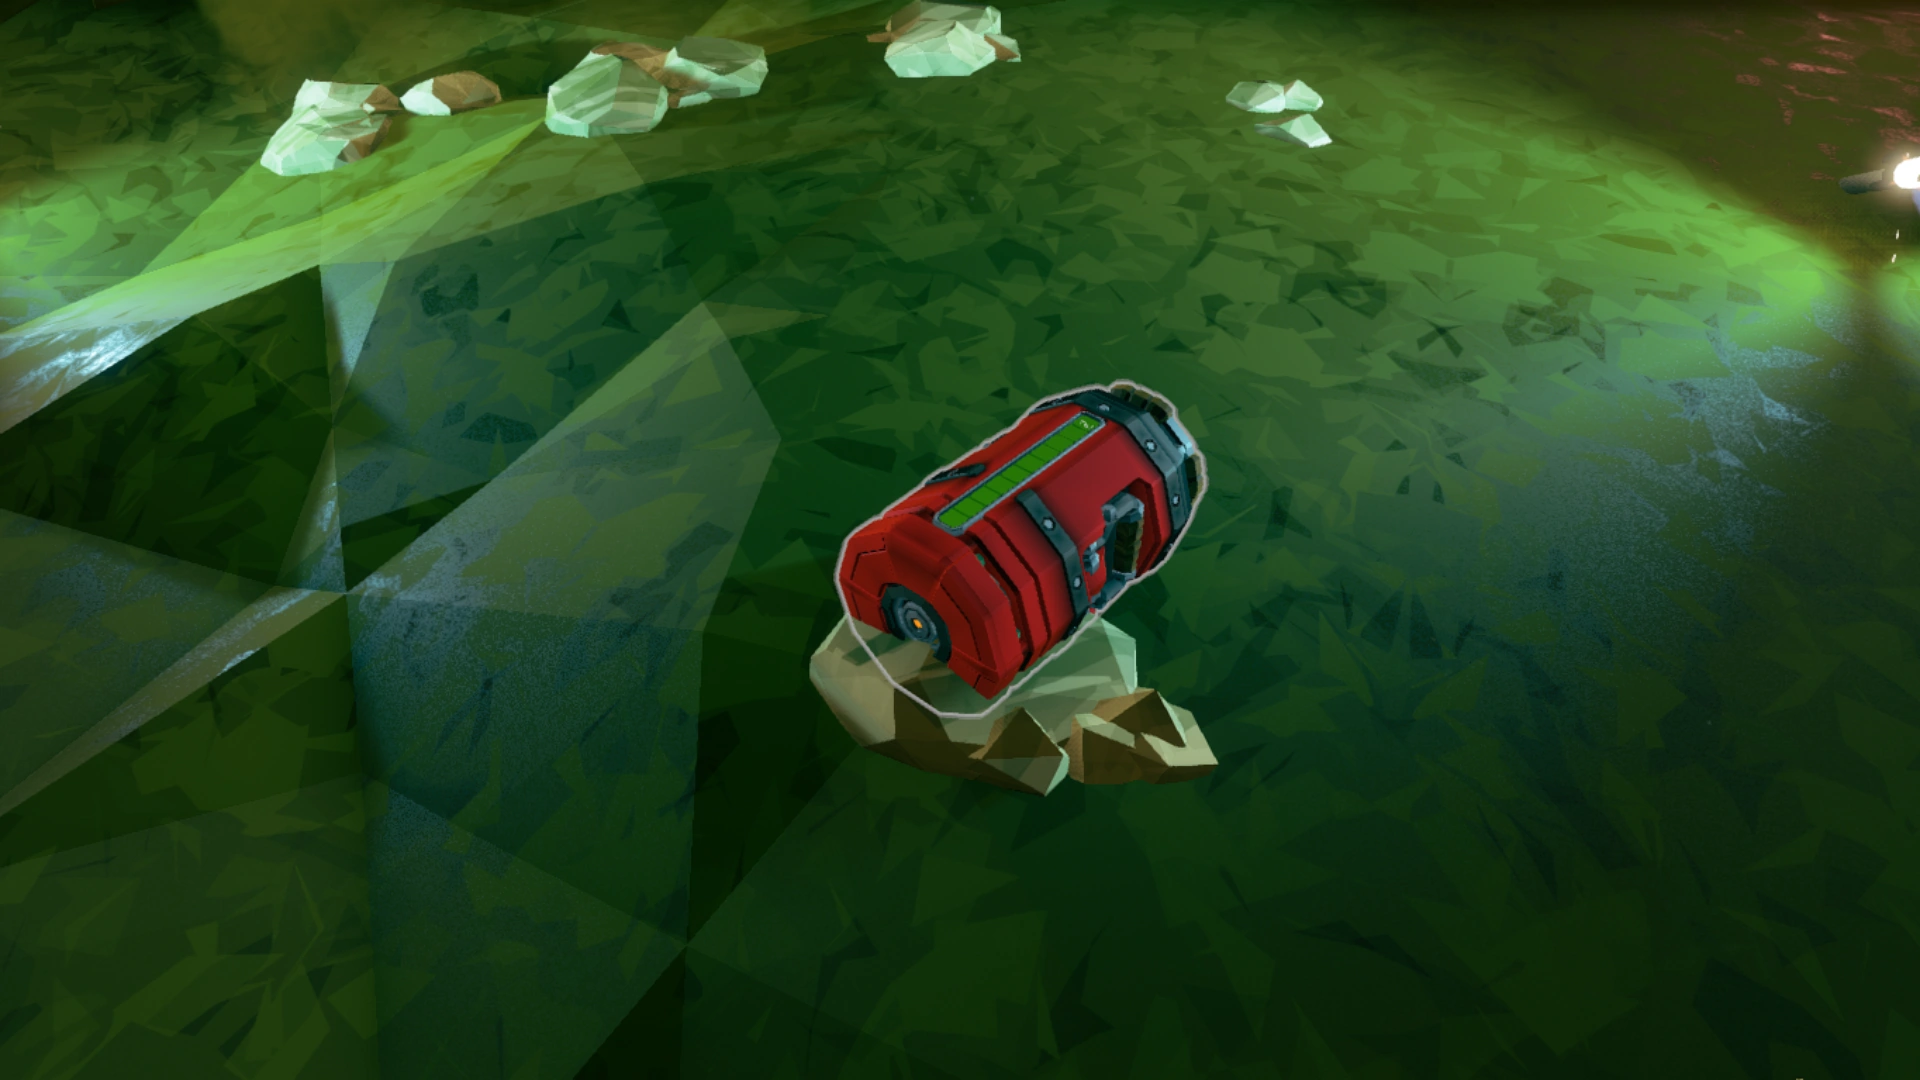
Doretta fuel canister.
Fuel tank in use.
The Ommoran Heartstone.
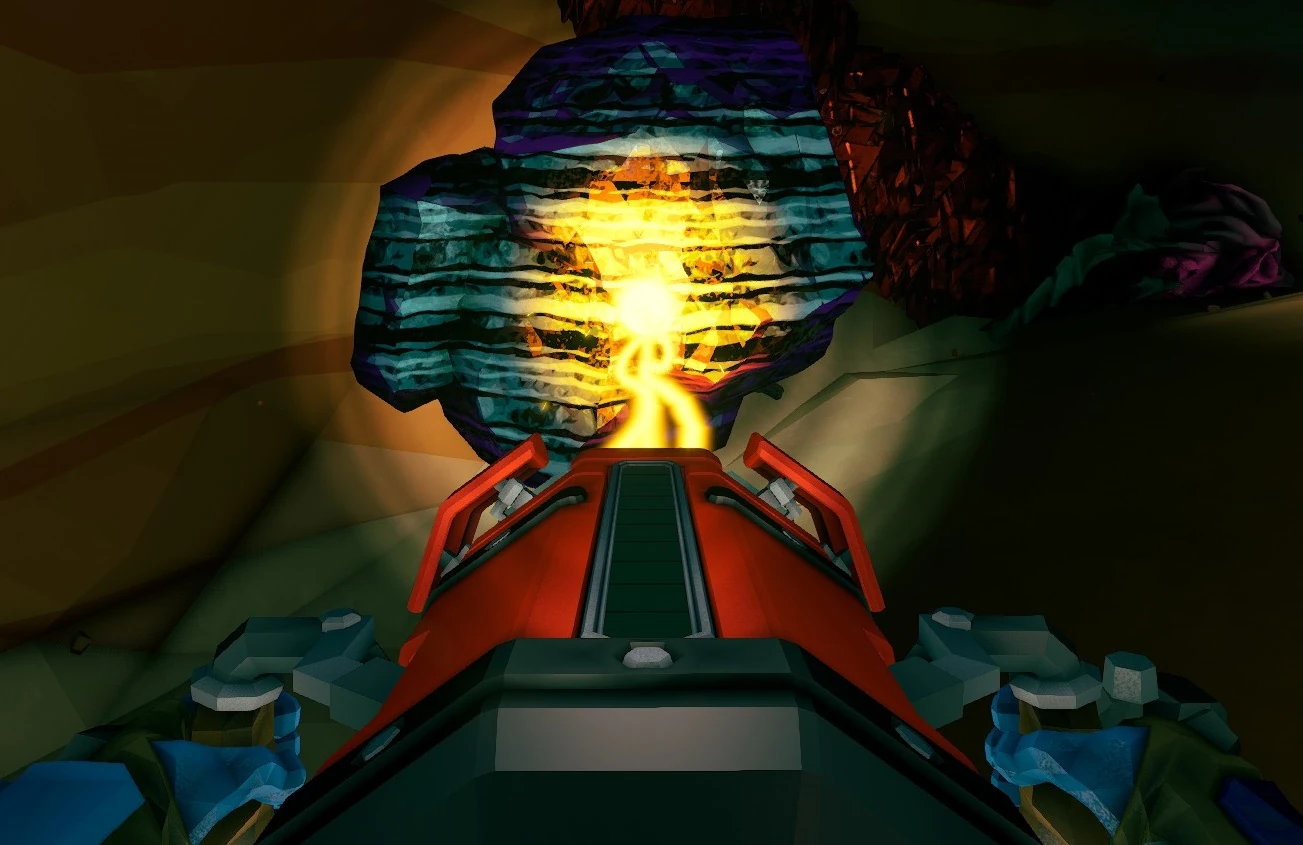
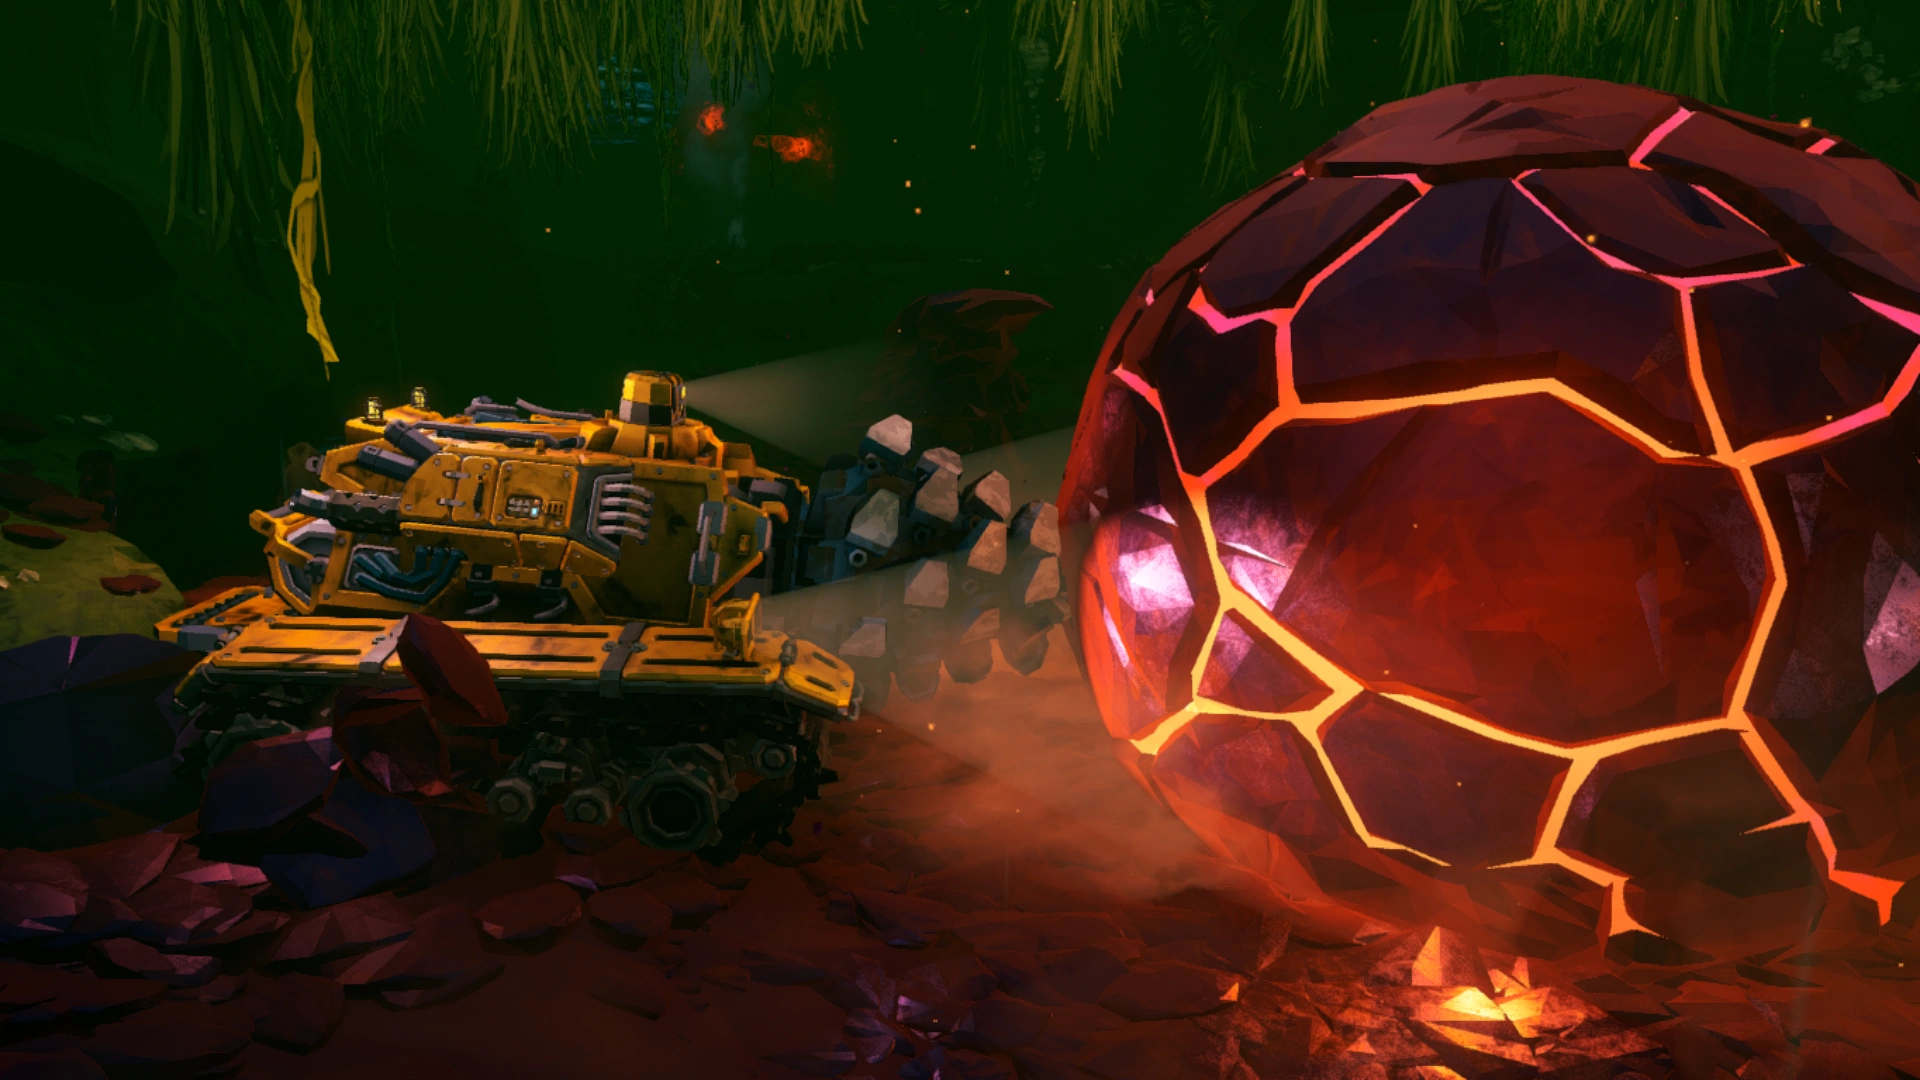
Doretta preparing to drill out the Ommoran Heartstone.
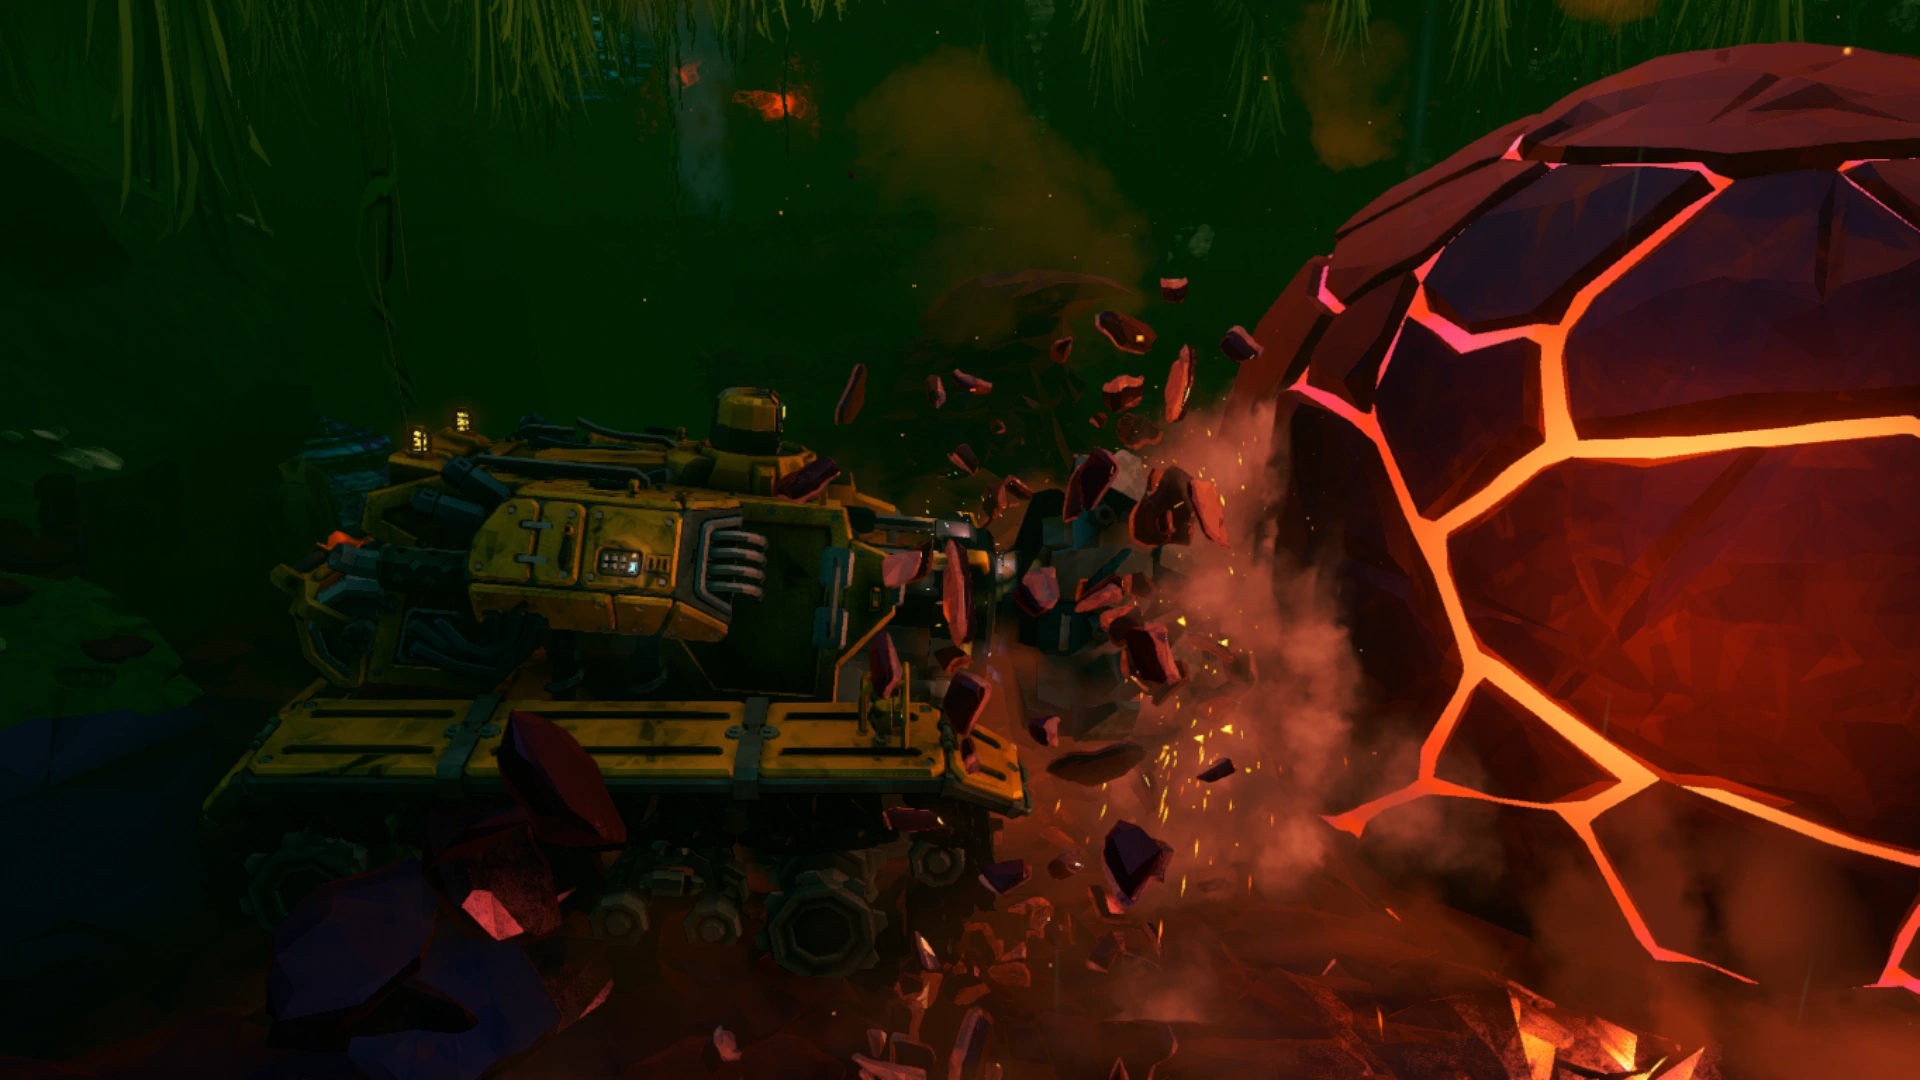
Doretta drilling out the Ommoran Heartstone.
Doretta being damaged by an Ommoran Beamer.
Doretta completing the drilling process.
The extracted Heartstone.
The Heartstone after being deposited on the M.U.L.E..

Trivia
- This mission type was added in Update 32: Roughnecks At Work.
- Repairing the Drilldozer uses various tools instead of the typical hammer used when constructing/repairing objects, including a pipe wrench and an oil can.
- It is possible to pet the Drilldozer by pressing the [USE] ("E" by default) key on its "head", found at the top of its body behind the drill.
- Pressing the Salute key while holding a Fuel Canister causes the dwarf to say a beer-holding salute line.
| ||||||||