(Update spawn chance formatting) Tag: Visual edit: Switched |
(and more clarification right in the first sentence because I'm tired of the confusion) |
||
| (44 intermediate revisions by 19 users not shown) | |||
| Line 1: | Line 1: | ||
| − | {{stub}} |
||
__NOTOC__ |
__NOTOC__ |
||
{| class="infoboxtable" |
{| class="infoboxtable" |
||
| Line 8: | Line 7: | ||
|} |
|} |
||
| − | {{quote|Be on the lookout for lost Cargo Crates in the caves of normal missions - they are known to contain copious amounts of minerals and weapon skins!| [[Update 25: Endgame - Part 1#Cargo_Crates|Update 25 Patch notes]] }} |
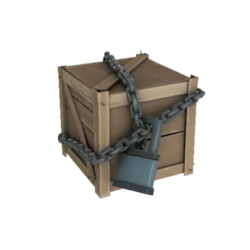
+ | {{quote|Be on the lookout for lost '''Cargo Crates''' in the caves of normal missions - they are known to contain copious amounts of minerals and weapon skins!| [[Update 25: Endgame - Part 1#Cargo_Crates|Update 25 Patch notes]] }} |
| ⚫ | '''Cargo Crates''' can spawn inside of normal [[missions]] with a 1 in 6 chance (16.666%), regardless of [[Hazard_Bonus|mission modifiers]] such as length, complexity or hazard level. There will be two batteries within 30 meters (in any direction, so not necessarily in the same cave) that will need to be inserted into the Cargo Crate to start the repairing process. The batteries themselves give away a blinking noise to allow to find them easier, though the crate itself doesn't. Batteries, when inserted, will cease creating noise. The crate needs to be manually repaired after inserting both batteries, very much like repairing a broken [[Mini-M.U.L.E.|Mini-M.U.L.E]]. |
||
| − | = Description = |
||
| ⚫ | '''Cargo Crates''' can spawn inside of normal [[missions]] with a |
||
| − | {| style="display: inline-table; padding: 20px;" |
||
| ⚫ | |||
| − | | Spawn Chance: |
||
| ⚫ | |||
| − | | {{icon cave|length|1}} — 1/10 (10%) Chance |
||
| ⚫ | |||
| − | | {{icon cave|length|2}} — 1/6 (16.6%) Chance |
||
| ⚫ | |||
| − | | {{icon cave|length|3}} — 1/3 (33.3%) Chance |
||
| ⚫ | |||
= Rewards = |
= Rewards = |
||
| − | Once opened, the '''Cargo Crate''' will dispense rewards of {{icon resource|Gold}}[[Gold|Gold]] and chunks of the [[Resources#Crafting.2FUpgrades|Crafting Materials]] based on the [[Hoxxes#The_Biomes|region]] the crate is located in. |
+ | Once opened, the '''Cargo Crate''' will dispense rewards of {{icon resource|Gold}}[[Gold|Gold]] and chunks of the [[Resources#Crafting.2FUpgrades|Crafting Materials]] based on the [[Hoxxes#The_Biomes|region]] the crate is located in and an additional claimable cosmetic reward. If all cosmetic rewards have been obtained, a pop-up informing that all possible rewards have been collected will appear instead when interacting with the Cargo Crate. |
| − | |||
| − | Due to {{icon resource|Jadiz}}[[Jadiz]] and {{icon resource|Enor Pearl}}[[Enor Pearl]] being grabables gems instead of ores like all other crafting materials, they don't get dispensed from cargo crates. As such, these are the materials you can get in each biome: |
||
| − | |||
{| class="wikitable" style="text-align: left;" |
{| class="wikitable" style="text-align: left;" |
||
| Line 34: | Line 19: | ||
|- |
|- |
||
| style="padding-left:10px; padding-right:10px;" | [[File:Crystalline caverns icon.png|34px|link=Crystalline Caverns]] [[Crystalline Caverns]] |
| style="padding-left:10px; padding-right:10px;" | [[File:Crystalline caverns icon.png|34px|link=Crystalline Caverns]] [[Crystalline Caverns]] |
||
| − | | |
+ | | style="border-right:none;" | {{icon resource|Jadiz|20px}}[[Jadiz]] |
| + | | style="border-left:none;" | {{icon resource|Bismor|20px}}[[Bismor]] |
||
|- |
|- |
||
| style="padding-left:10px; padding-right:10px;" | [[File:Dense biozone icon.png|34px|link=Dense Biozone]] [[Dense Biozone]] |
| style="padding-left:10px; padding-right:10px;" | [[File:Dense biozone icon.png|34px|link=Dense Biozone]] [[Dense Biozone]] |
||
| − | | {{icon resource|Bismor| |
+ | | style="border-right:none;" | {{icon resource|Bismor|20px}}[[Bismor]] |
| − | | {{icon resource|Umanite| |
+ | | style="border-left:none;" | {{icon resource|Umanite|20px}}[[Umanite]] |
|- |
|- |
||
| style="padding-left:10px; padding-right:10px;" | [[File:Fungus bogs icon.png|34px|link=Fungus Bogs]] [[Fungus Bogs]] |
| style="padding-left:10px; padding-right:10px;" | [[File:Fungus bogs icon.png|34px|link=Fungus Bogs]] [[Fungus Bogs]] |
||
| − | | |
+ | | style="border-right:none;" | {{icon resource|Croppa|20px}}[[Croppa]] |
| + | | style="border-left:none;" | {{icon resource|Jadiz|20px}}[[Jadiz]] |
||
|- |
|- |
||
| style="padding-left:10px; padding-right:10px;" | [[File:Glacial strata icon.png|34px|link=Glacial Strata]] [[Glacial Strata]] |
| style="padding-left:10px; padding-right:10px;" | [[File:Glacial strata icon.png|34px|link=Glacial Strata]] [[Glacial Strata]] |
||
| − | | {{icon resource|Magnite| |
+ | | style="border-right:none;" | {{icon resource|Magnite|20px}}[[Magnite]] |
| − | | {{icon resource|Umanite| |
+ | | style="border-left:none;" | {{icon resource|Umanite|20px}}[[Umanite]] |
|- |
|- |
||
| style="padding-left:10px; padding-right:10px;" | [[File:Magma core icon.png|34px|link=Magma Core]] [[Magma Core]] |
| style="padding-left:10px; padding-right:10px;" | [[File:Magma core icon.png|34px|link=Magma Core]] [[Magma Core]] |
||
| − | | {{icon resource|Magnite| |
+ | | style="border-right:none;" | {{icon resource|Magnite|20px}}[[Magnite]] |
| − | | {{icon resource|Croppa| |
+ | | style="border-left:none;" | {{icon resource|Croppa|20px}}[[Croppa]] |
|- |
|- |
||
| style="padding-left:10px; padding-right:10px;" | [[File:Radioactive exclusion zone icon.png|34px|link=Radioactive Exclusion Zone]] [[Radioactive Exclusion Zone]] |
| style="padding-left:10px; padding-right:10px;" | [[File:Radioactive exclusion zone icon.png|34px|link=Radioactive Exclusion Zone]] [[Radioactive Exclusion Zone]] |
||
| − | | |
+ | | style="border-right:none;" | {{icon resource|Umanite|20px}}[[Umanite]] |
| + | | style="border-left:none;" | {{icon resource|Enor Pearl|20px}}[[Enor Pearl]] |
||
|- |
|- |
||
| style="padding-left:10px; padding-right:10px;" | [[File:Salt pits icon.png|34px|link=Salt Pits]] [[Salt Pits]] |
| style="padding-left:10px; padding-right:10px;" | [[File:Salt pits icon.png|34px|link=Salt Pits]] [[Salt Pits]] |
||
| − | | |
+ | | style="border-right:none;" | {{icon resource|Enor Pearl|20px}}[[Enor Pearl]] |
| + | | style="border-left:none;" | {{icon resource|Bismor|20px}}[[Bismor]] |
||
|- |
|- |
||
| style="padding-left:10px; padding-right:10px;" | [[File:Sandblasted corridors icon.png|34px|link=Sandblasted Corridors]] [[Sandblasted Corridors]] |
| style="padding-left:10px; padding-right:10px;" | [[File:Sandblasted corridors icon.png|34px|link=Sandblasted Corridors]] [[Sandblasted Corridors]] |
||
| − | | |
+ | | style="border-right:none;" | {{icon resource|Enor Pearl|20px}}[[Enor Pearl]] |
| + | | style="border-left:none;" | {{icon resource|Magnite|20px}}[[Magnite]] |
||
| ⚫ | |||
| + | | style="padding-left:10px; padding-right:10px;" | [[File:Azure weald icon.png|34px|link=Azure Weald]] [[Azure Weald]] |
||
| + | | style="border-right:none;" | {{icon resource|Croppa|20px}}[[Croppa]] |
||
| + | | style="border-left:none;" | {{icon resource|Umanite|20px}}[[Umanite]] |
||
| ⚫ | |||
| + | | style="padding-left:10px; padding-right:10px;" | [[File:Hollow bough icon.png|34px|link=Hollow Bough]] [[Hollow Bough]] |
||
| + | | style="border-right:none;" | {{icon resource|Jadiz|20px}}[[Jadiz]] |
||
| + | | style="border-left:none;" | {{icon resource|Bismor|20px}}[[Bismor]] |
||
|} |
|} |
||
| ⚫ | |||
| ⚫ | |||
| ⚫ | |||
| + | The received reward is not linked to the class of the player opening the box in any way, it’ll simply be a cosmetic that the player doesn’t have yet. |
||
| ⚫ | |||
| ⚫ | |||
| + | {| |
||
| ⚫ | |||
| ⚫ | |||
| + | | width="10px" | |
||
| + | |{{Icon skin|Mesh Fourth Relic|40px}} '''Fourth Relic''' |
||
| + | | width="10px" | |
||
| ⚫ | |||
| ⚫ | |||
| ⚫ | |||
| ⚫ | |||
| ⚫ | |||
| + | | |
||
| + | |{{Icon skin|Mesh Scale Brigade|40px}} '''Scale Brigade''' |
||
| ⚫ | |||
| + | {{*}} There are 36 possible '''Victory Moves''' that will be chosen at random as reward from 9 sets: |
||
| ⚫ | |||
| + | {| |
||
| ⚫ | |||
| + | | |
||
| − | |||
| + | * Beer Toss |
||
| ⚫ | |||
| + | * Classic Flex |
||
| − | |||
| + | * Handstand |
||
| ⚫ | |||
| + | | |
||
| + | * Praise Me |
||
| + | * Sharp Salute |
||
| + | * Smug Pushups |
||
| + | | |
||
| + | * Swarmer Infestation |
||
| + | * Swarmer Kick |
||
| + | * Three Point Landing |
||
| + | |} |
||
| − | <small>'''Note:''' The |
+ | <small>'''Note:''' The cosmetics obtained from '''Cargo Crates''' cannot be obtained by any other means.</small> |
</br></br> |
</br></br> |
||
| Line 85: | Line 106: | ||
{| class="wikitable" style="text-align: center;" |
{| class="wikitable" style="text-align: center;" |
||
| − | ![[File:CargoCrateBattery.png| |
+ | ![[File:CargoCrateBattery.png|180px|frameless]] |
| − | ![[File:CargoCrateStart.png| |
+ | ![[File:CargoCrateStart.png|180px|frameless]] |
| − | ![[File:CargoCrateMed.png| |
+ | ![[File:CargoCrateMed.png|180px|frameless]] |
| − | ![[File:CargoCrateDone.png| |
+ | ![[File:CargoCrateDone.png|180px|frameless]] |
| − | ![[File:CargoCrateReward.png| |
+ | ![[File:CargoCrateReward.png|180px|frameless]] |
|- |
|- |
||
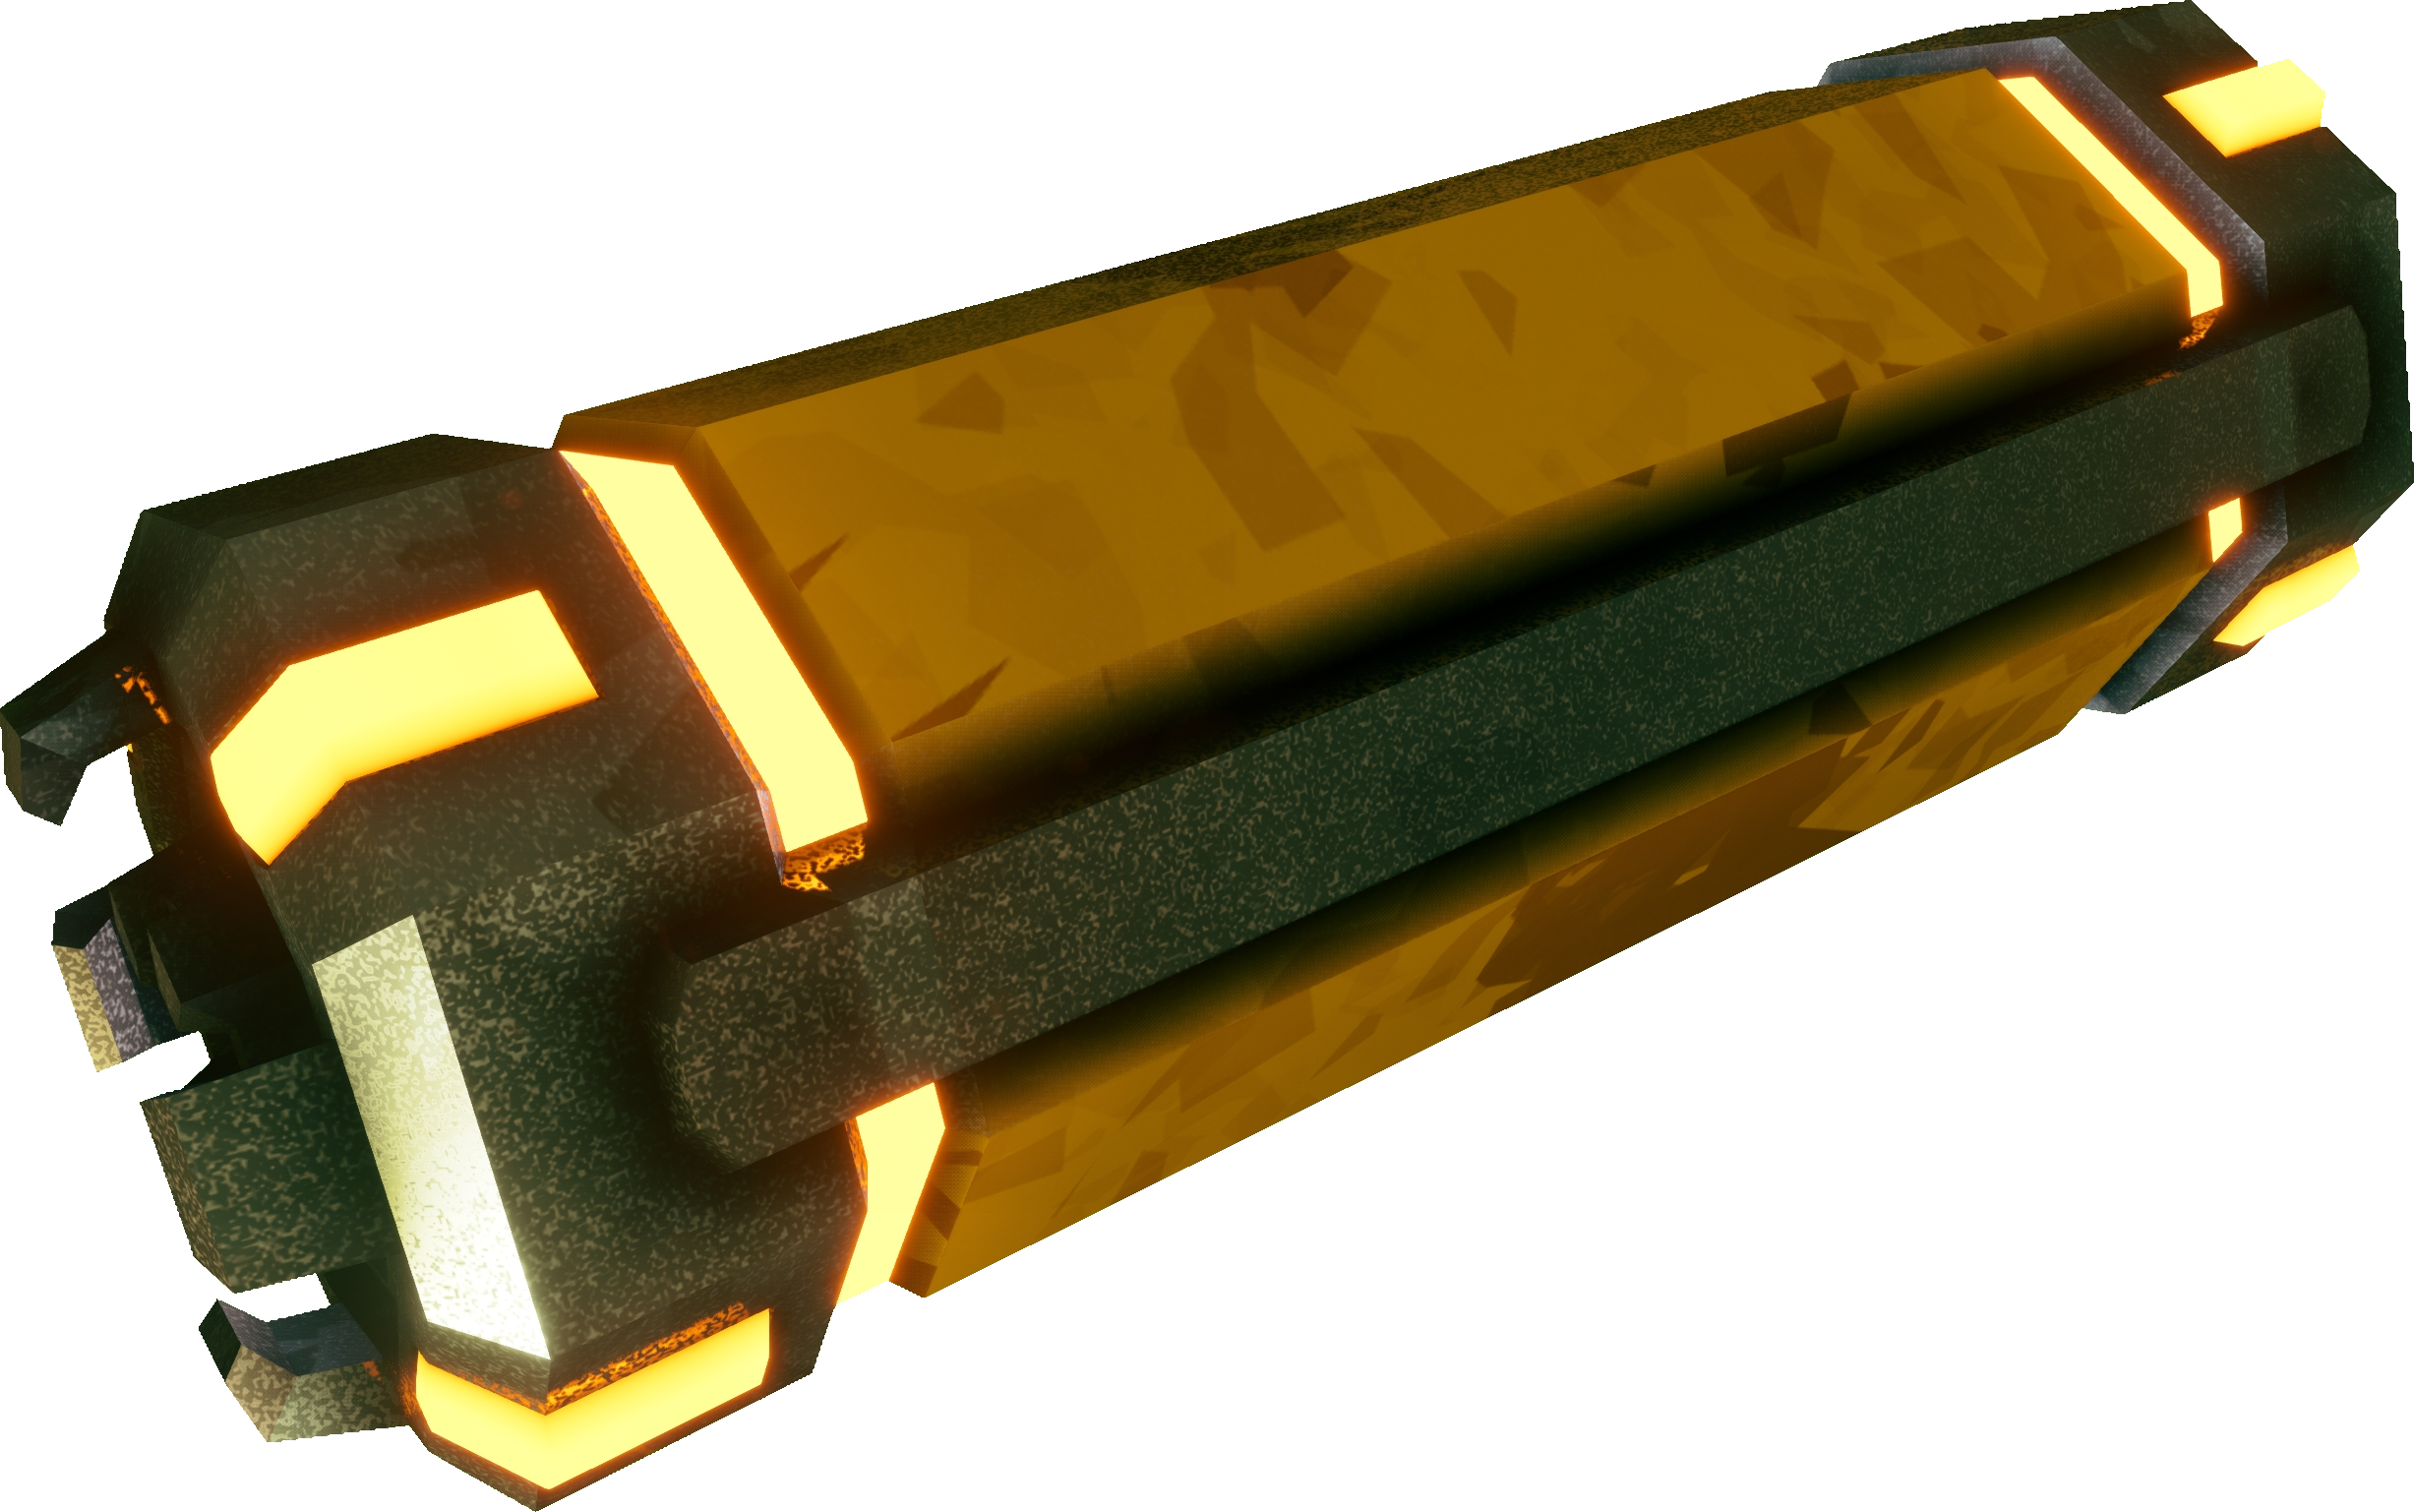
!|A Cargo Crate Battery |
!|A Cargo Crate Battery |
||
| Line 99: | Line 120: | ||
=Trivia= |
=Trivia= |
||
| + | * Similar encounter as [[Lost Pack]]. |
||
| ⚫ | |||
| + | ** Lost Packs and Cargo Crates spawn independently of each other, and can sometimes both be in the map. |
||
| + | * Frameworks used to be called Mesh with an unique Paintjob and model modification prior to [[Update 28: Feeling Perky|Update 28]]. |
||
| ⚫ | |||
* '''Cargo Crates''' used to be able to reward duplicate skins to the players who did not open the crate first, because the skin rewarded is based on the first player to claim the crate. Now, a player will always be rewarded a skin, given they do not already own every possible reward from the crate. |
* '''Cargo Crates''' used to be able to reward duplicate skins to the players who did not open the crate first, because the skin rewarded is based on the first player to claim the crate. Now, a player will always be rewarded a skin, given they do not already own every possible reward from the crate. |
||
| − | * There is currently a total of 64 Mesh skins and 12 victory poses which can be obtain from '''Cargo Crates'''; when all have been collected the crate will only give the player gold and minerals. |
||
* The developers at one point intended beer licenses for the [[Abyss_Bar#Craft.28able.29_Beer|Craft(able) Beers]] to be gained from '''Cargo Crates'''. |
* The developers at one point intended beer licenses for the [[Abyss_Bar#Craft.28able.29_Beer|Craft(able) Beers]] to be gained from '''Cargo Crates'''. |
||
| + | * '''Cargo Crates''' used to only give mineable crafting materials as a reward but as off [[Update 27: Little Big Things|Update 27]] it can now give {{icon resource|Jadiz|20px}}[[Jadiz]] & {{icon resource|Enor Pearl|20px}} [[Enor Pearl]]. |
||
| + | * It was most likely originally intended for the<nowiki/> '''Cargo Crate'''<nowiki/>'s spawn chance to be affected by mission length, as the possible game code can be found in the game's files: |
||
| + | ** The intended chances appear to be; {{icon cave|length|1}} — 1/10 (10%) Chance, {{icon cave|length|2}} — 1/6 (16.6%) Chance & {{icon cave|length|3}} — 1/3 (33.3%) Chance. |
||
| + | **'''The current spawn chance of crates is unaffected by mission length.''' |
||
| + | *Using [[wikipedia:Binomial_distribution|Binomial distribution]], one can assume that it will take on average '''792''' Missions to obtain all 132 skins and Victory Poses. |
||
| + | **Keep in mind this number is an ''estimate'' and may not reflect real outcomes - While it is statistically improbable to flip a coin 100 times and get 100 heads, that doesn't mean it's impossible. One may get all the Cargo Crates in 132 missions, or a player may never encounter one at all. |
||
<br/> |
<br/> |
||
Revision as of 08:49, 28 June 2021
| Cargo Crate | |
|---|---|
| |
| “ | Be on the lookout for lost Cargo Crates in the caves of normal missions - they are known to contain copious amounts of minerals and weapon skins! |
| — Update 25 Patch notes |
Cargo Crates can spawn inside of normal missions with a 1 in 6 chance (16.666%), regardless of mission modifiers such as length, complexity or hazard level. There will be two batteries within 30 meters (in any direction, so not necessarily in the same cave) that will need to be inserted into the Cargo Crate to start the repairing process. The batteries themselves give away a blinking noise to allow to find them easier, though the crate itself doesn't. Batteries, when inserted, will cease creating noise. The crate needs to be manually repaired after inserting both batteries, very much like repairing a broken Mini-M.U.L.E.
Rewards
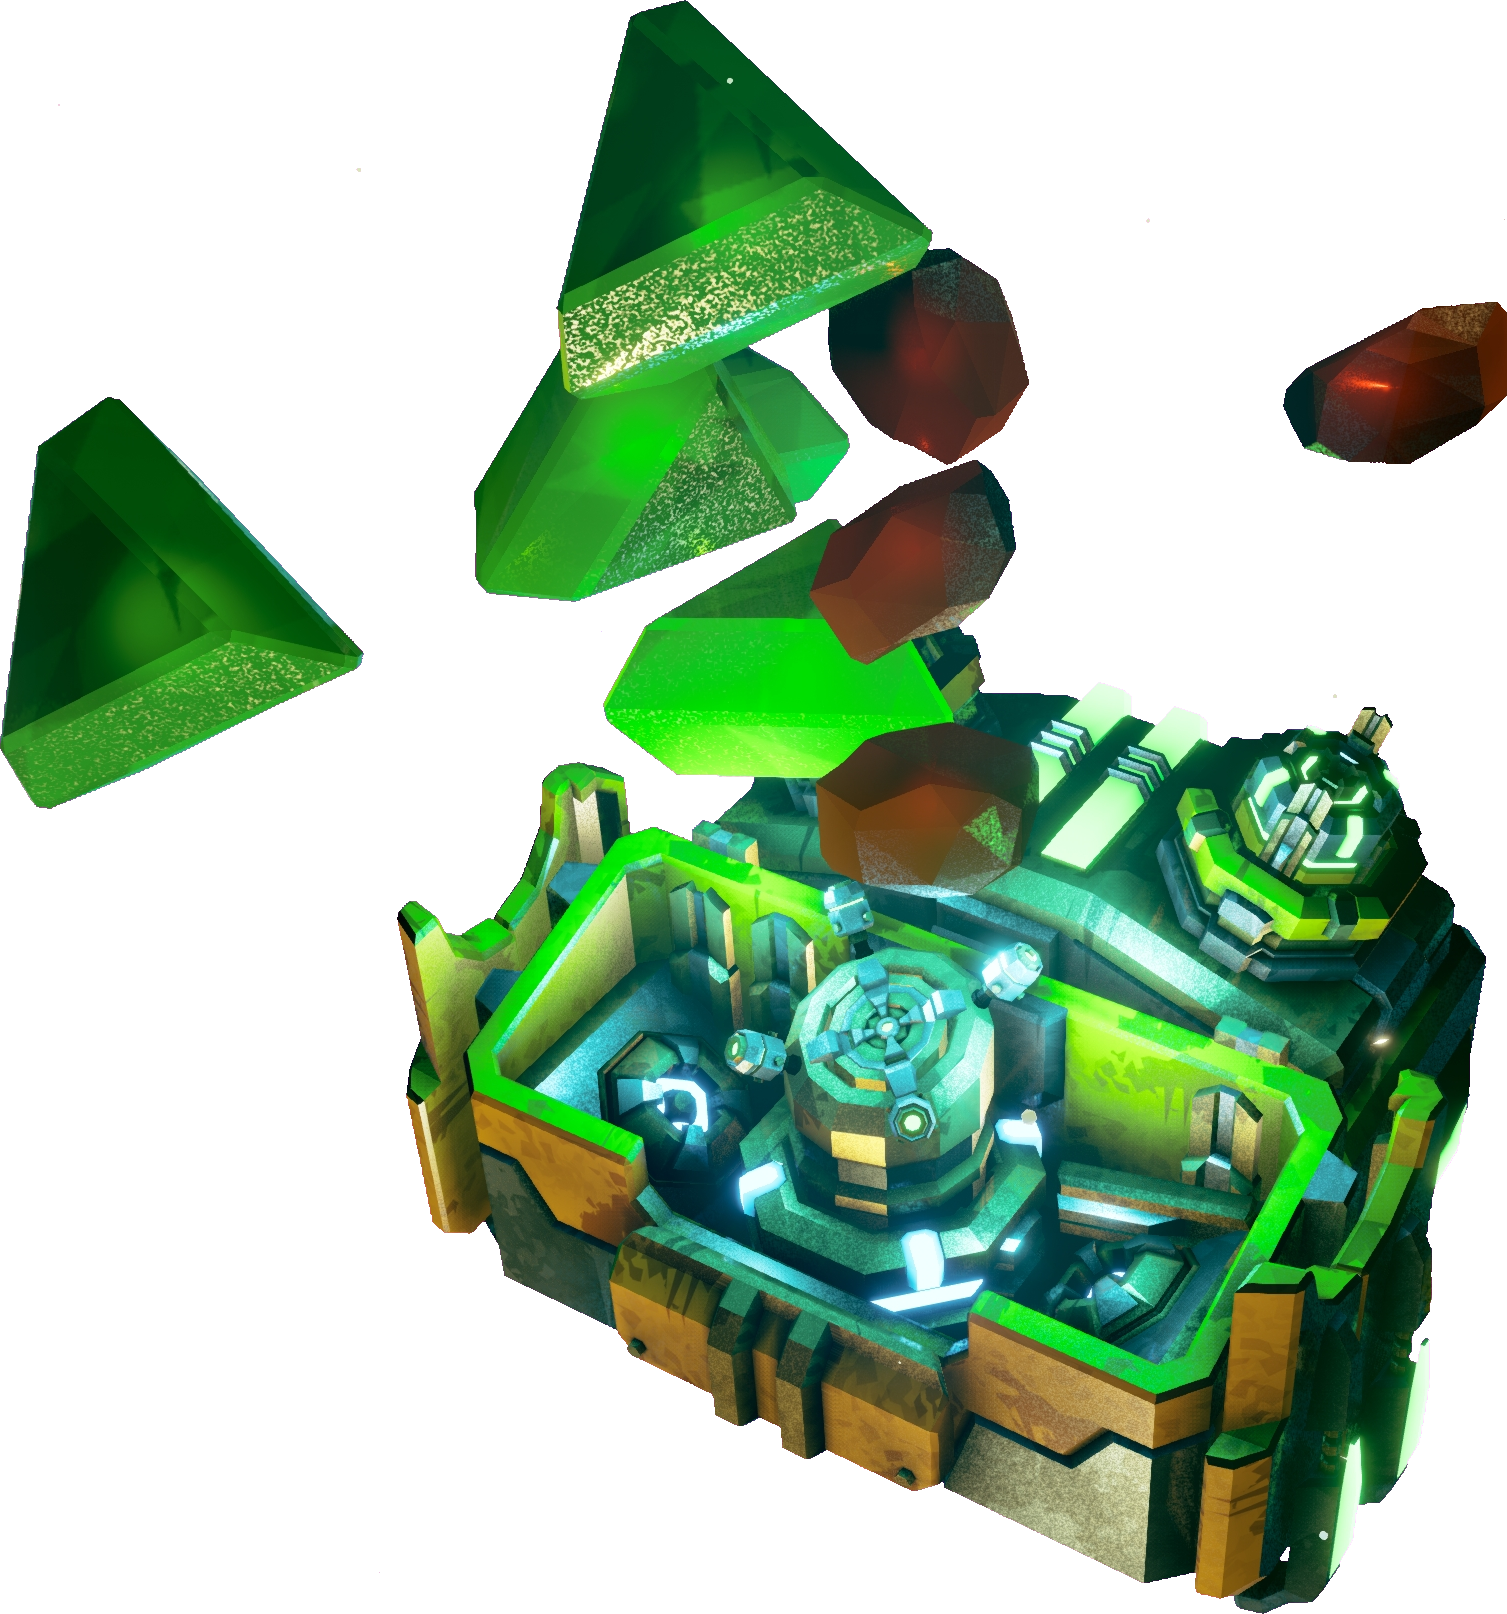
Once opened, the Cargo Crate will dispense rewards of ![]() Gold and chunks of the Crafting Materials based on the region the crate is located in and an additional claimable cosmetic reward. If all cosmetic rewards have been obtained, a pop-up informing that all possible rewards have been collected will appear instead when interacting with the Cargo Crate.
Gold and chunks of the Crafting Materials based on the region the crate is located in and an additional claimable cosmetic reward. If all cosmetic rewards have been obtained, a pop-up informing that all possible rewards have been collected will appear instead when interacting with the Cargo Crate.
A special Framework or Victory Move can be claimed by each dwarf that is present when the crate is first opened. Compared to Paintjob, Frameworks come with additional cosmetic attachments on the weapons.
Each player will receive a reward based off of the first person who opens the crate; however, if the next player to claim already owns it, they will be rewarded with a different one.
The received reward is not linked to the class of the player opening the box in any way, it’ll simply be a cosmetic that the player doesn’t have yet.
• There are 96 possible Frameworks that will be chosen at random as reward from 6 sets:
• There are 36 possible Victory Moves that will be chosen at random as reward from 9 sets:
|
|
|
Note: The cosmetics obtained from Cargo Crates cannot be obtained by any other means.
Gallery
|

|

|
|
|
|---|---|---|---|---|
| A Cargo Crate Battery | Starting state | With both Batteries inserted | Fully repaired | Dispensing reward |
Trivia
- Similar encounter as Lost Pack.
- Lost Packs and Cargo Crates spawn independently of each other, and can sometimes both be in the map.
- Frameworks used to be called Mesh with an unique Paintjob and model modification prior to Update 28.
- The Neonband Mesh variation was accidentally leaked during Experimental and removed only to be re-added in Update 26.
- Cargo Crates used to be able to reward duplicate skins to the players who did not open the crate first, because the skin rewarded is based on the first player to claim the crate. Now, a player will always be rewarded a skin, given they do not already own every possible reward from the crate.
- The developers at one point intended beer licenses for the Craft(able) Beers to be gained from Cargo Crates.
- Cargo Crates used to only give mineable crafting materials as a reward but as off Update 27 it can now give
 Jadiz & Enor Pearl.
 - It was most likely originally intended for the Cargo Crate's spawn chance to be affected by mission length, as the possible game code can be found in the game's files:
- The intended chances appear to be; — 1/10 (10%) Chance, — 1/6 (16.6%) Chance & — 1/3 (33.3%) Chance.
- The current spawn chance of crates is unaffected by mission length.
- The intended chances appear to be;
- Using Binomial distribution, one can assume that it will take on average 792 Missions to obtain all 132 skins and Victory Poses.
- Keep in mind this number is an estimate and may not reflect real outcomes - While it is statistically improbable to flip a coin 100 times and get 100 heads, that doesn't mean it's impossible. One may get all the Cargo Crates in 132 missions, or a player may never encounter one at all.
| ||||||||||||||||||||||||||||||